Around this time every year, Televisual do a survery to work out what salaries and day rates people get working in the television industry in the UK. Here are the results for this year's survery for camera operators:
Indie TV production, camera operator: £29,250
Broadcaster, camera operator: £31,125
Facilities (OB, studio etc) camera operator: £39,250
Corporate production, camera operator £38,006
These salaries strike me as pretty low, so it is worth considering the same Televisual survey from the previous year. This year's survey only had the one job title of "camera operator", whereas last year's survey had camera operator and DOP, however, they didn't split the industry into fields (such as indie/broadcaster/corporate etc). The results for these in 2012 were as follows:
Camera operator: £36,113
DOP: £63,631
Looking at earnings as averages is obviously tricky for a career like that of a camera operator or DOP as there are huge variables, as proof of this, in the Televisual video from 2012 they also mention a DOP from their survey with a salary of £200,000. The main variables are the kind of work you do, and the kit you own. A busy DOP working on commercials is obviously going to earn a lot more than a cameraman just starting out, shooting small corporate jobs.
Working as an owner operator with kit, is more like running a small business, with larger risks and more variable earnings. If you make the right decisions and buy the right kit, you are likely to make far more than the average OB or studio cameraman whose day rate can only go so high. Equally, make the wrong decisions and buy kit that you can't get on jobs and you could even make a loss.
To read the full 2013 earnings report go here.
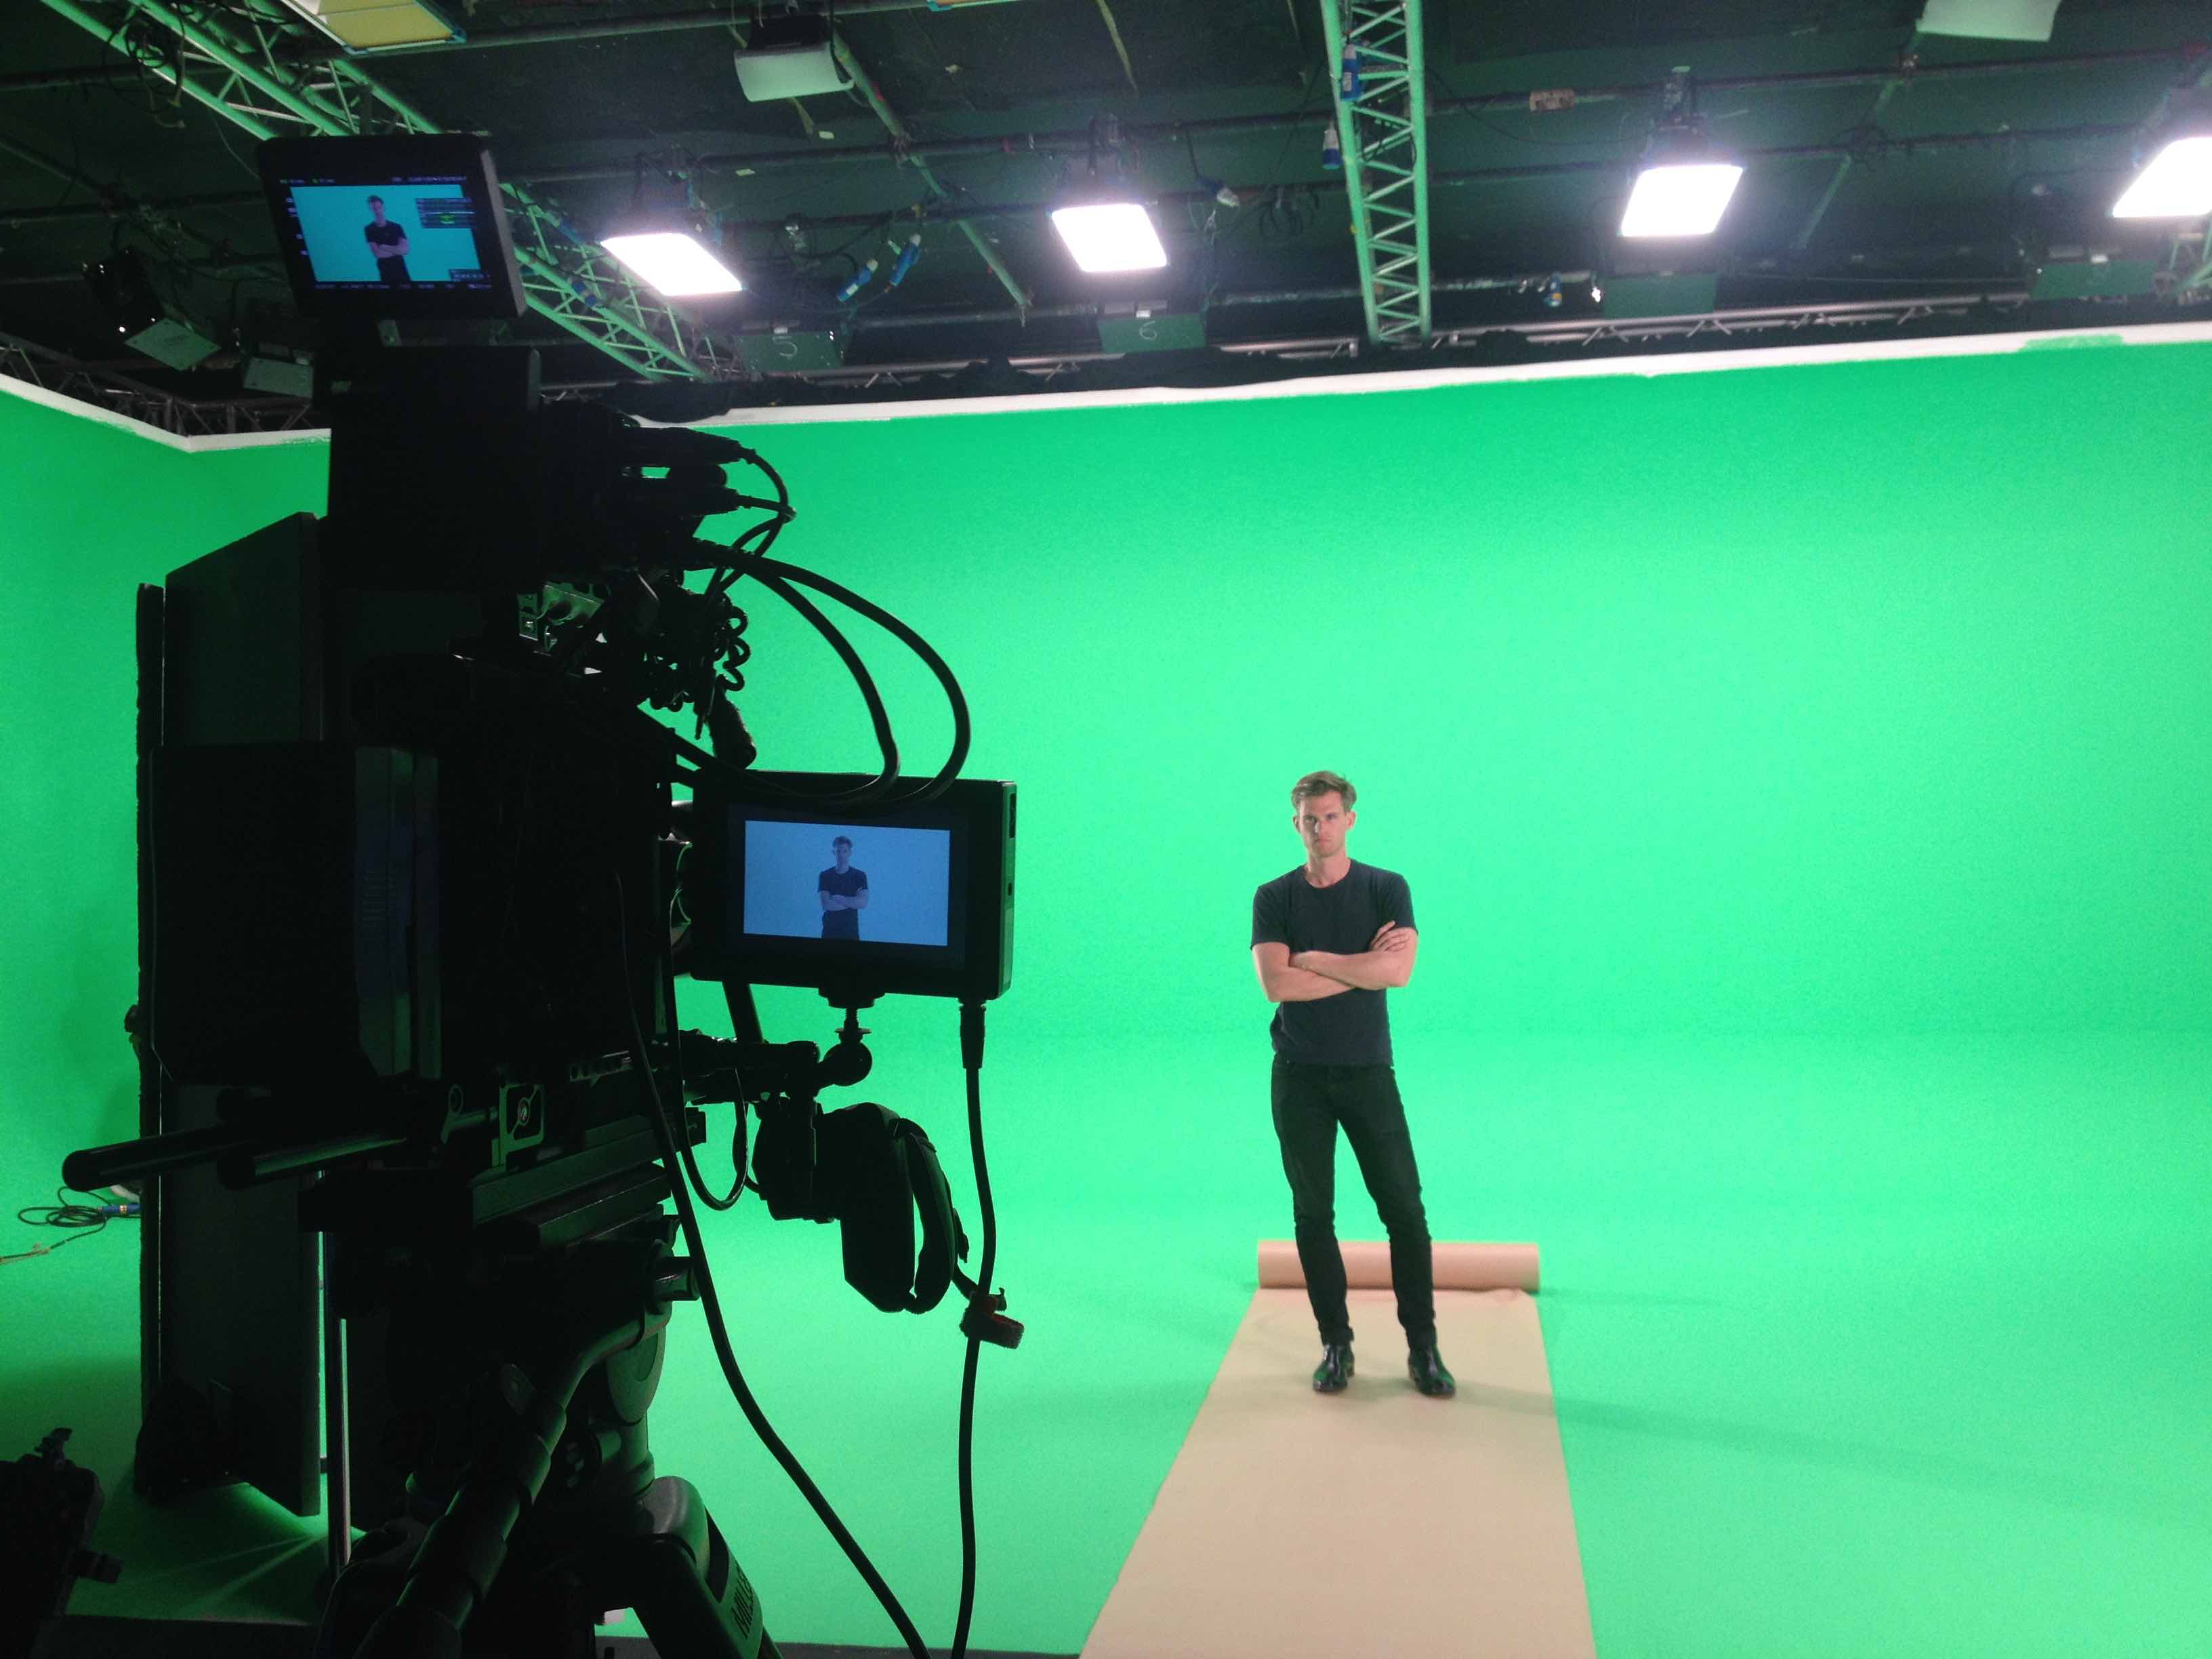
Every cameraman will have to light for green screen at some point, as keying software improves everyone is using it, even those on a low budget.
Lighting for green screen is relatively straight forward, but it worth watching out for a few factors, as getting the lighting wrong on this can obviously cause serious problems in the edit. Certain situations won't show up lighting mistakes as brutally as others, for example, a basic interview setup with no movement will be easier than someone with long blonde hair with some movement. The best practice is learn to light properly and stick to this setup. I'll go through the type of lights that are best for green screen shoots, but first a few basic principals.
Basic principals:
There are loads of different ways and different lighting set ups to effectively shoot green screen, but the principals are the same.
1) Set up you green screen so it is as smooth as possible, stretch it out if need be to get rid of wrinkles, or hang it up high so the weight of the cloth pulls out wrinkles. If you are in a green screen studio with painted walls, look out for any big scuffs or marks on the floor or walls. (most studios will have paint or green tape to patch up little problems) Remember, in order to key successfully in post, the editor only needs to be able to cut around the subject, a black mark in the top corner of the screen probably won't matter, but a mark that intersects with the subject, will cause an issue.
2) Create a soft even light over the green screen (no hot spots, no shadows).
3) Light the green screen a couple of stops below your subject. Blasting the green screen with loads of light isn't a good idea, as you can bounce green light off the screen onto your subject. Lighting the screen too dark will mean that it is easier to cast shadows on the screen. The best situation is a green screen just slightly darker than the light on your subject.
4) Treat your green screen and your subject separately. Once you are happy that you have an evenly lit green screen, light your subject in the same way you normally would. Here you should be using different lights from those used to light the screen.
5) Avoid all shadows. The easiest way to do this is to create some distance between the green screen and the subject. In some cases this may be difficult, for example if you have a small room or a small green screen and the Director needs a full body shot, you will obviously be forced to have the subject near to the screen. In this case you can cut down on shadows by raising your lights and moving them out to the sides, therefore throwing the shadows down at the ground and away to the edges. Remember, all the editor needs is enough distance around the subject to cut him, her or it, out from the background. You can also do this by softening the light; hard light will create strong shadows.
6) Shoot at a wide aperture when possible. Having the screen out of focus helps even out any inconsistencies from wrinkles in the cloth, or marks on the wall.
7) Use a backlight to sharpen the edges between the subject and the green screen. This should be a relatively soft light. You can use minus green gels (magenta) for this if you have them, which will cut down any green light which may have bounced onto the subject. (This is no longer essential as chroma key software has improved greatly over the years, however, if you are having trouble separating the subject from the background, this technique could help).
8) Before you shoot, check the shot (with a stand-in if necessary) If it is an action shot, have them perform the action. Check for light bouncing off the green onto the underside of the subjects arms, legs and face. Check for hotspots or shadows on the green screen. Make sure that the lights you are using to light the green screen aren't adversely effecting the subject.
9) Lastly, an obvious one, make sure your talent isn't wearing any green. This also applies to reflective material, a watch or piece of jewellery, glasses etc. These could all reflect a small amount of green from the floor or walls, which will give the editor a long and boring job fixing up this issue.
There is one other really important consideration with green screen: think about the finished product when lighting your scene. Normally, what you see through the lens is the finished product, but with green screen this obviously isn't the case. There is no point in creating perfect three point lighting, if the green screen setting is outside, or a night scene or a cartoon sequence etc, it will just look odd - in a real life outdoor situation, you have to ask: where would that perfect hair light be coming from? The best way to approach this is to get as much information about the finished scene as possible. You may be given a photo or video of the plate, if not, ask questions. Will it be indoor, outdoor, sunset, night time, etc.
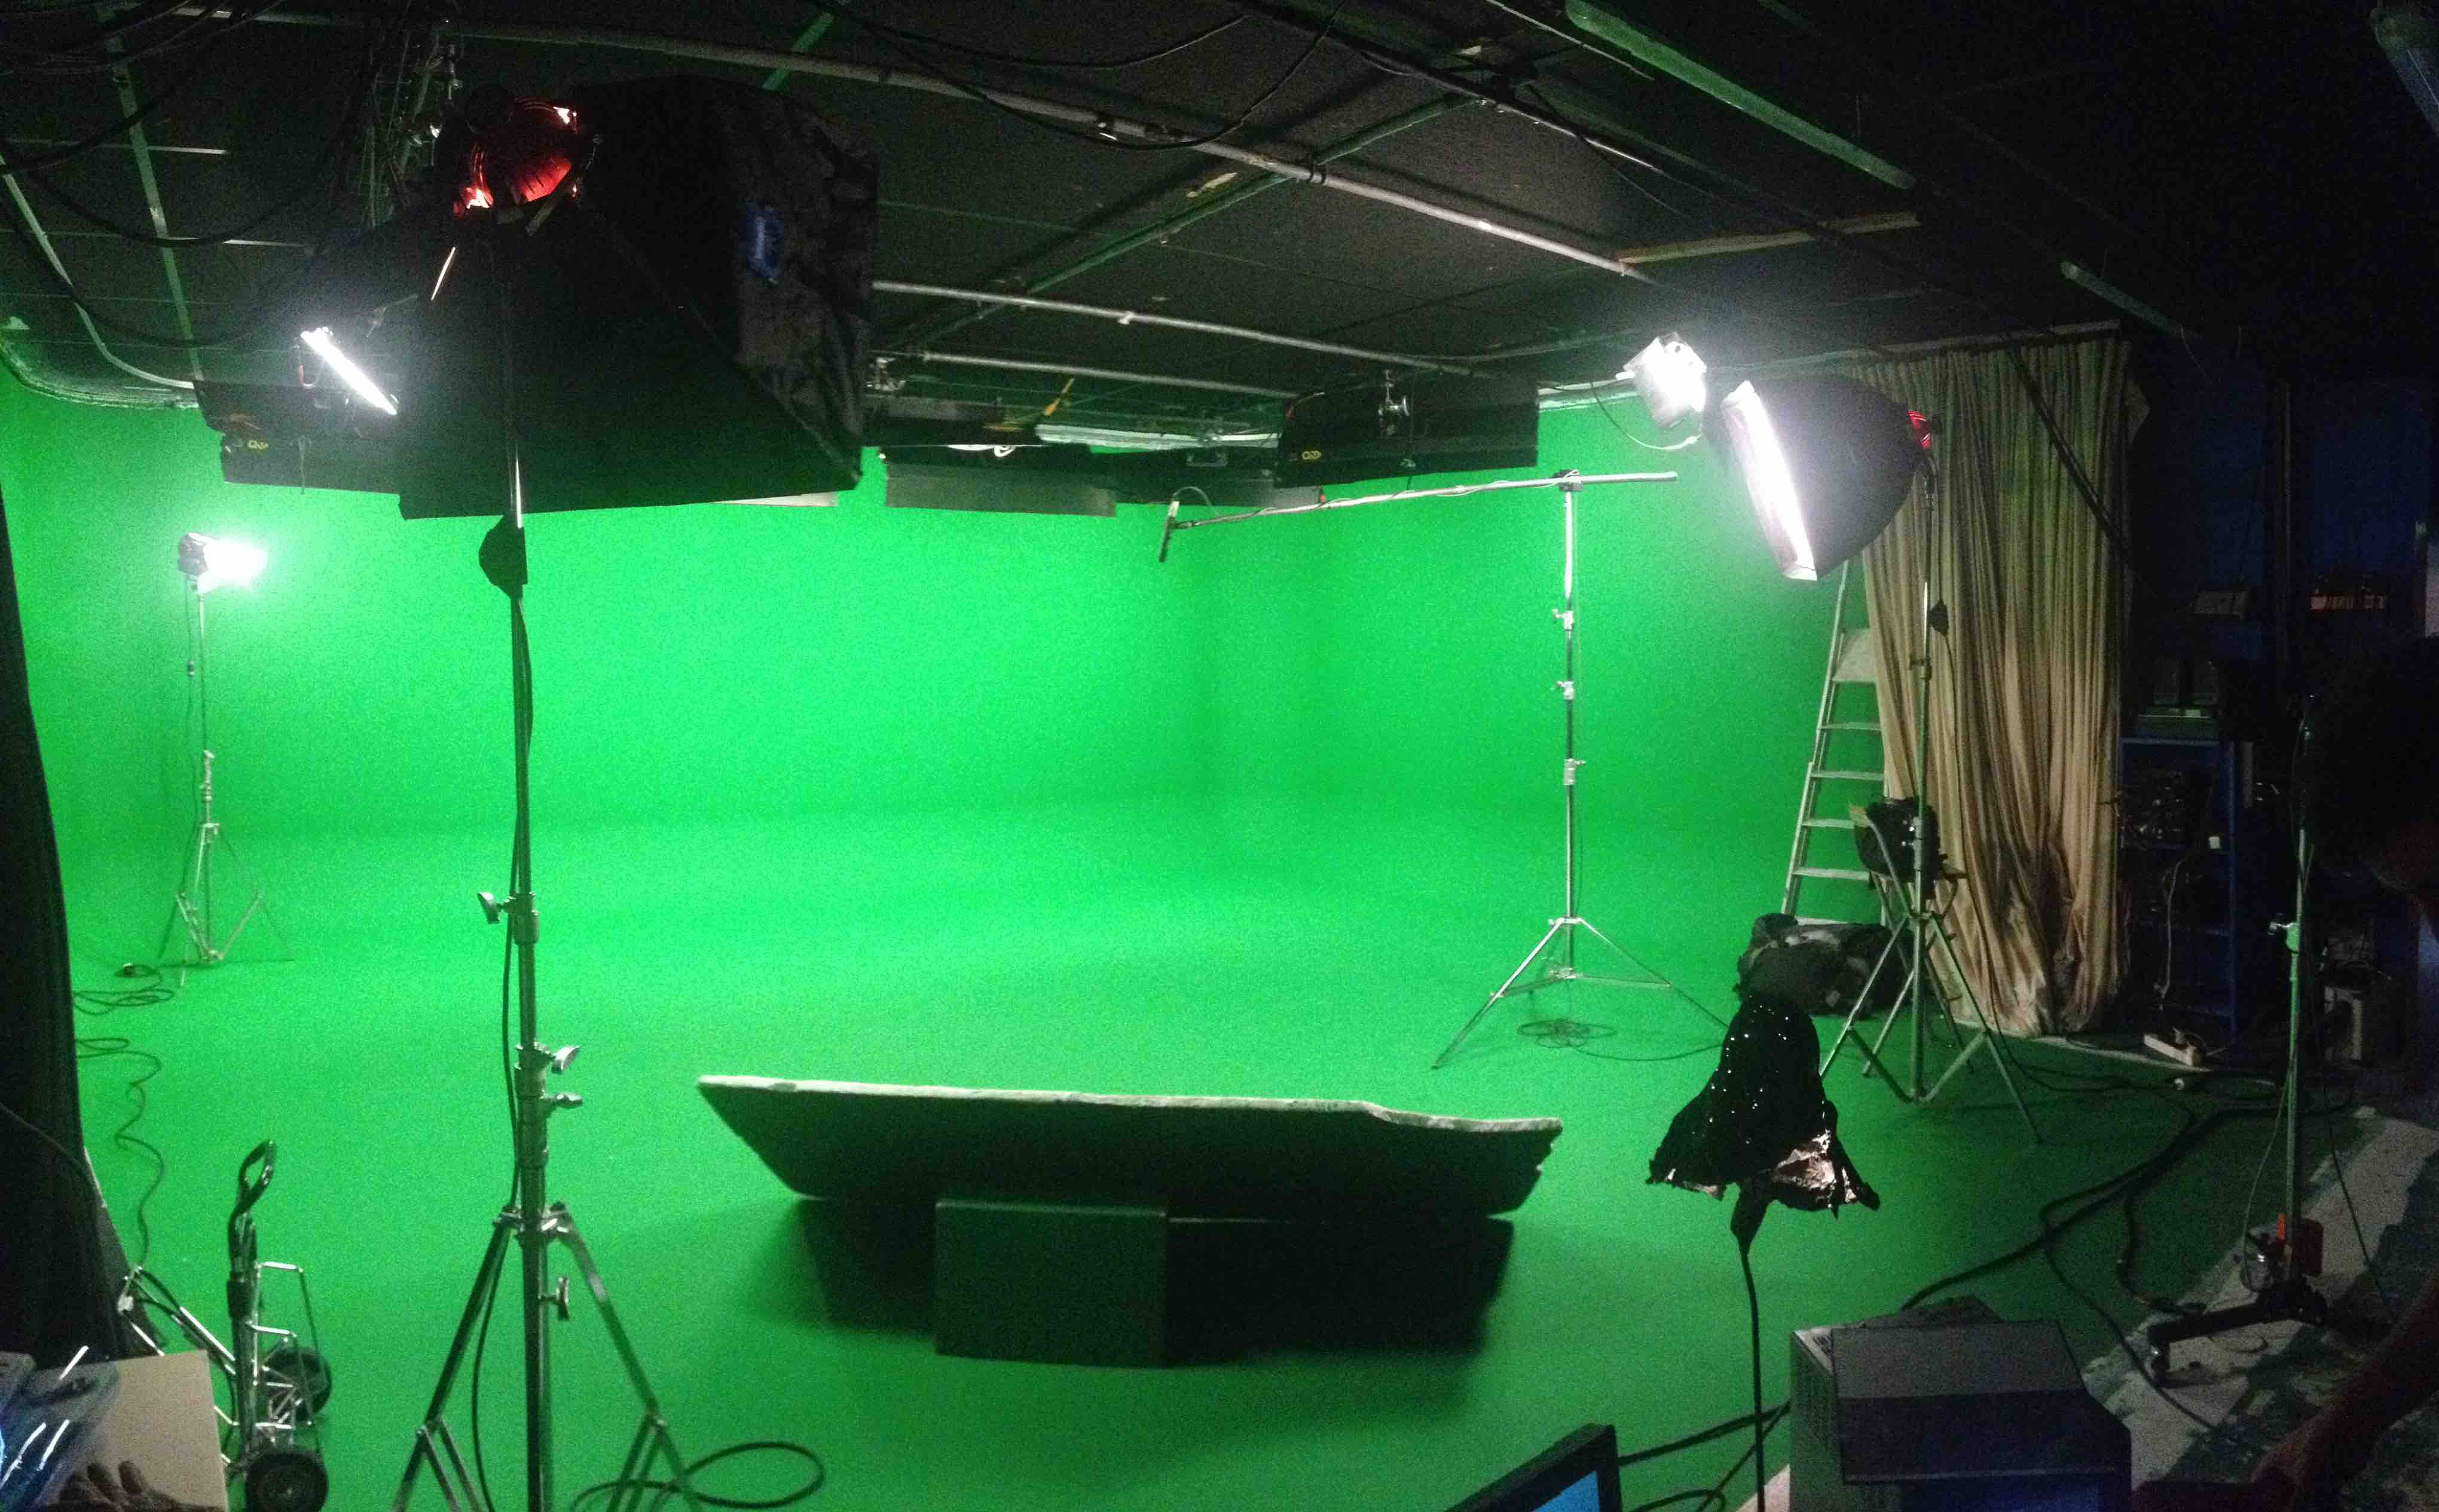
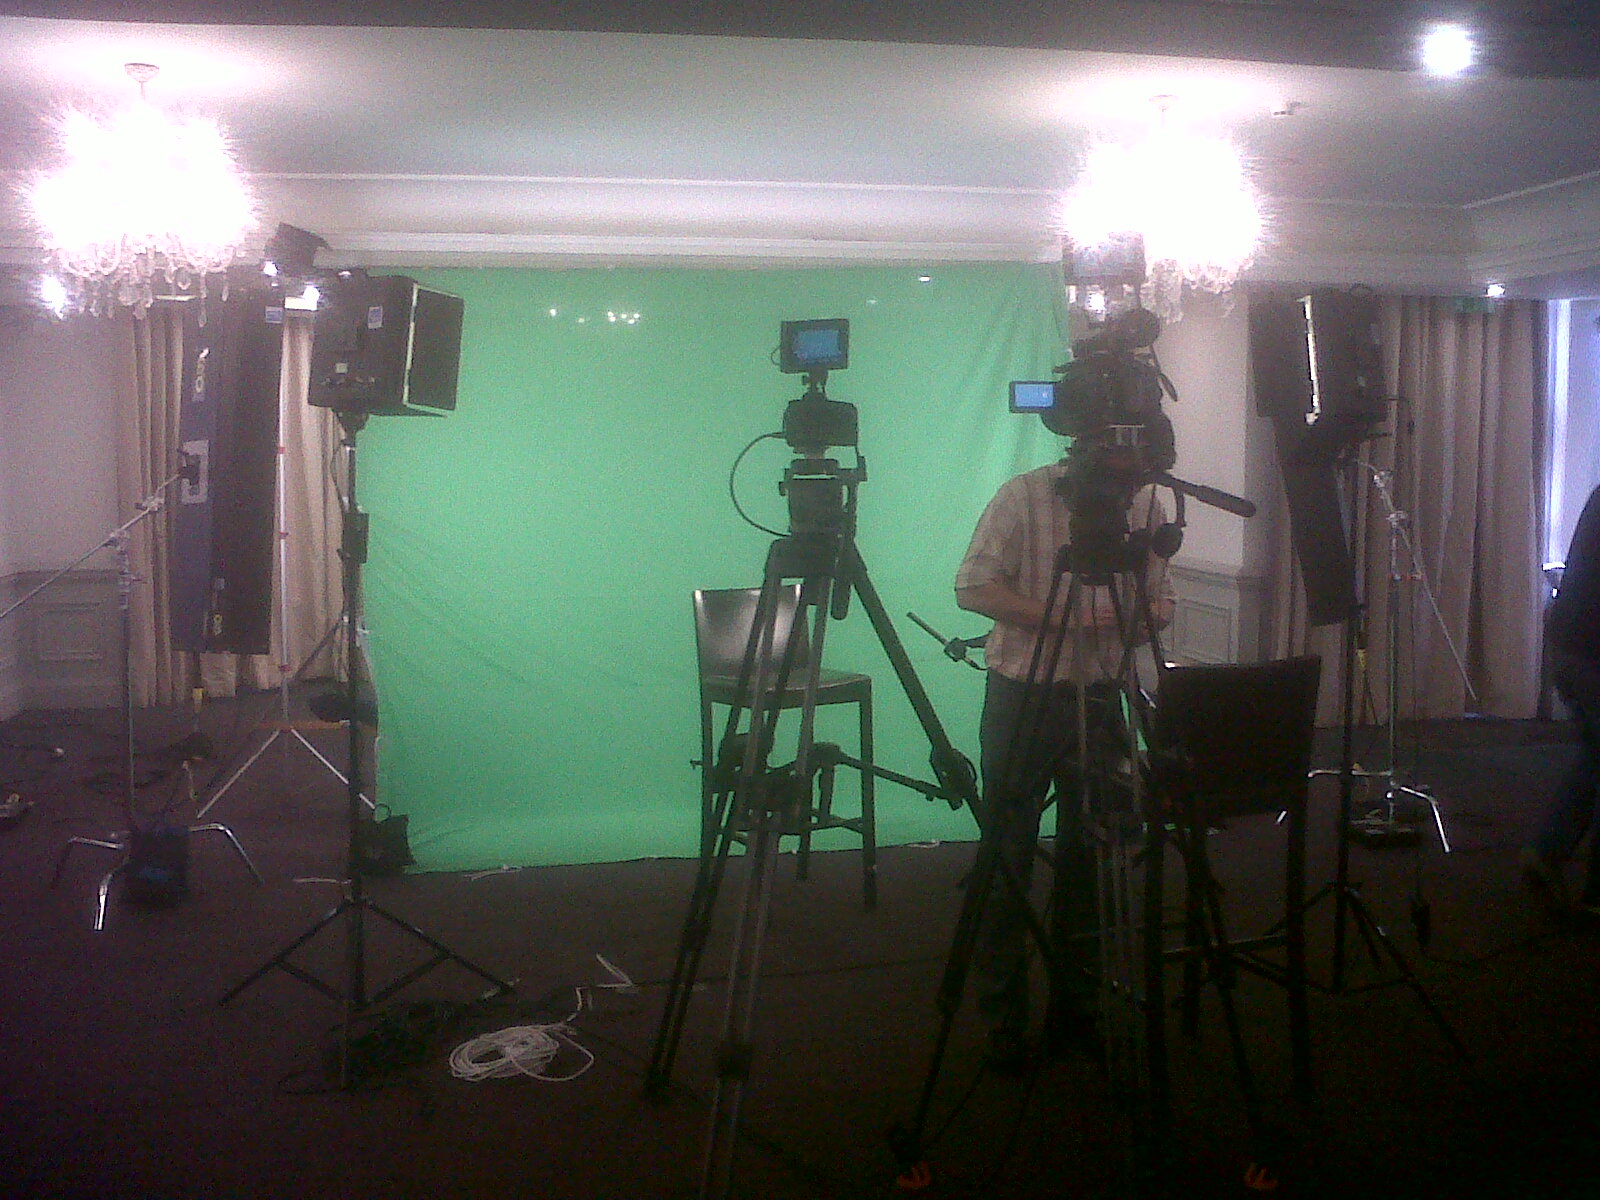
Studio setup.
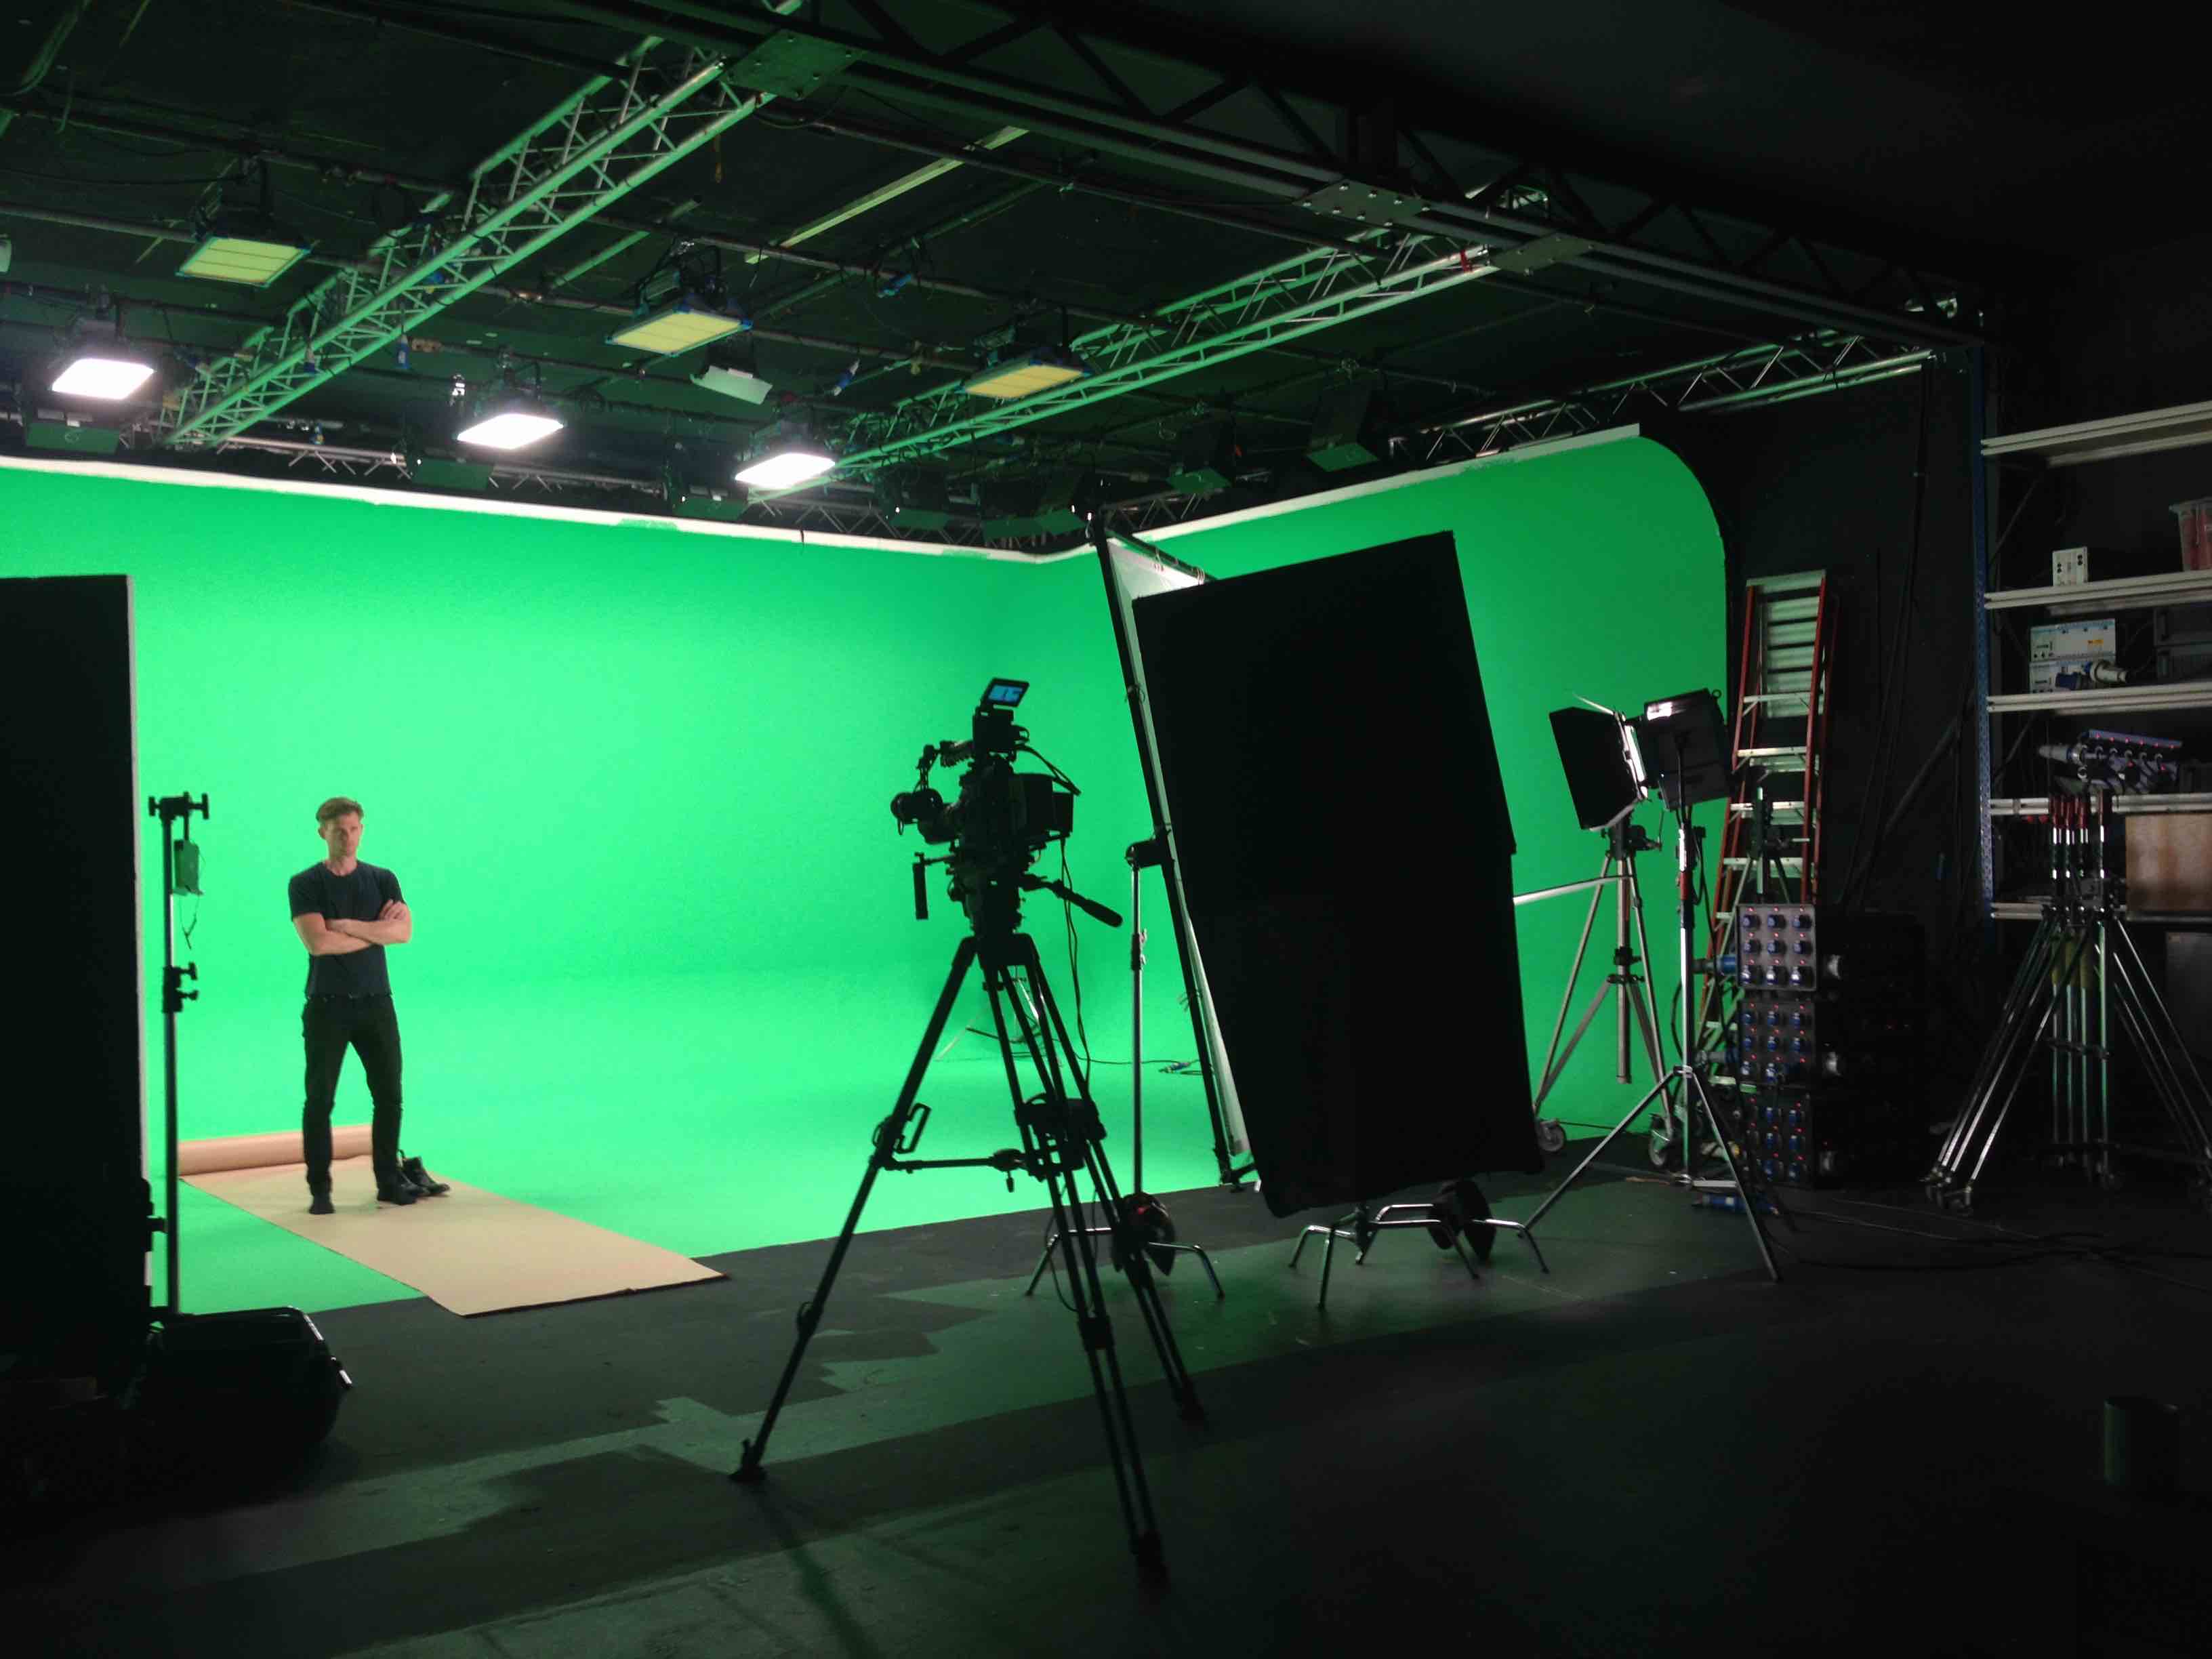
In this set up, we have a stand in for the subject. The greenscreen is lit using the in studio Arri panel lights. The key light is a 5k shot through a screen of diffusion and there is just one backlight oposite the key.
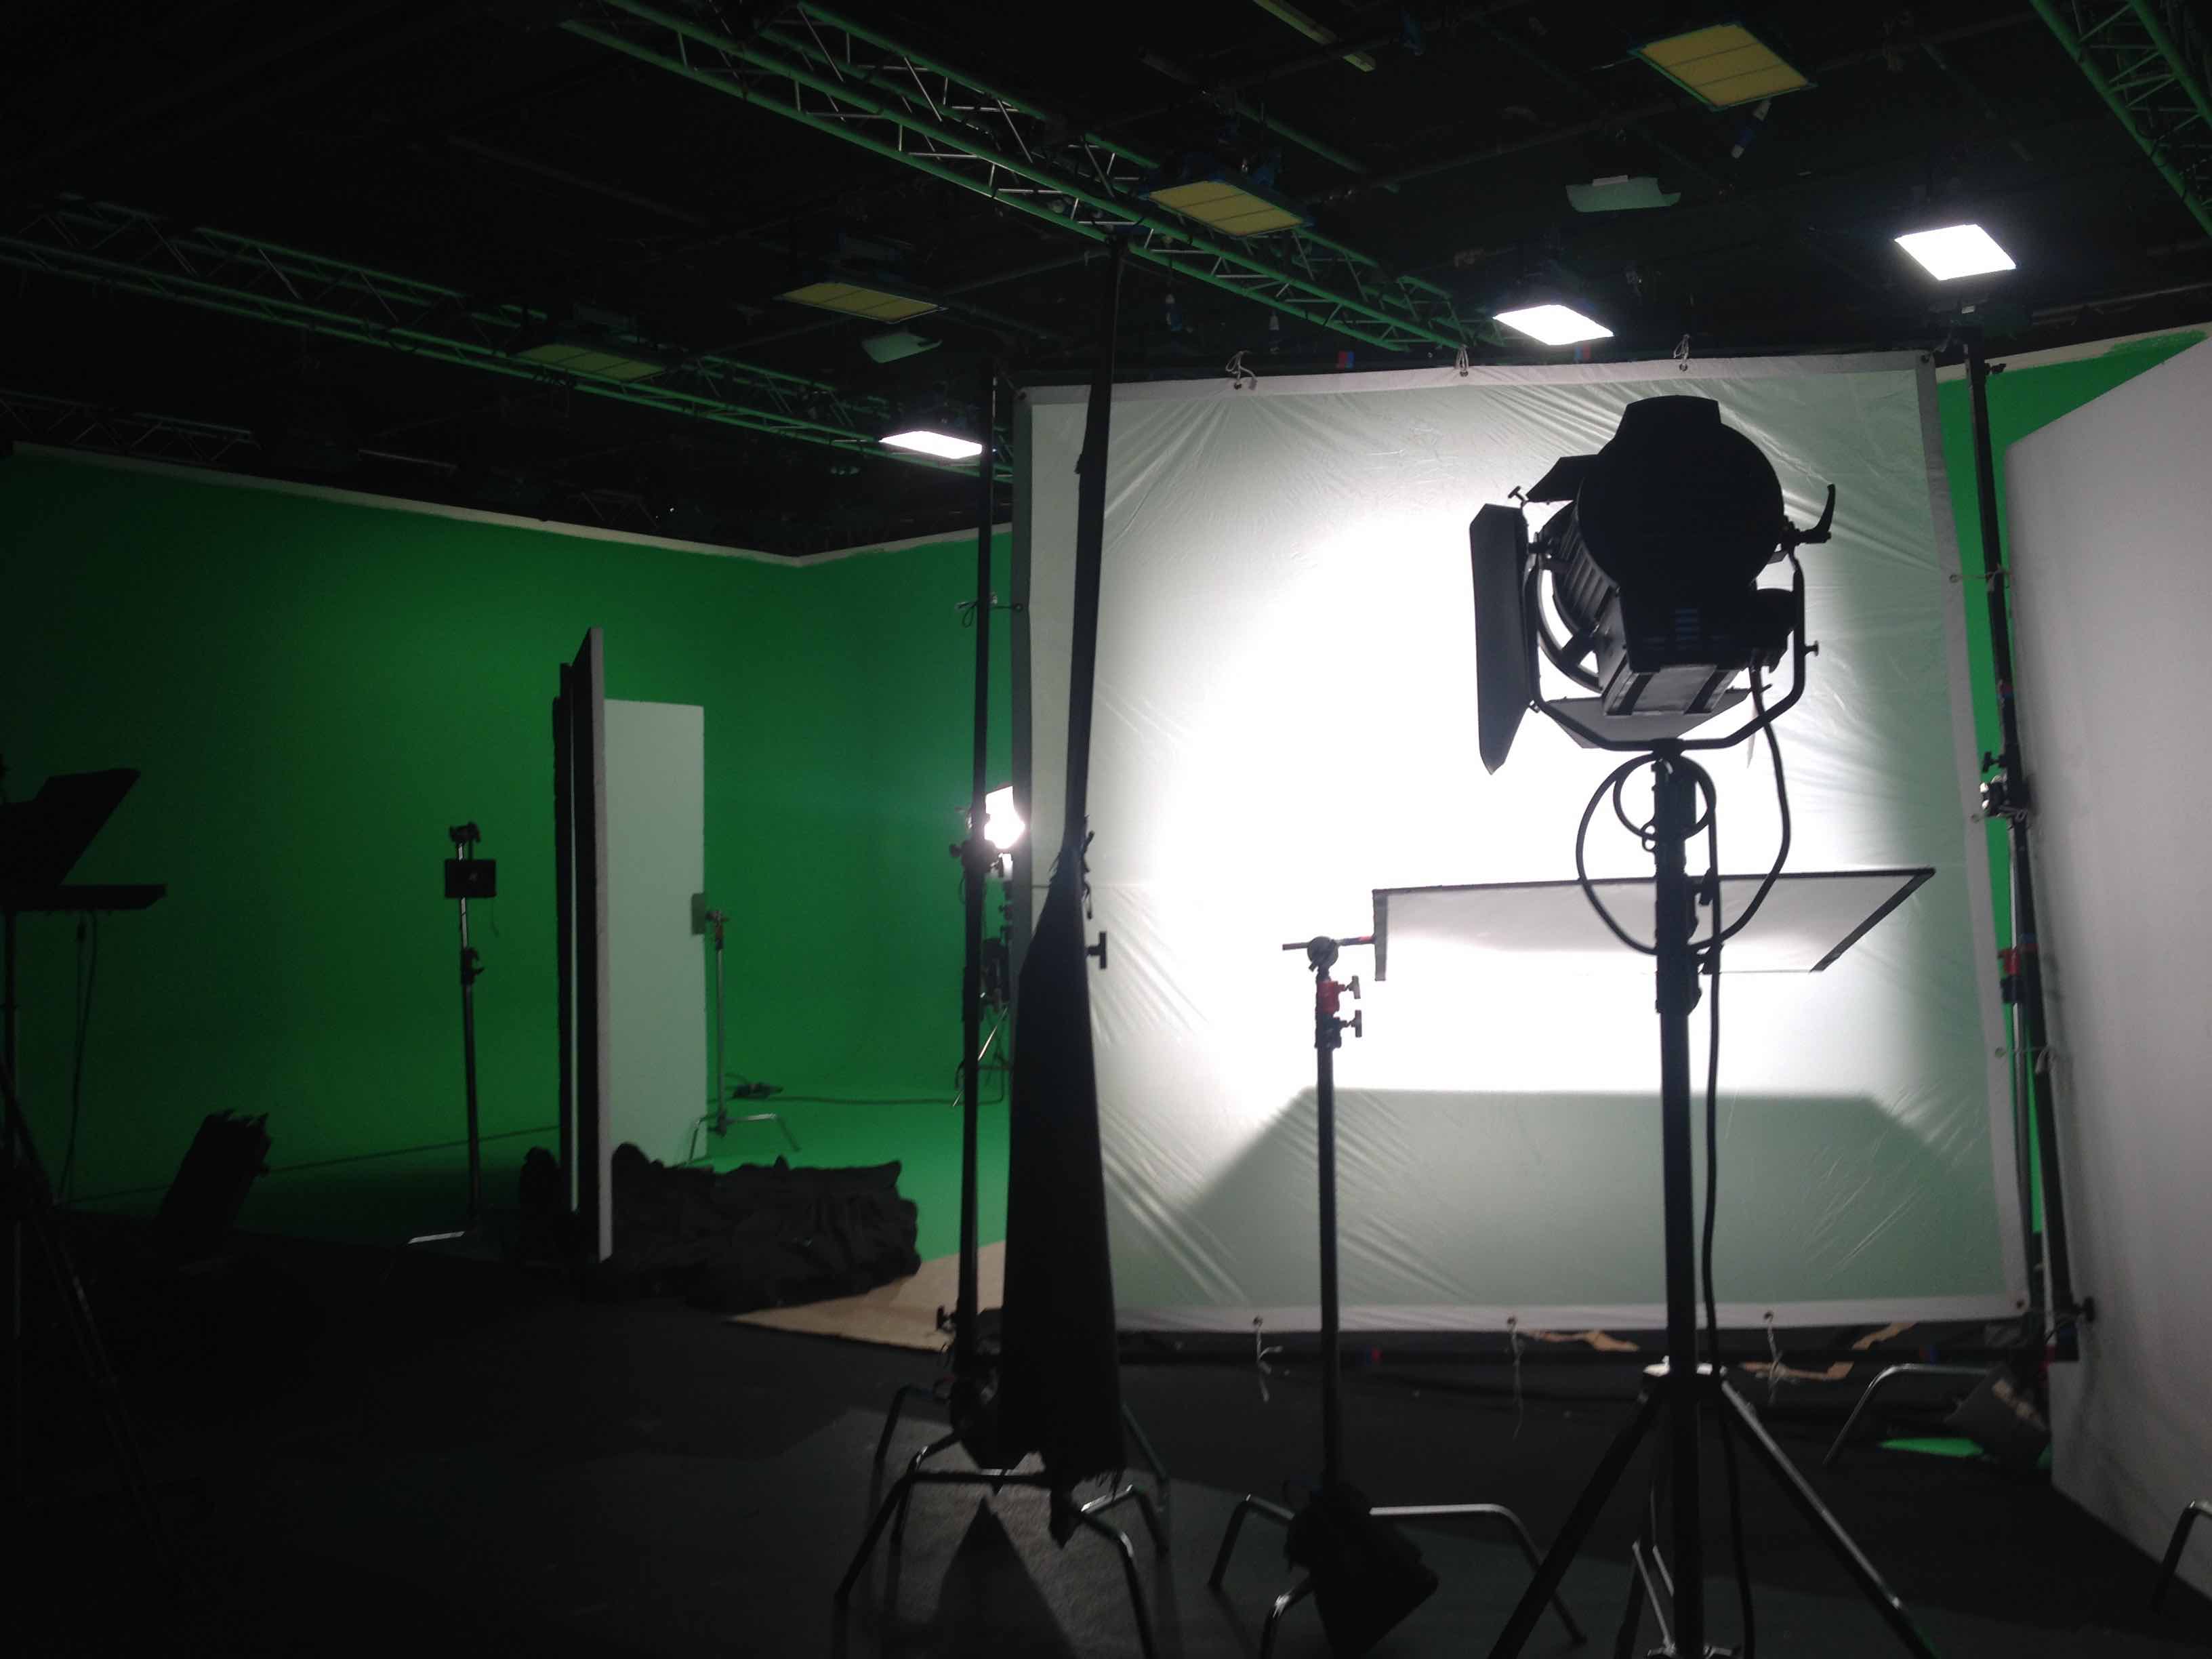
The above shows the 5K key light. I had a gaffer for this shoot and he has cleverly boxed off the edges and bottom of this light, to prevent light spilling all over the green screen and bouncing up on our subject. Remember my earlier point about soft light and shadows? Shooting a 5k at the subject without this screen would cause horrible shaddows (and almost blind the subject).
If you wanted to further soften this light you could use a poly wedge or book lighting. To do this, you angel polyboard so that the light hits the poly first, then bounces through the diffusion screen. This gives a nice natural look and a very diffused light.
This shows the key light from the other side. You can see polyboards are being used to bounce some fill light onto where the subect will stand.
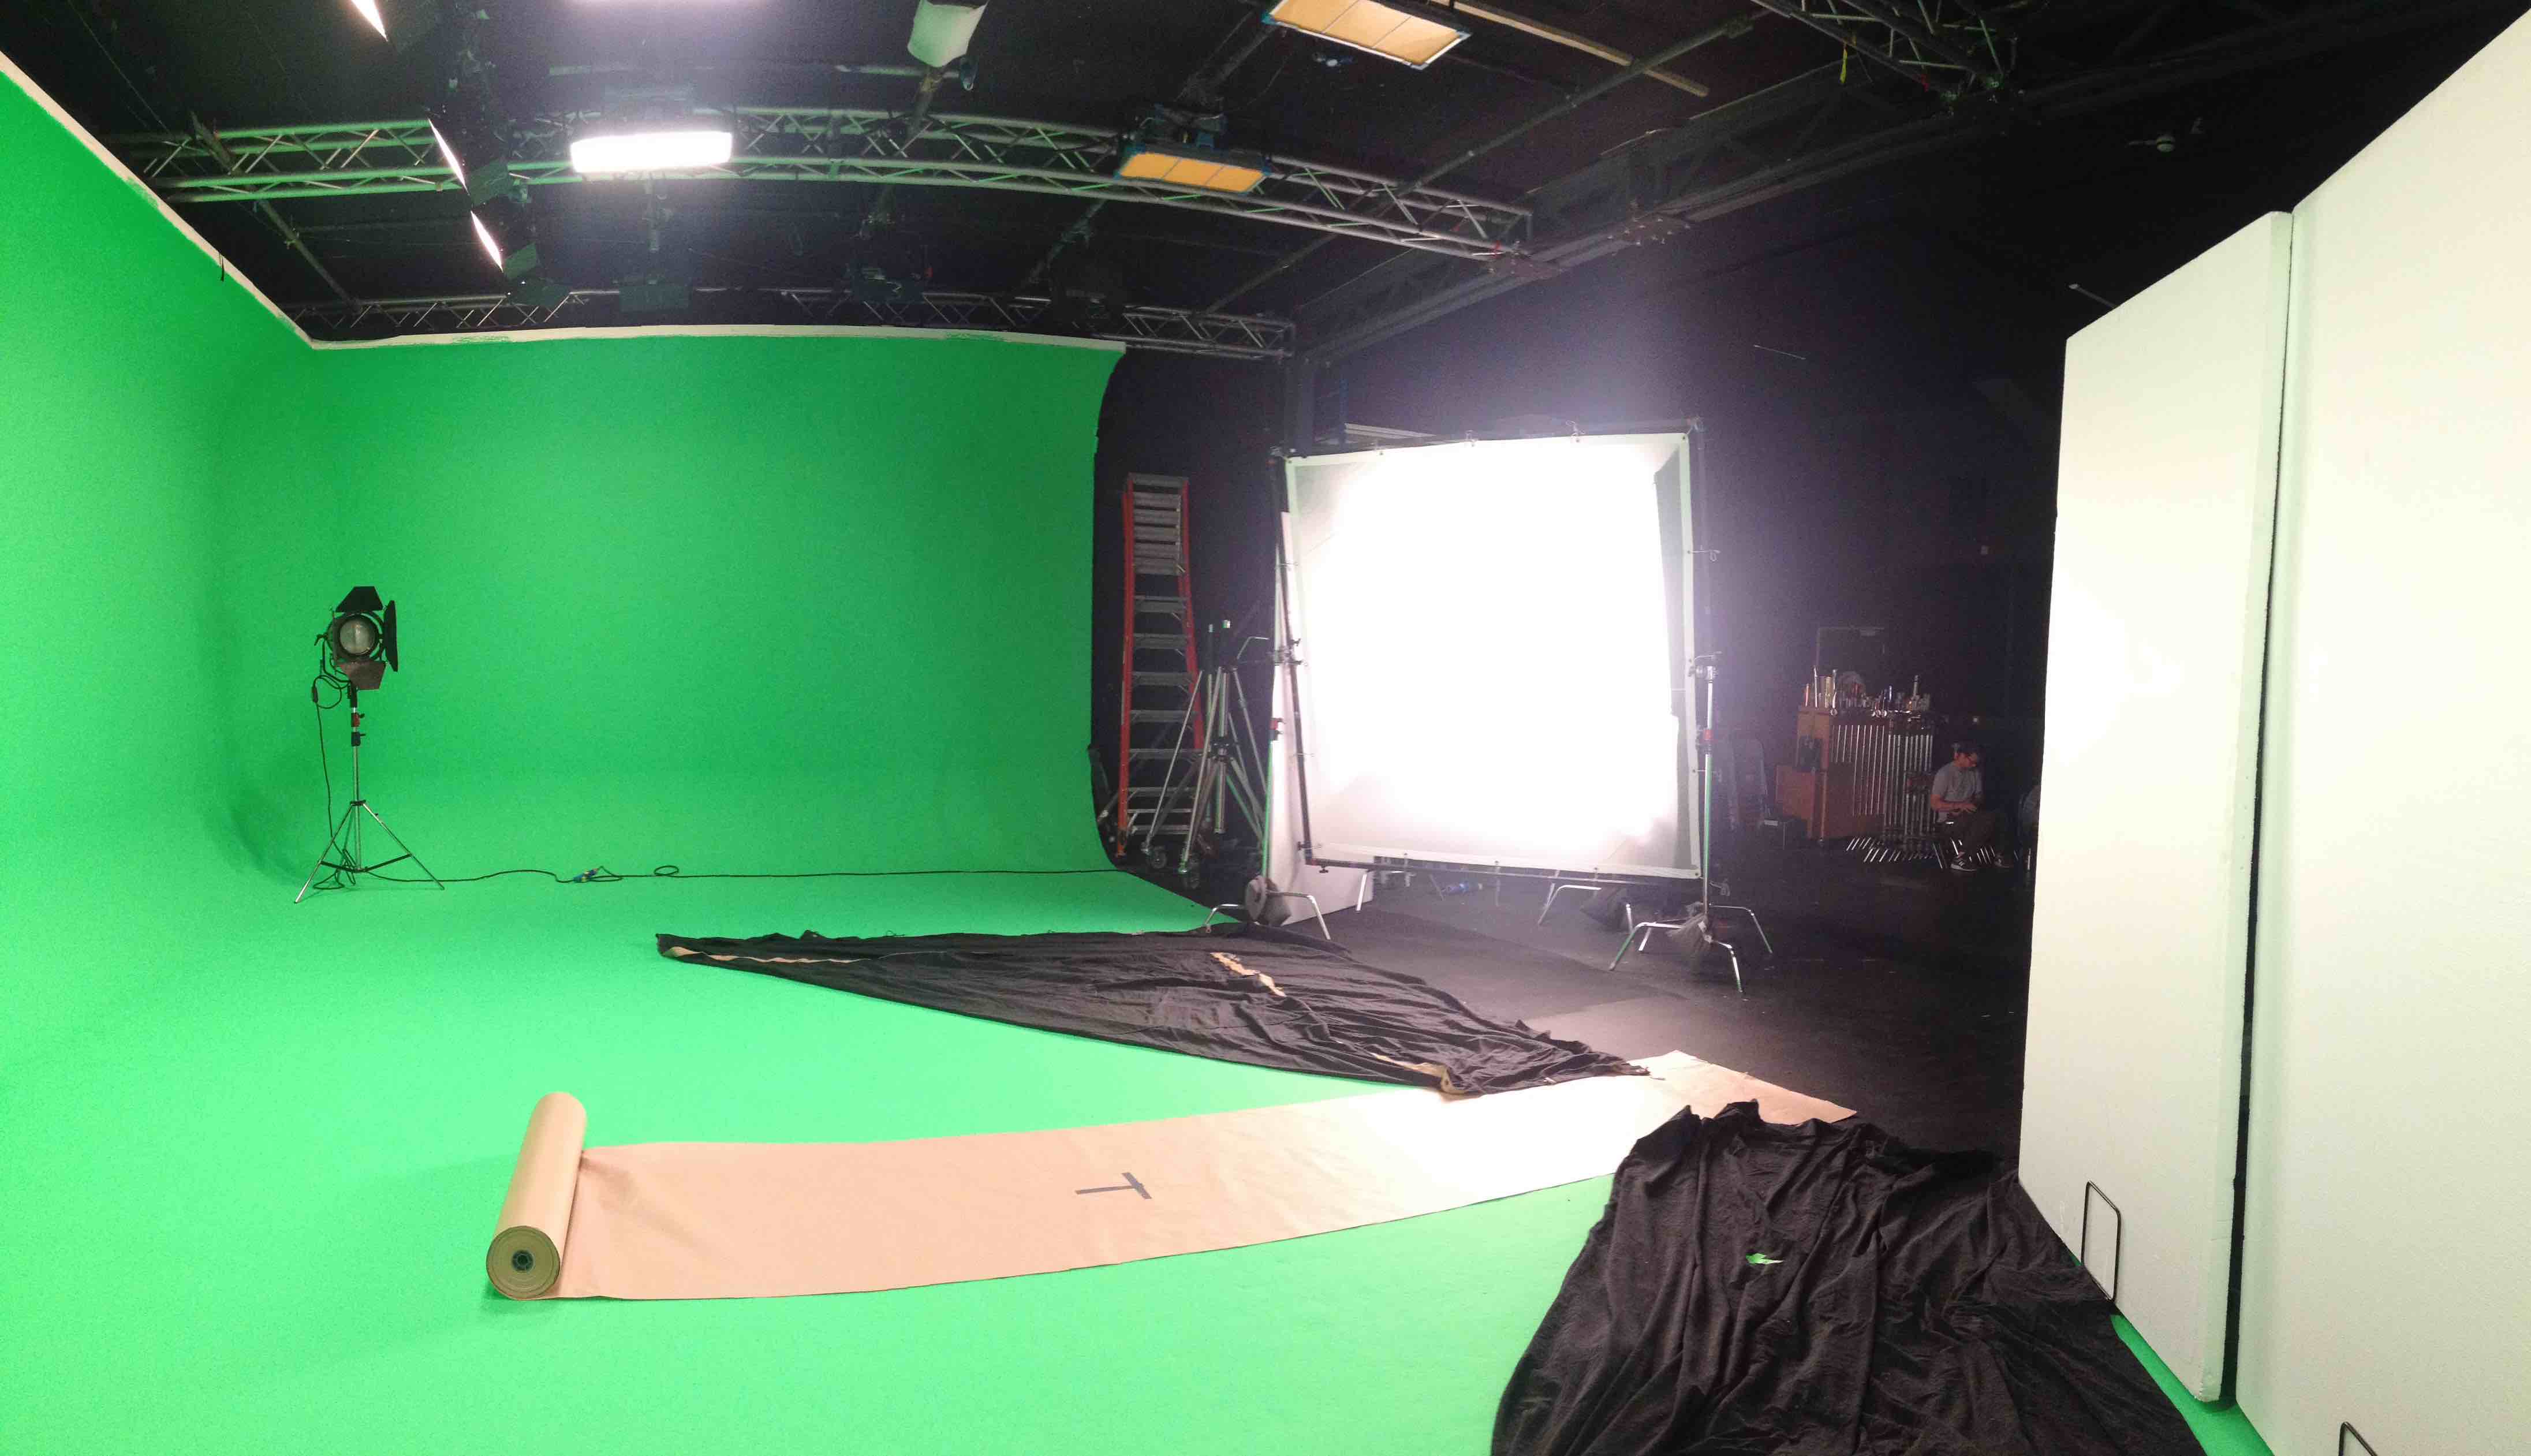
The picture below is a different studio, with a smaller space and smaller array of lights. I put this in here to show how a more simple studio set up. There are just two redheads (800w) with Chimeras for soften and spread the light and then a 600W for a back light. The walls of the studio are lit with kino flows. Incidentally, both of the 800w were on dimmers, one was on full and the other pretty low, just to add some fill.
Below is a shot of a studio I used in London which used space lights for the wall and the floor, theses also did a great job and the spread was just as even and controlable as kino flows. Space lights are tungsten only and are now more and more being replace by Arri panels that are LED and can have any colour you need dialled in. The results you get with these lights are still great for green screen (they just make the studio a bit warmer - well a lot warmer).
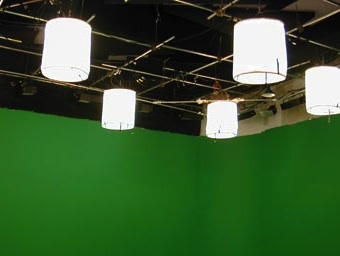
This is a low quality photo from my phone, but you get the idea. This is a rehearsal and the full green screen is still being constructed. Above there are three space lights that given an even light down walls, there are a couple of defused 650s for back lights and a couple of 1ks behind large diffusion screens. Again, the 1ks would normally create very hard shadows but bringing them far back and shining them through a large screen makes a softer light.
The above images are all from studios, that had their own lighting set up for the green screen. What if we are not in a studio? The principals are the same, we just need to choose some lights. Typically, you'll want to be mobile, so taking a truck full of 5k and 10k fresnals etc might not be practical, instead here are some lights you can chuck in the back of a van or take on a plane.
Types of lights for a green screen shoot.
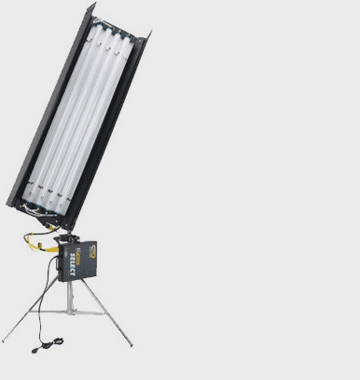
For the green screen itself you want a soft even light. I often choose to go with two kino flos at either side for this. It depends on how big your screen is, but 2 x 4ft 4 bank kino flos will be easily enough to cover a 12ft by 10ft screen, giving you a screen big enough for a head to toe shot of you subject. If your screen isn't as big as this, kino flo do a smaller 2ft version.
You can also use something smaller like a kino flo diva light, or you can use LED panels. I have used the Kino Celeb which is an LED panel (similar in size to the kino Diva light), and it worked well. The main thing is for the light to be soft. If you tried to this with more conventional lights (say 800w Arri lights) you would need plenty of diffusion to soften the light.
The reason I choose to shoot with Kino flo lights for greenscreen jobs outside of studios, is that you can get them really close to the screen and the still have a soft even light. If you are on location, often you have nowhere near the same amount of space as you'd get in a studio. You can get a soft even spread with a 800w, 2k, 5k 10k etc, but you need more space as you have to shoot through something to soften the light. 
When you are working in a really confined space, you are going to need a smaller soft light for the subject. I find the Diva 400 is a great light for this, it has an egg create over the bulbs that helps direct the light and avoids spill on to the background. I usually use this as a key and then fill with another kino or LED panel. For the back light a 650, or a dedo light will do, I use loads of diffusion on these to soften it up as much as possible.
I have also worked in studios where kinos are mounted on the ceiling, allowing you to use them as a backlight, and others that can be used to light the screen from above. These can be adjusted so they will do most of the work for you, and you just need to add key and fill.
If you are using traditional tungsten lights: fresnals, redheads or whatever, just soften them up as much as possible. Chimeras, softboxes and diffusion will all help cut down shadows. Larger diffused light sources from further away will generally create softer shadows.
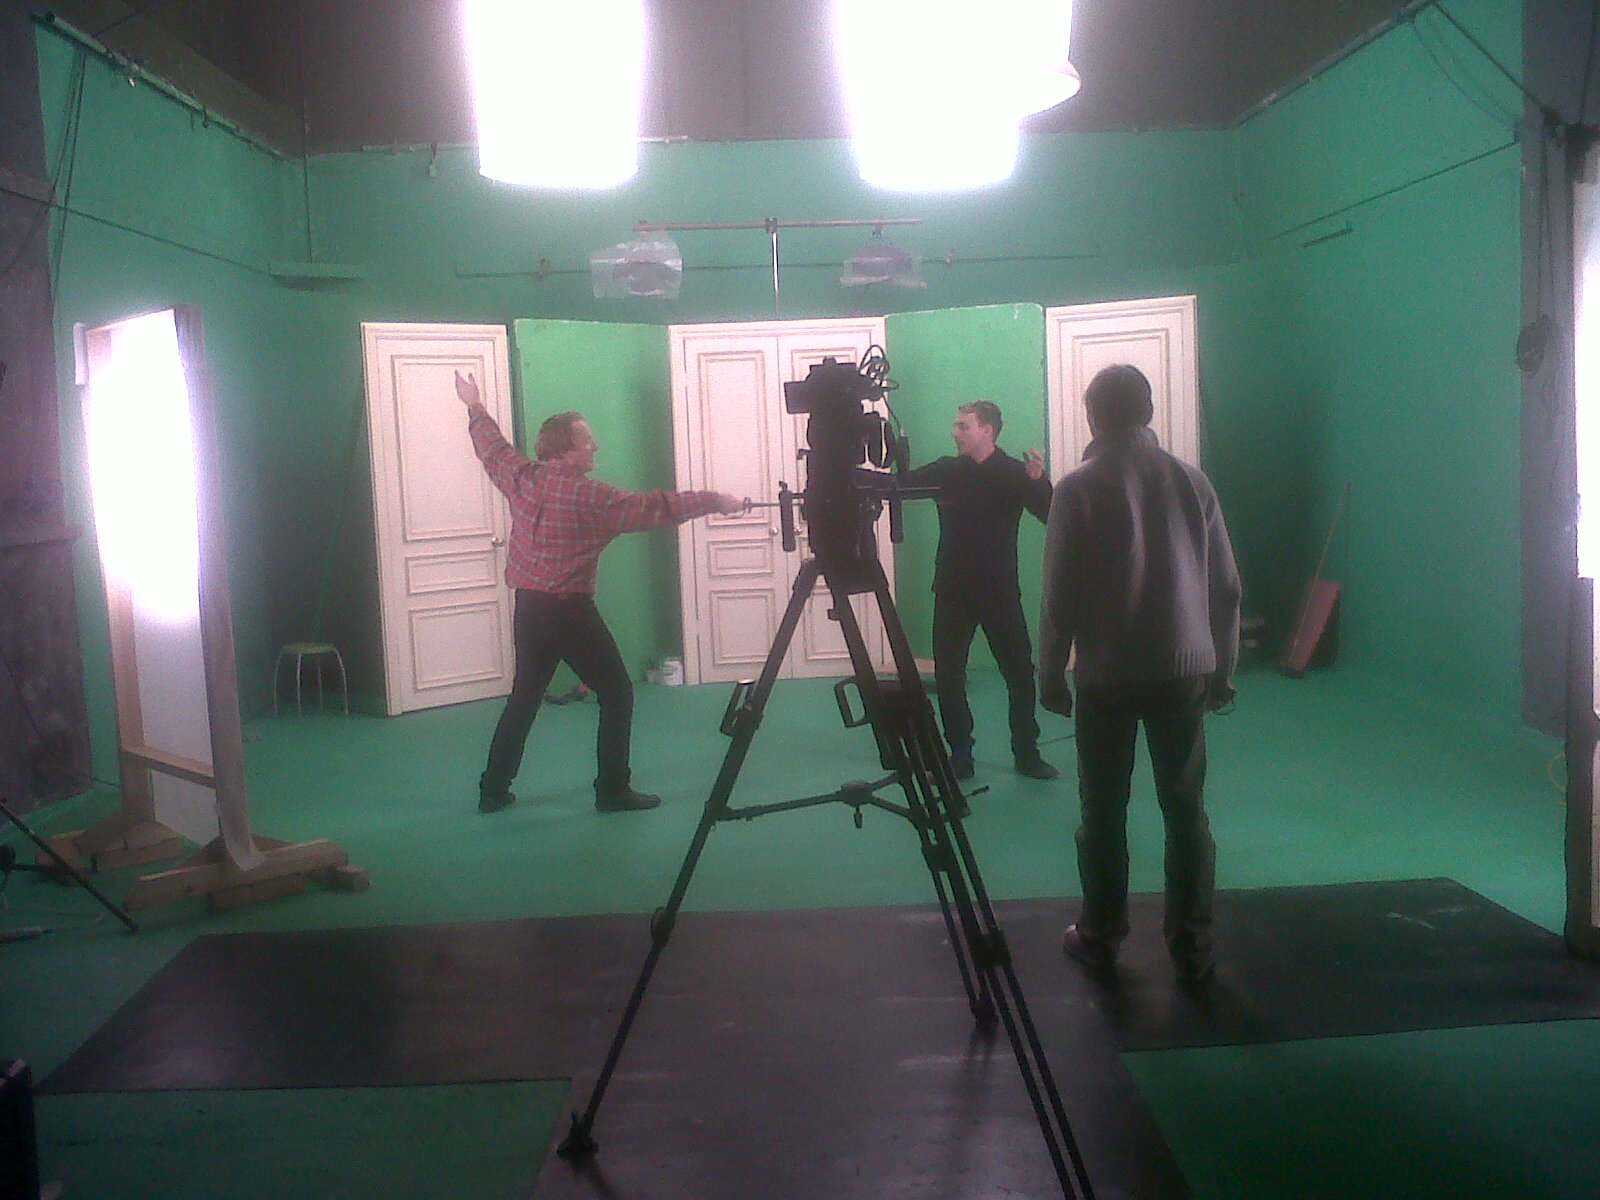
Another awful (very old) photo from my phone, and the house lights are on to further confuse things, however, it shows the basic set up. The 4ft 4 bank kinos are either side of the screen there is a back light from a red head high up at the corner of the green screen, and a couple of LED panels for the subject.
Chroma Key Green Screens themselves are pretty inexpensive and you can pick up the background drapes for around 20 pounds, or 50 dollars in the USA
For the background support there are lots of options. You can use a couple of light stands, if you have them spare, attach k clamps, and then clamp on a boom pole between the poles. Another option is to buy a kit: Background Support System
The ideal set up for this is really a couple of C stands and an extendable arm for the top. This set up is heavy enough so it doesn't easily get knocked over (especially if you use sand bags) but is light enough to chuck in a van and travel around with.
Finally, if you haven't already seen them, here are two videos showing the use of green screen in multitude of films.
{youtube}http://www.youtube.com/watch?v=clnozSXyF4k{/youtube}
{youtube}http://www.youtube.com/watch?v=WhN1STep_zk{/youtube}
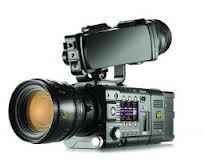
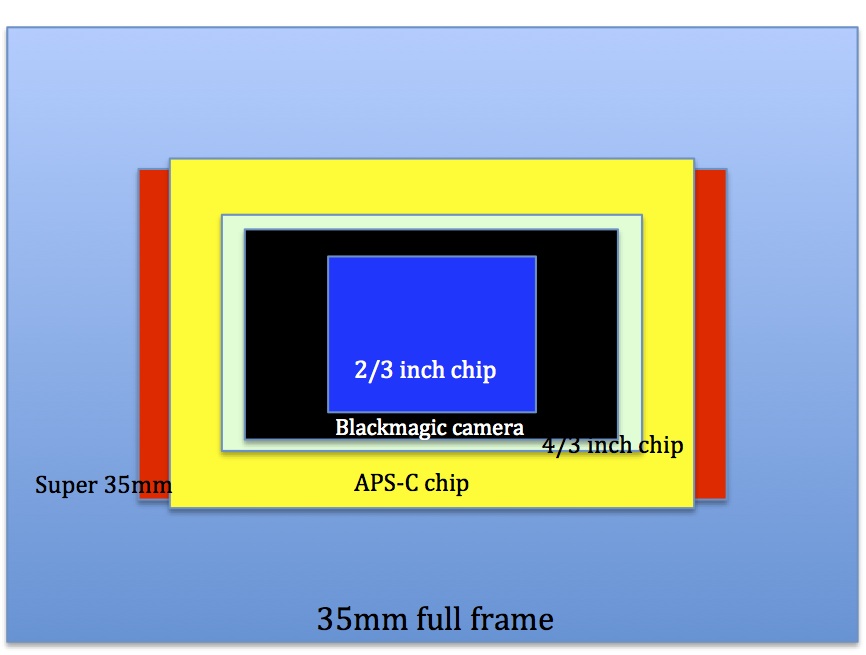
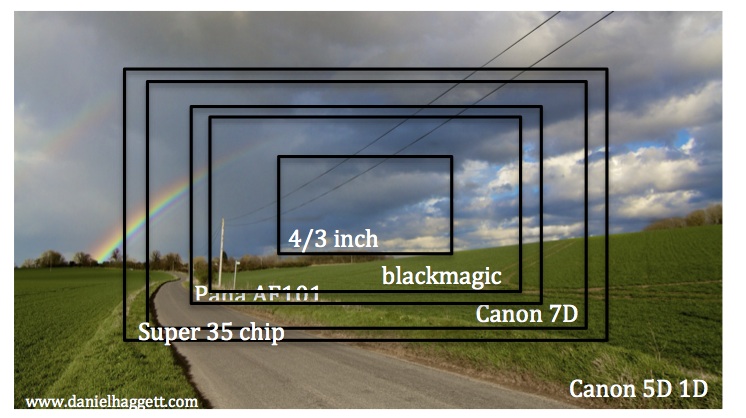
So many of us now shoot on Super 35mm sensor cameras whether that is a DSLR or a Canon C300 C500, Sony F5 or F55 whichever camera you work with you are likely to need a mid range zoom, so which is the best one out there?
Much as I'd like to shoot with prime lenses all of the time, it just isn't practicle for what I do, for most of the programmes I work on I need a zoom.
Whether you are shooting on a super 35 sensor camera such as the Canon C300, Sony F3, F5 etc or a DSLR, at some point you are likely to need a decent mid range zoom. In an ideal world I would like something that is around 20 - 80 mm, that is rugged and well built, that has a good image quality (decent contrast, little distortion etc) that is as fast as possible (somewhere around 2.8) which is the same aperture throughout the range, that ideally has manual aperture and has a common size barrel, so I can easily screw on a protective uv filter. This sounds like a lot of demands, but having a good mid range zoom means that you will use it alot, maybe as much as 80 percent of your shooting time on a documentary, and therefore it must be as decent quality as possible.
There are several lenses which provide all of requirements above, but they are mostly very expensive. Here is a brief run down of them, with aproximate costs. (These cost are a guide only, as prices tend to vary when you are spending this kind of money on a lens)
| Zoom Lens |
Length mm |
Max aperture |
Manual iris |
UK Price |
US Price |
| Fujinon Cabrio |
19-90 |
2.9 |
yes |
30k |
38k |
| Angenieux optimo |
28-76 |
2.6 |
yes |
30k +
|
40k+
|
| Canon 4K |
14.5-60 |
2.6 |
yes |
30k+ |
42,750 |
| Angenieux optimo dp |
30-80 |
2.8 |
yes |
14k |
20,499 |
| Ziess compact zoom |
28-80 |
2.8 |
yes |
16k
|
19,900
|
| Alura Zoom |
30-80 |
2.8 |
yes |
14k
|
26,000
|
| Red Zoom |
18-85 |
2.9 |
yes |
7k
|
9,997
|
| Canon cine servo |
17-120 |
2.9-3.9 |
yes
|
?
|
31k?
|
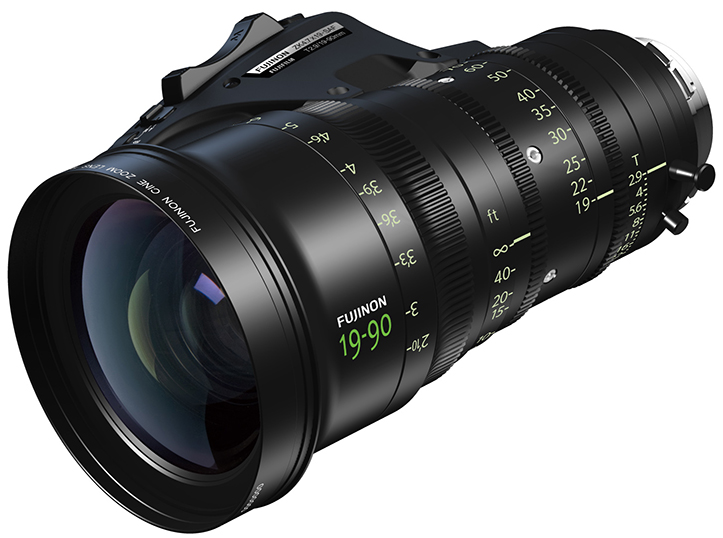 At the top end Angeieux, Canon and Fujnon are all making great lenses around the 30k mark, for my budget this is too high, especially to go on my Canon C300, which itself only cost 12k. I have used the Fujinon Cabrio and the Angenieux optimo and thought they were great to work with in terms of ease. At the lower end of the scale here the Alura and Red Zoom could well be worth a look. The Red zoom weighs over 4kg though, so it may be a touch on the heavy side for most small cameras. Most of these lenses are PL mount, but would easily work on an EOS mount with an adapter.
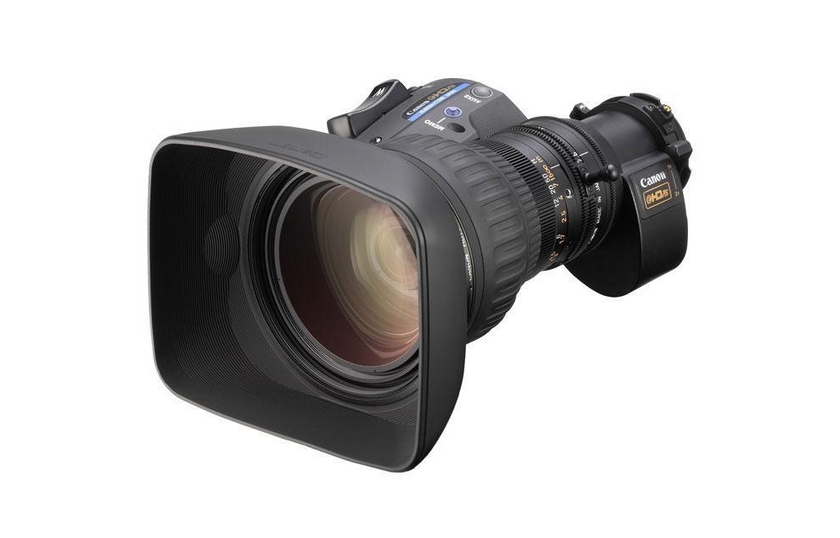
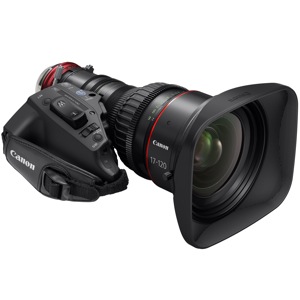 Update: New to the market, showing at NAB 2014 is the Canon Cine Servo CN7x17 KAS S 17-120mm. With this lens Canon seem to have but there years of making ENG style servo zooms to good use and created the Cine Zervo, an ENG lens that works for a Super 35 size sensor. This means anyone shooting on a C300/500 Arri Amira, Sony F5 F55 can attach this lens for a more tradtional on the shoulder ENG shoot. The lens can be used for PL or EF mount cameras, and interestingly the lens information (zoom, iris, auto iris etc ) is transmitted to either types of camera. The EF camera bodies receive lens support through the lens contact point and the PL cameras through the 12 pin cable. EF cameras would need to use a dtap to 12 pin if power is needed for the servo. The advantages of this lens are pretty obvious, the range is much bigger than most cine zooms. For applications when you absolutely must have a zoom, run and gun, observational documentaries etc, this lens would be a real winner. I could see if working really well on the F5 F 55, but I am not sure about the C300, c500, it looks it would probably need some lens support especially on the EF body. As yet prices have not been announced, but Abel Cine have a price of 31k.
 The next option, and a much cheaper one, is too look at stills lenses. Stills lenses are obviously not designed for video and therefore have lots of flaws: iris are often not constant through the range, there is often no manual control for the iris, the focus throw can be very small, the general build quality is no where near as solid as the zooms above. The focus often doesn't have hard stops so spins round indefinitely, making repeat focus marks dificult.
Many of these issues are not there when it comes to older stills lenses. As a general rule, these tend to be built with more solid metal housings, they have larger focus throws as many of them are purely designed for manual focus, they have manual aperture rings (which can be declicked to give you a smooth iris control). The focus ring usually has a hard stop, meaning it doesn't spin around indefinitely and therefore lose any focus marks you may have.
Before going out and buying an old stills lens and modifying it for video use, it is worth noting that some of these lenses have been produced over several decades. An earlier version of a lens might be built in a certain country with certain materials, but both of these things might change over time, which can cause a shift in the quality of the lens. An early version of a lens that might be great for cine modification and a later version of the same model might not be as good, or may not even work at all on modern cameras. Another issue with older lenses is that they tend to be less fast and have less zoom range than their modern equivalents. So using a stills lens is going to be about compromise.
Below is a list comparing a range of modern and old vintage zoom stills lenses.
| Zoom Lens |
Length |
Max Aperture |
Manual Iris |
Solid build |
Price |
| Canon L |
24-70 |
2.8 |
No |
No |
1.4k |
| Canon L |
24-105 |
4 |
No |
No |
800 |
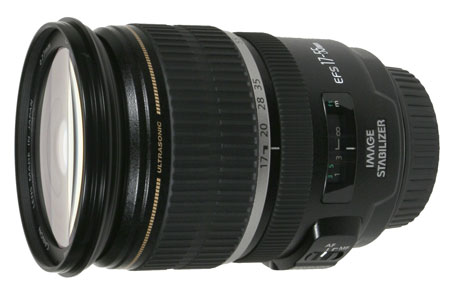
| Canon efs |
17-55 |
2.8 |
No |
No |
600 |
|
Leica R
|
35-70 |
4 |
Yes |
Yes |
400 aprox |
| Leica R |
28-70 |
3.5-4.5 |
Yes |
Yes |
450 aprox |
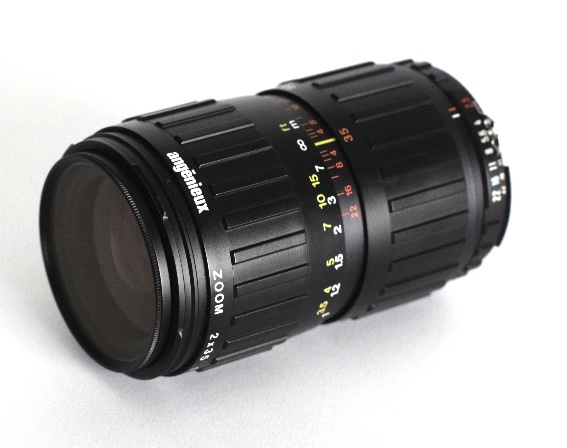
| Angenieux |
35-70 |
2.5-3.3 |
Yes |
No |
700 aprox |
|
Angenieux
|
28-70 |
2.6 |
Yes |
No |
700 aprox |
|
Tokina
|
28-70 |
2.8 |
Yes |
No |
800 aprox
|
| Nikon |
17-35 |
2.8 |
Yes |
No |
650 aprox |
| Nikon |
28-70 |
2.8 |
Yes |
No |
1k apox |
 There are obviously plenty of other vintage lenses that could be used here, but I have only listed lenses that come fairly close to reaching my requirements above. Many old lenses are simply too slow to be considered in my opinion. If you are going to the trouble of shooting on a large frame camera, you are obviously looking for a decent shallow depth of field, and if you can only open up your lens to 5.6f, it sort of defeats the point.
The Canon L series 24-70, is an absolute work horse for any jobing photographer so there are huge numbers of these lenses about. They are obviously sharp and have decent optics. The only issue with these is they are not image stabilized as some modern lenses are, and the focus throw is very small (as on most modern lenses). The Canon EFS 17-55 has these same issues, and it feels slightly cheap and plasticy, that said I have been using one for 3 years in all conditions and mine is still working well. If your main requirement is range, then the Canon L series 24-105 has to be looked at. It is image stabilized, which is useful for video, and as with a L series lenses from Canon it is rugged and weather sealed. The only issue I have with this lens is the speed 4f. It just doesn't feel that exciting to me when I use it. The Leica R 35-70 is also only 4f, but there is something a bit more interesting about the look a feel of this older lens. I was using the Canon 24-105 only a few days ago, yes it did a good job, but I just can't bring myself to buy one.
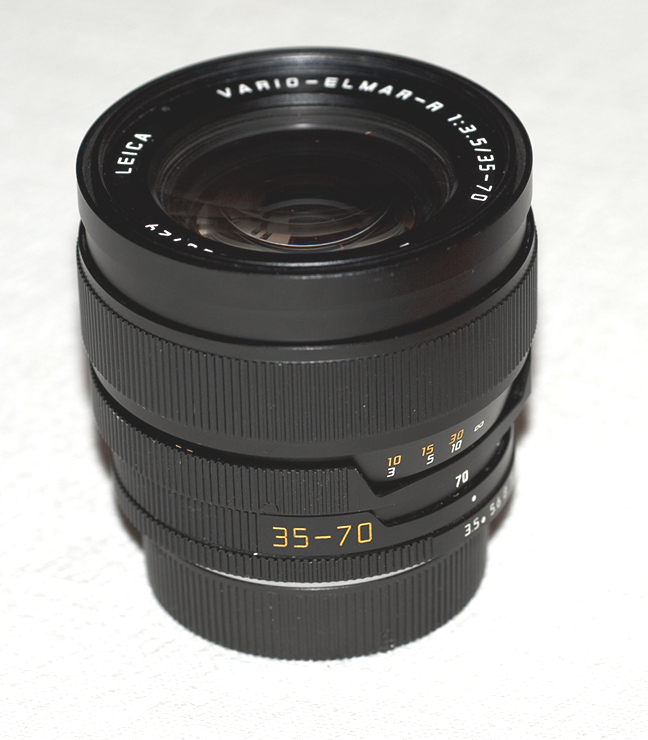 Leica R lenses are well respected by many photographers and even some cinamatographers. These things are built to last and feel solid - all metal housings unlike today's lenses. The focus throw is much larger, making pulling focus easier. These lenses can be de-clicked to give you a smooth iris change. There are also several brands making adapters out there (leitax is usually recommended). the same can be said for Angenieux who produce great lenses for film and digital video. There 28-70 feels pretty solid, but I have heard that it is not a good idea to use it in the rain (unlike Canon's 28-70, which seems capable of taking a battering). One thing to look out for with Angenieux and Tokina is that they made lenses with a variety of cameras in mind. The versions designed for Nikon cameras will obviously focus in the same direction as Nikon lenses. This is a pretty big issue for me, as I am so used to rotating in a certain direction to find focus and I would prefer to always use lenses that focus in the traditional way.
As you can see, whatever you choose (unless you have 30k to spend on an Angenieux optimo) there is always going to be a compromise. You can have fast 2.8 lenses that have a decent range, or you can opt for a slower lens that has iris control and possibly a more interesting look. The slightly softer creamier look of a Leica could be a bit more apealing that the Canon glass that everyone else is using, however, you won't have the small depth of field of the modern lens and you won't have the range. The best thing here is to decide which factors are most important to you and most useful for the work you do. The one factor that makes the decision easier is that lenses hold their value incredibly well. You can always buy somthing, use it on a few jobs, and if you feel it isn't what you want, put it back on ebay and you'll probably get what you paid for it.
For more lens information, check out my equipment page.

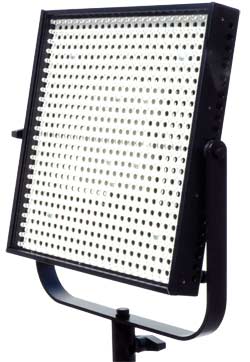 LED technology has come along way in the past few years and LED lights are becoming increasingly common in the film and TV industry. At the top end of the price scale there are brands like Litepanel that sell 1x1 variable light panels for 2,700 USD or 2,300 UKP. This is for a panel that can be easily dimmed, runs off mains or V lock battery and has a variable colour from tungsten to daylight. Dedolight who are a very reliable brand, make a similar panel: the Tecpro Feloni, but almost three times less expensive (810 UKP) and when you include Chinese manufacturers these prices drop even further...a lot further. So the question is: how low should you go? Can you buy cheap LED panels and still get high quality colour for TV and video work?
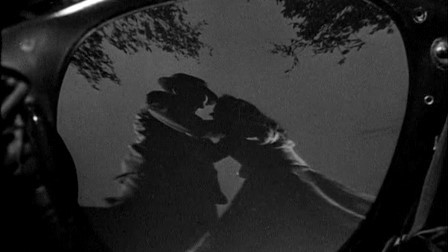
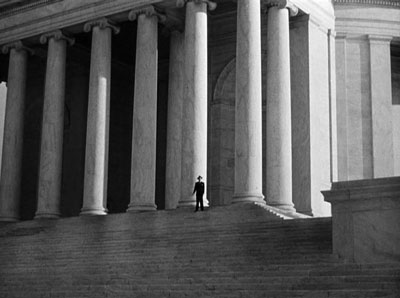 In this shot Guy is pulling up in a car, he looks out of the window to see the menacing figure of Bruno looking down at him from the steps of the Jefferson Memorial. Bruno is so small is screen you can't even see his face, but you know it is him.
 Price: around 4,000 USD or 3,500 UKP per lens
 Price: around 5,000 USD or 3,500 UKP per lens
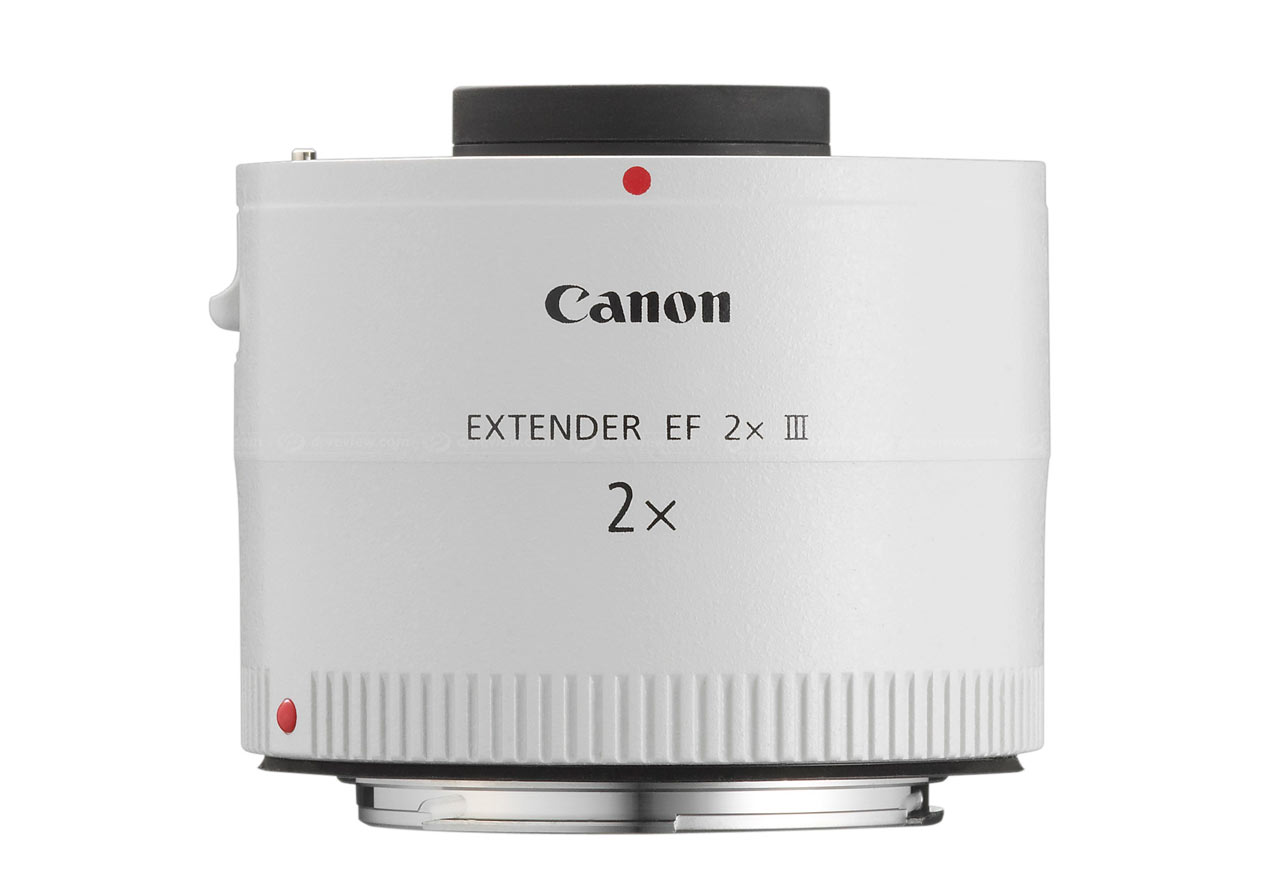
 Price: 50mm (aprox 500-600 USD, 400 UKP) Rough prices on Ebay.
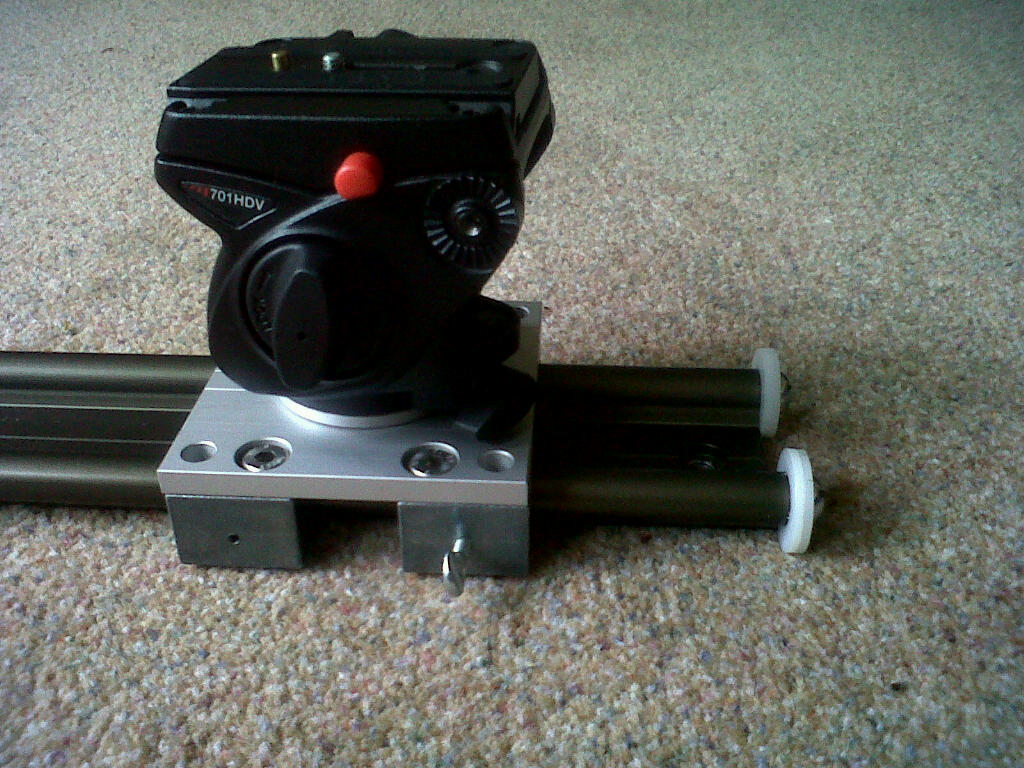


 wheel. This is much smoother than the previous version. With the normal version the carriage generally works well when the camera is pointing horizontally, but as soon as it is aimed up or down, it puts stress on one side of the rail causing the slide to be jerky. With the new version you can point the camera where you like and the slide is much much smoother. The fact that all the bearings are housed in a solid steel box also helps out greatly. You can now pack this slider away, throw it onto an aeroplane, get out the other side and the slider will still work. These are more expensive at 420 UK pounds for the 1 meter version, but well worth the extra in my opinion.
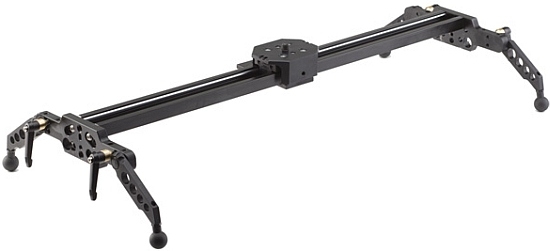 Cinevate make all kinds of interesting gear for DSLRs to full size cameras. Their Atlas 10 camera slider is really sturdy piece of gear. This is their smallest and lightest slider, but it still has some considerable heft to it, and according to them it can carry up to 18kg in weight. With the Glidetrack Hybrid above, the motion is so smooth that it is easy to over push the carriage, so it requires a really delicate touch, whereas the Cinevate Atlas has more drag on it, when you stop pushing the carriage it stops dead. I know some cameramen prefer the Cinevate for this reason, but it is a personal thing, for me I actually like the feel of both. If you travel a lot and are concerned with weight, the Cinevate is definitely heavier than the equivalent model from glidetrack, this probably helps with durability, but could be a pain with regards to excess luggage charges. The Cinevate Atalas 10 sells for 650 in the UK including tax. They are a Canadian company so are generally cheaper in the US and Canada, (680 in Canada and 580 US dollars in the US).
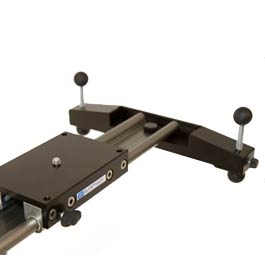
 Eric Kessler is someone who has been really visible in the development of slider technology, if there is ever a band of cameramen heading out into the desert to record some crazy timelapse project, you can pretty much guarantee Eric Kessler is behind it. It is probably for this reason that the Kessler slider is pretty well attuned to what cameramen want. The carriages of these slide smoothly, I tend to use them manually like you normally would, just pushing the carriage along the rail, although there is handle that can be turned to move the carriage along. This is a useful feature if you need to do really slow moves. Another good point about these sliders is the tension screw, this allows you to add or take away drag from the carriage. I find this useful when you are changing lenses as heavier lenses require different amounts of drag. Kessler is a US company, so works in feet rather than meters. This slider is 3ft, so just a touch under a meter. Kessler also sell a whole load of options for this, for example you can add a high hat onto the carriage if you need to mount a full size tripod head. Obviously all of this good stuff comes at a price. The 3ft Cine slider sells for 1,200 USD (and this is without the feet, which cost an extra 150 USD), Kessler don't have a distributor in the UK so you would need to order it through their website and pay the additional shipping cost and UK tax. This slider weights 4kg or 9lbs, which isn't too bad considering it size.
  Kessler have lots of options that are smaller and more portable than the Cine Slider. Many are fairly short (around half a meter or 26 inches), but the stealth slider is a good option in my opinion as it is still around 1 meter long, but is lighter and more portable than the Cine Slider. It doesn't have the crank handle, but I find a almost never use it anyway. These go for around 800 USD, which isn't bad considering the quality you are getting.
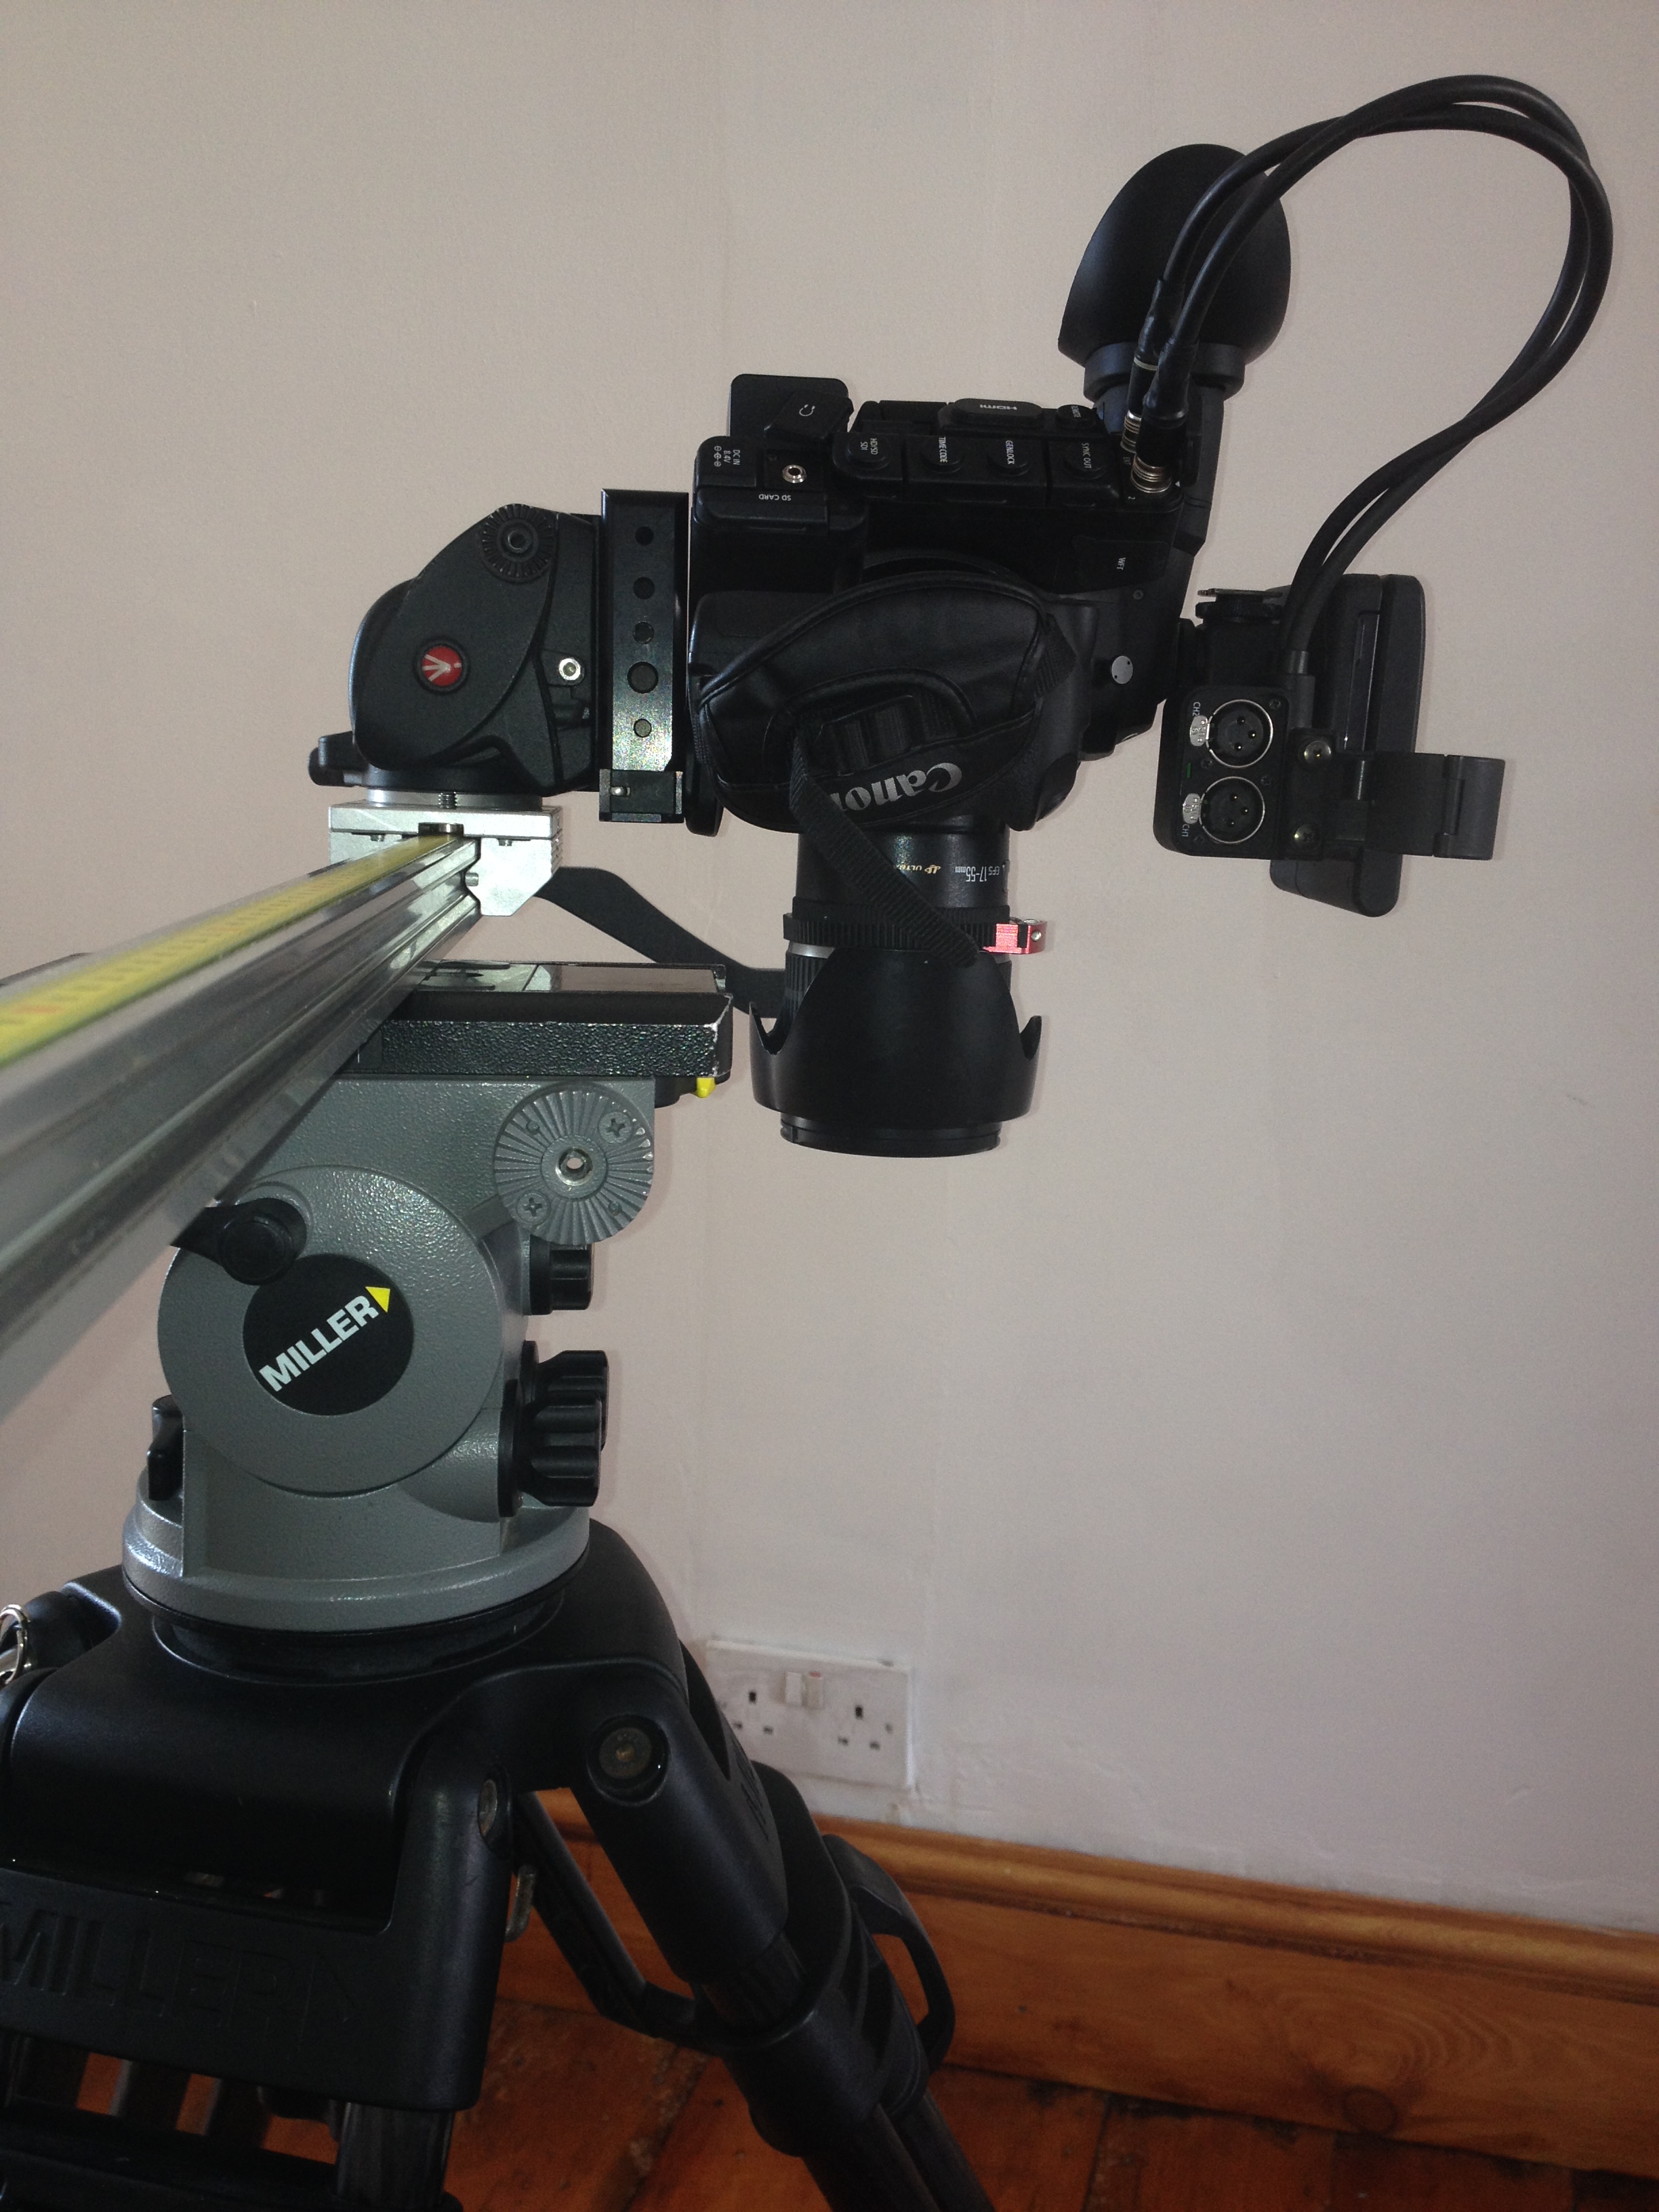 New to the market are a company called Slideshot. When I first took this thing out of the box, I though it would be too small, something aimed purely at the DSLR market. I was wrong about that. Although slide carriage and the bar it sits on are both small, they are
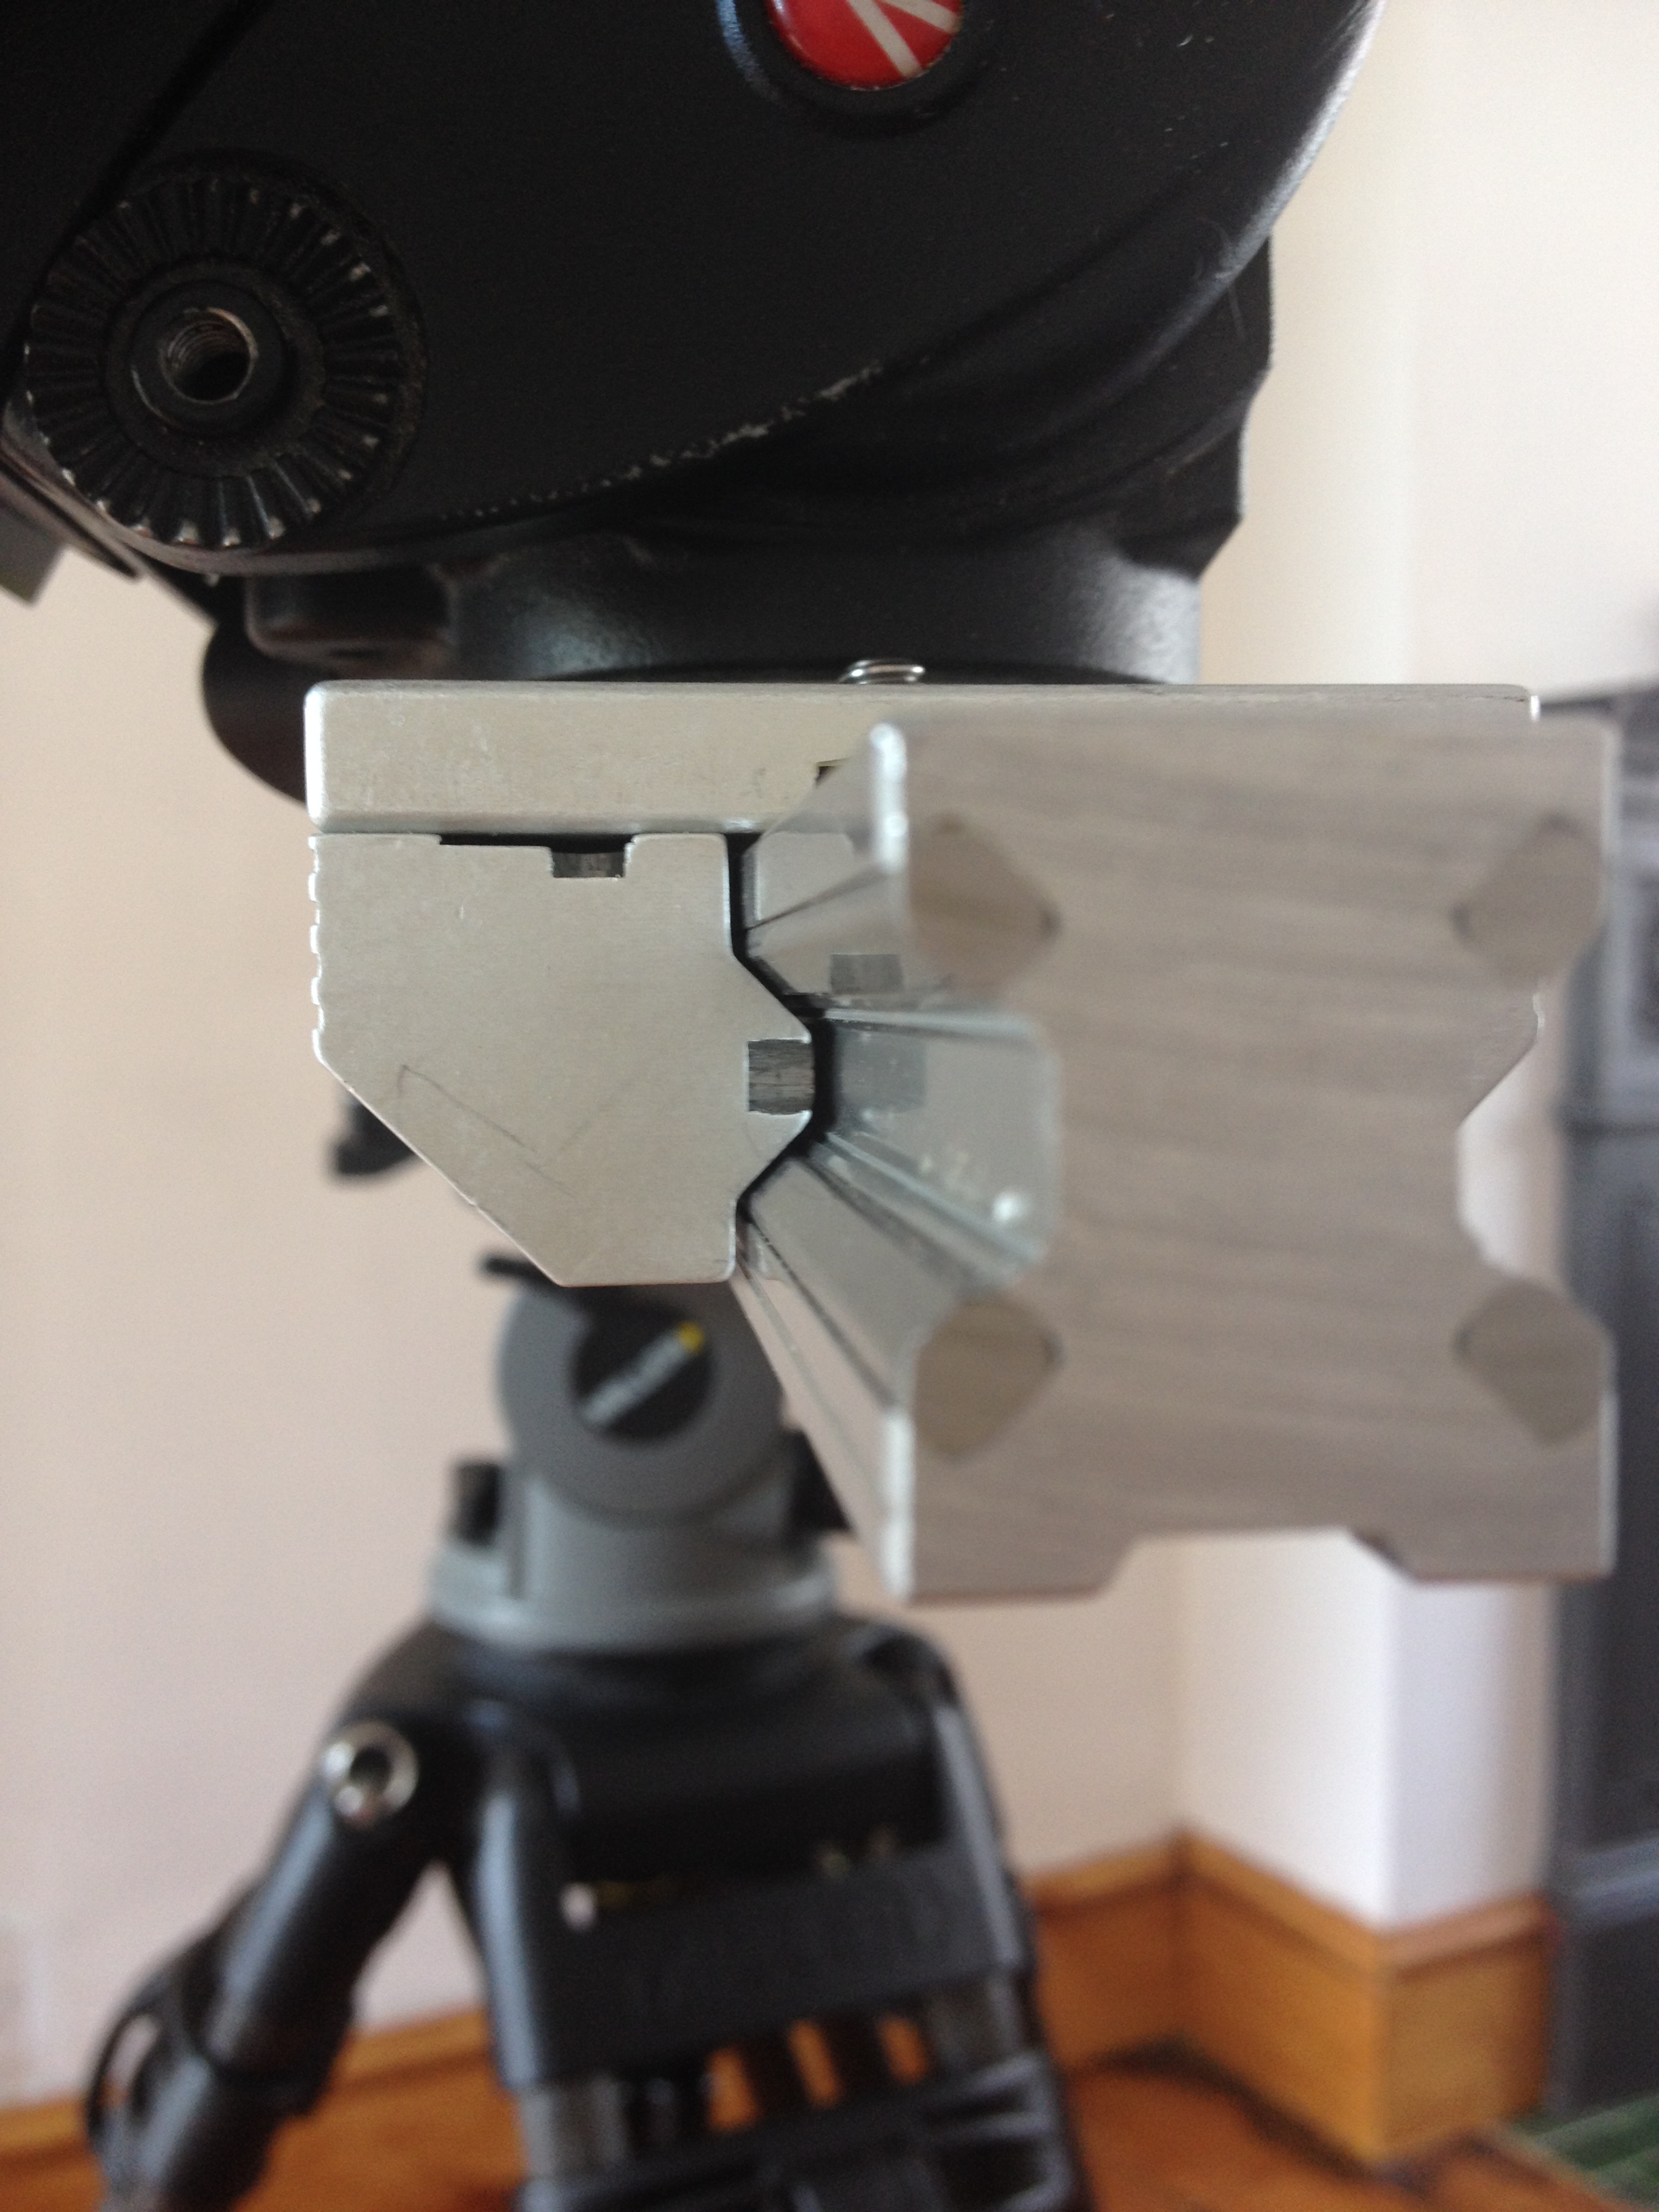
 At the lighter end of the tripod range Manfrotto make several heads for video cameras. The manfrotto 501 head is designed to take a payload of around 2.5kg or 5lbs. If you are shooting on a DSLR with a small lens the head on the Manfrotto will probably do an okay job with smooth pans and tilts. This head does have a good locking system for panning, but not for tilting - to lock this off you have to tighten up the resistance to full. If you decide to start adding to your rig in the future, with a monitor or EVF, a long lens, a shoulder rig or a bigger camera, this head just won't cut it.

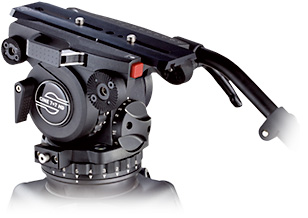
 The next tripod to talk about is Oconnor. Oconnor traditionally make tripods for the film industry although more recently they have made tripods with a slightly lower payload for camera such as the F3, C300, RED Epic etc. In my opinion these tripods are great. There is something incredibly solid about the way these heads operate. A slight problem with the locking mechanisms on the Satchler and Miller tripod is that they are located off centre on the head itself. If you tilt down and then go to lock the camera off at the very end of the move, by pushing the lock leaver, you can easily upset the move by pushing the head down. With Oconnor this just doesn't happen, you come to the end of your move, switch the leaver and it is rock solid. The Oconnor 1030d has a payload of 30 LBS (13.6 kg) and the S version 41 LBS (18.6 kg). Price wise, compared to the payloads of the Satchler the Oconnor is the most expensive of the bunch. For a 1080ds with carbon fiber sticks you are looking at around 7000 pounds in the UK, or just over that figure in dollars in the US.


 Prime lenses always give the best quality for the money: they tend not to breathe much, they are typically very fast and very reasonably priced (with the 50mm usually being the cheapest). For example, for around £350 or $300 you can pick up a Canon EOS 50mm 1.4f or pay a touch more and get a 1.4 Zeiss, which have a better throw and sharper optics. These are excellent lenses, they give you a really shallow depth of field, they are great in low light, however, they have a fixed focal length and you will constantly have to move the camera backwards and forward to frame up each shot.
 forwards, and so a more practical option is a zoom lens. Zoom lenses have a lot of glass in them, which means they tend to be slower i.e they are less good in low light and have a bigger depth of field. The more money you pay for these lenses, the faster they become. If you are going to be doing a lot of run and gun work, and you don't have time to constantly change lenses, the best lens has to be the Canon EOS 24-105mm. This lens has a really big range (over 6x) for a DSLR lens, and most importantly it has a constant aperture. Cheaper lenses tend to have variable aperture - this would be an absolute nightmare for video work, it may work fine for photography, but if you are filming something, the last thing you need is to have to adjust the exposure every time you zoom in or out. The other good point about the 24-105mm is that it is an L series lens, meaning the build quality is good, it is weather sealed and you know you are using something with professional quality optics. Another big advantage of this lens is the image stabilization, which is useful when shooting video. The only downside to this lens is it is relatively slow at f4, but that said cameras are so much better in low light these days that this is less of an issue than in the past.
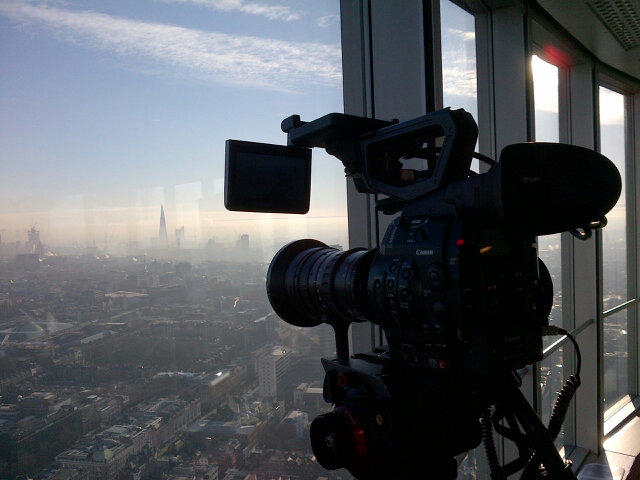


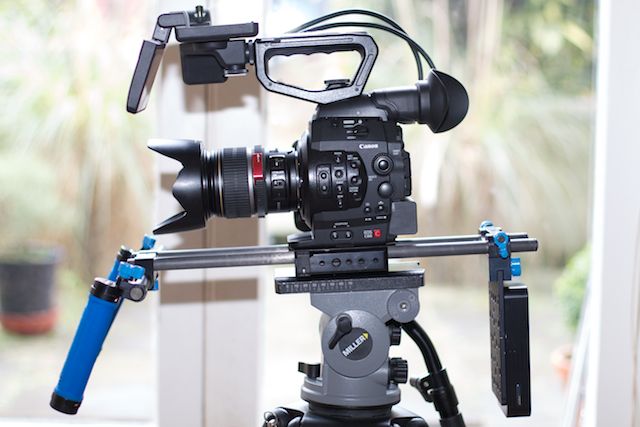
 Another big selling point is the shape, this thing just looks like a decent block that is meant to sit on your shoulder. The C300 is definitely too top heavy and can be a little bit awkward for handheld stuff.
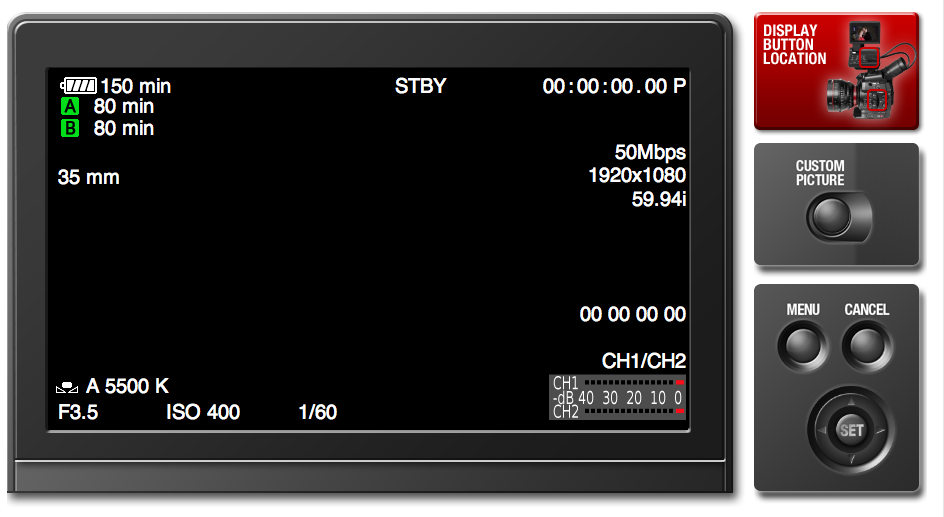
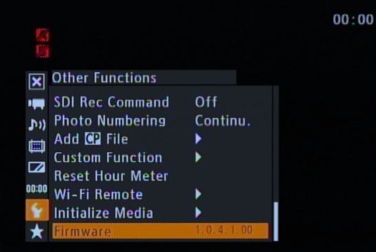
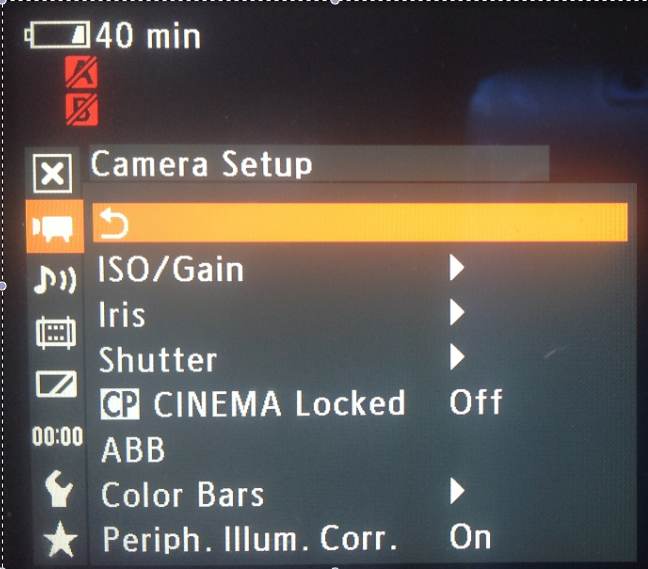
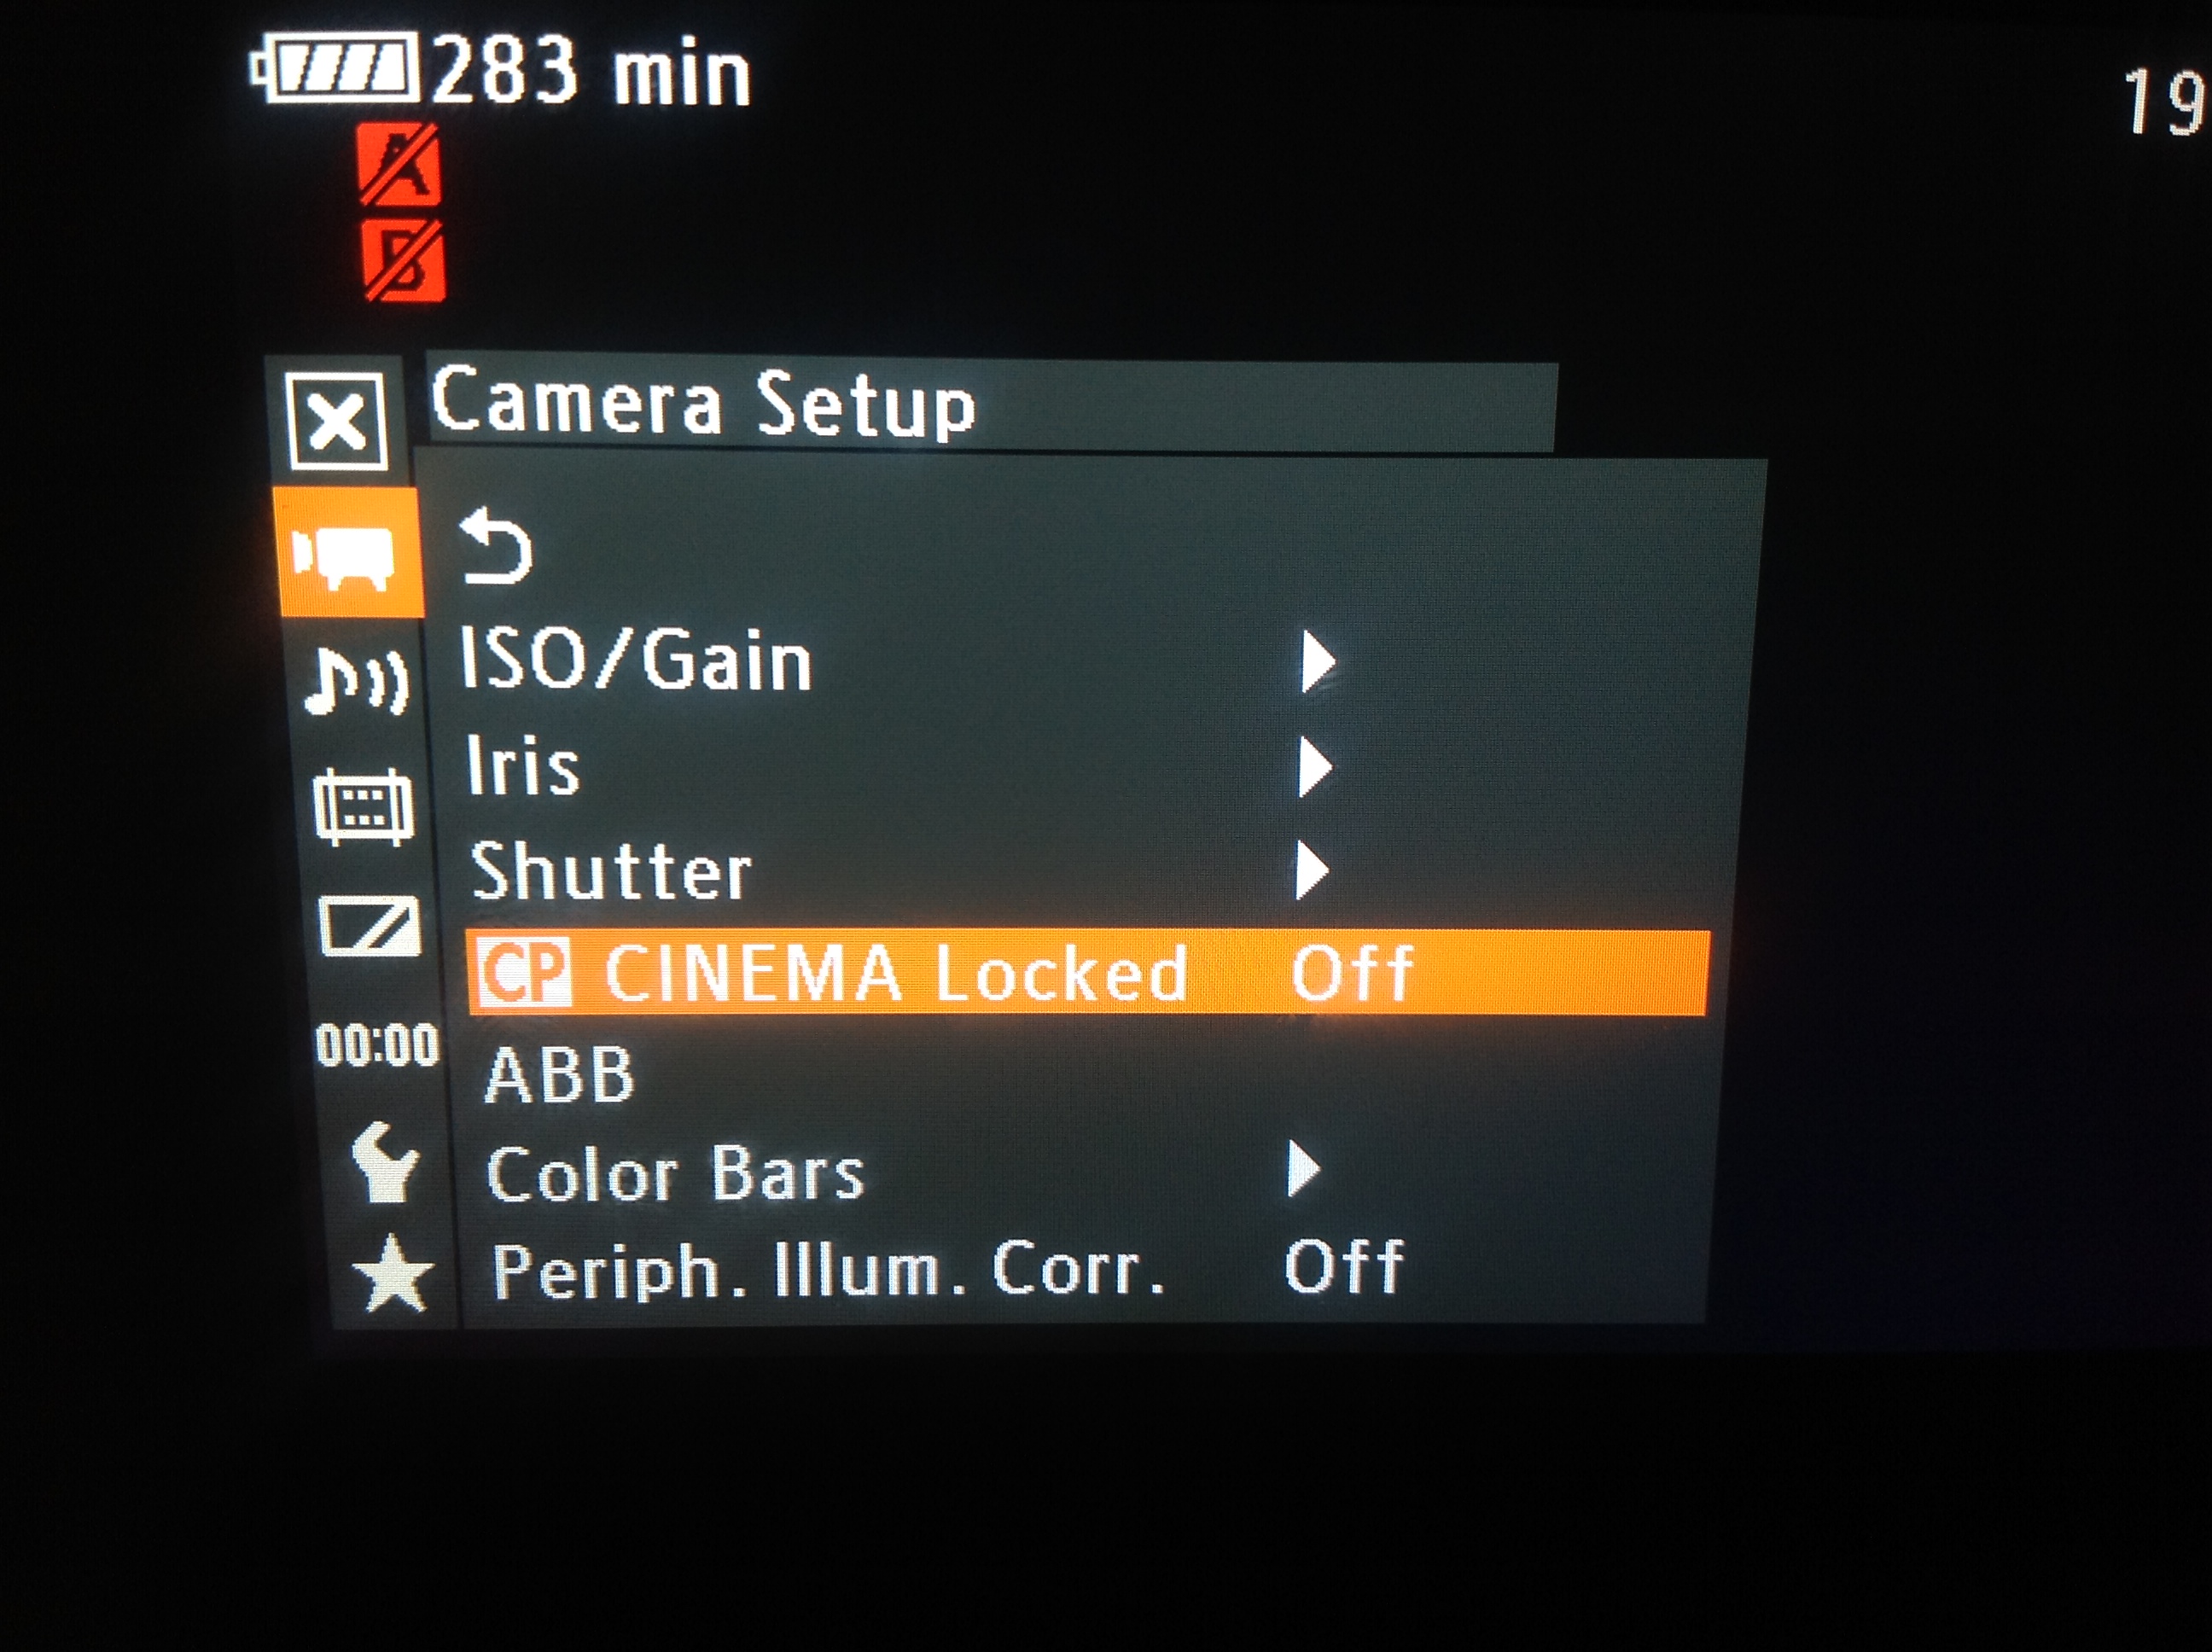 There are two way to access the Cinema / Clog profile: through the picture profile button on the side of the camera, or through the menu system. For the menu route, go to the menu button on the back of the camera, pick the camera icon > CP cinema locked >select ON and SET. (CP locked will appear on the left of the screen.)
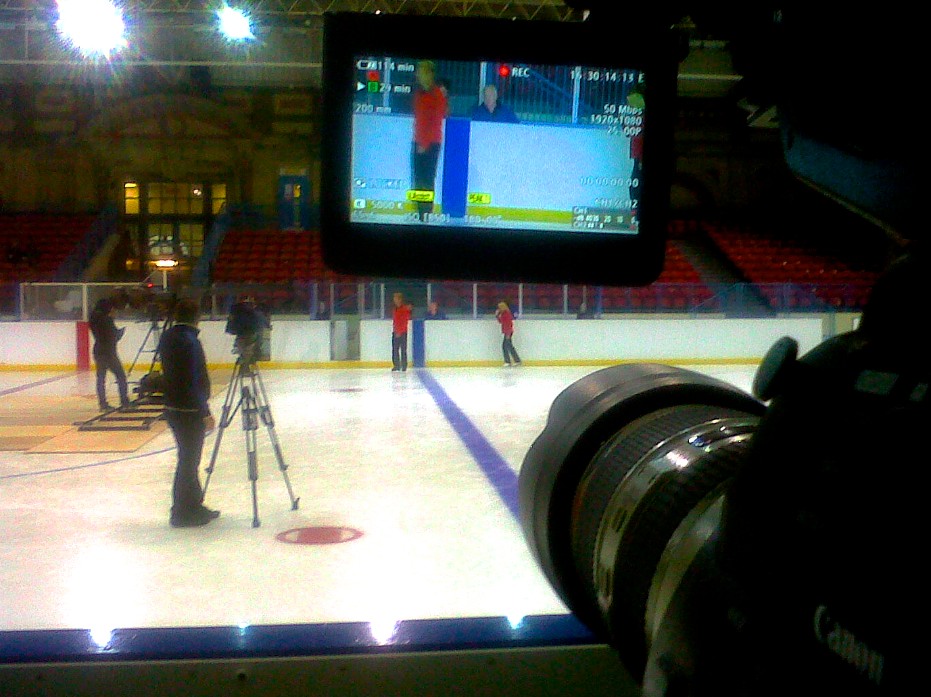 For me the C300 really excels when you can control the situation you are filming. Web commercials, corporate films, traditional style documentaries or low budget films all tend to have a slower pace and the action can be stopped and repeated to ensure you have the shot. When a director from ITV called me and said he wanted to improve the look of the first episode of a new series of Dancing on Ice and liked the C300, I imagined trying to follow focus as a load of untrained celebrities careered around the ice in an uncontrolled fashion, that said, I am always up for a challenge.
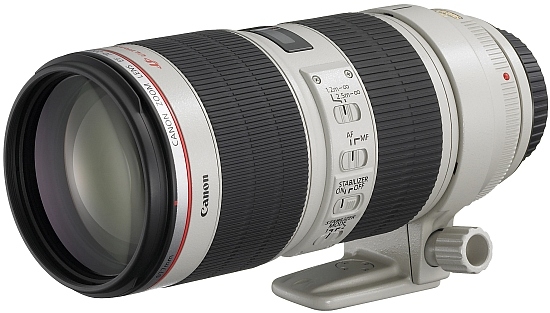