Every cameraman will have to light for green screen at some point, as keying software improves everyone is using it, even those on a low budget.
Lighting for green screen is relatively straight forward, but it worth watching out for a few factors, as getting the lighting wrong on this can obviously cause serious problems in the edit. Certain situations won't show up lighting mistakes as brutally as others, for example, a basic interview setup with no movement will be easier than someone with long blonde hair with some movement. The best practice is learn to light properly and stick to this setup. I'll go through the type of lights that are best for green screen shoots, but first a few basic principals.
Basic principals:
There are loads of different ways and different lighting set ups to effectively shoot green screen, but the principals are the same.
1) Set up you green screen so it is as smooth as possible, stretch it out if need be to get rid of wrinkles, or hang it up high so the weight of the cloth pulls out wrinkles. If you are in a green screen studio with painted walls, look out for any big scuffs or marks on the floor or walls. (most studios will have paint or green tape to patch up little problems) Remember, in order to key successfully in post, the editor only needs to be able to cut around the subject, a black mark in the top corner of the screen probably won't matter, but a mark that intersects with the subject, will cause an issue.
2) Create a soft even light over the green screen (no hot spots, no shadows).
3) Light the green screen a couple of stops below your subject. Blasting the green screen with loads of light isn't a good idea, as you can bounce green light off the screen onto your subject. Lighting the screen too dark will mean that it is easier to cast shadows on the screen. The best situation is a green screen just slightly darker than the light on your subject.
4) Treat your green screen and your subject separately. Once you are happy that you have an evenly lit green screen, light your subject in the same way you normally would. Here you should be using different lights from those used to light the screen.
5) Avoid all shadows. The easiest way to do this is to create some distance between the green screen and the subject. In some cases this may be difficult, for example if you have a small room or a small green screen and the Director needs a full body shot, you will obviously be forced to have the subject near to the screen. In this case you can cut down on shadows by raising your lights and moving them out to the sides, therefore throwing the shadows down at the ground and away to the edges. Remember, all the editor needs is enough distance around the subject to cut him, her or it, out from the background. You can also do this by softening the light; hard light will create strong shadows.
6) Shoot at a wide aperture when possible. Having the screen out of focus helps even out any inconsistencies from wrinkles in the cloth, or marks on the wall.
7) Use a backlight to sharpen the edges between the subject and the green screen. This should be a relatively soft light. You can use minus green gels (magenta) for this if you have them, which will cut down any green light which may have bounced onto the subject. (This is no longer essential as chroma key software has improved greatly over the years, however, if you are having trouble separating the subject from the background, this technique could help).
8) Before you shoot, check the shot (with a stand-in if necessary) If it is an action shot, have them perform the action. Check for light bouncing off the green onto the underside of the subjects arms, legs and face. Check for hotspots or shadows on the green screen. Make sure that the lights you are using to light the green screen aren't adversely effecting the subject.
9) Lastly, an obvious one, make sure your talent isn't wearing any green. This also applies to reflective material, a watch or piece of jewellery, glasses etc. These could all reflect a small amount of green from the floor or walls, which will give the editor a long and boring job fixing up this issue.
There is one other really important consideration with green screen: think about the finished product when lighting your scene. Normally, what you see through the lens is the finished product, but with green screen this obviously isn't the case. There is no point in creating perfect three point lighting, if the green screen setting is outside, or a night scene or a cartoon sequence etc, it will just look odd - in a real life outdoor situation, you have to ask: where would that perfect hair light be coming from? The best way to approach this is to get as much information about the finished scene as possible. You may be given a photo or video of the plate, if not, ask questions. Will it be indoor, outdoor, sunset, night time, etc.
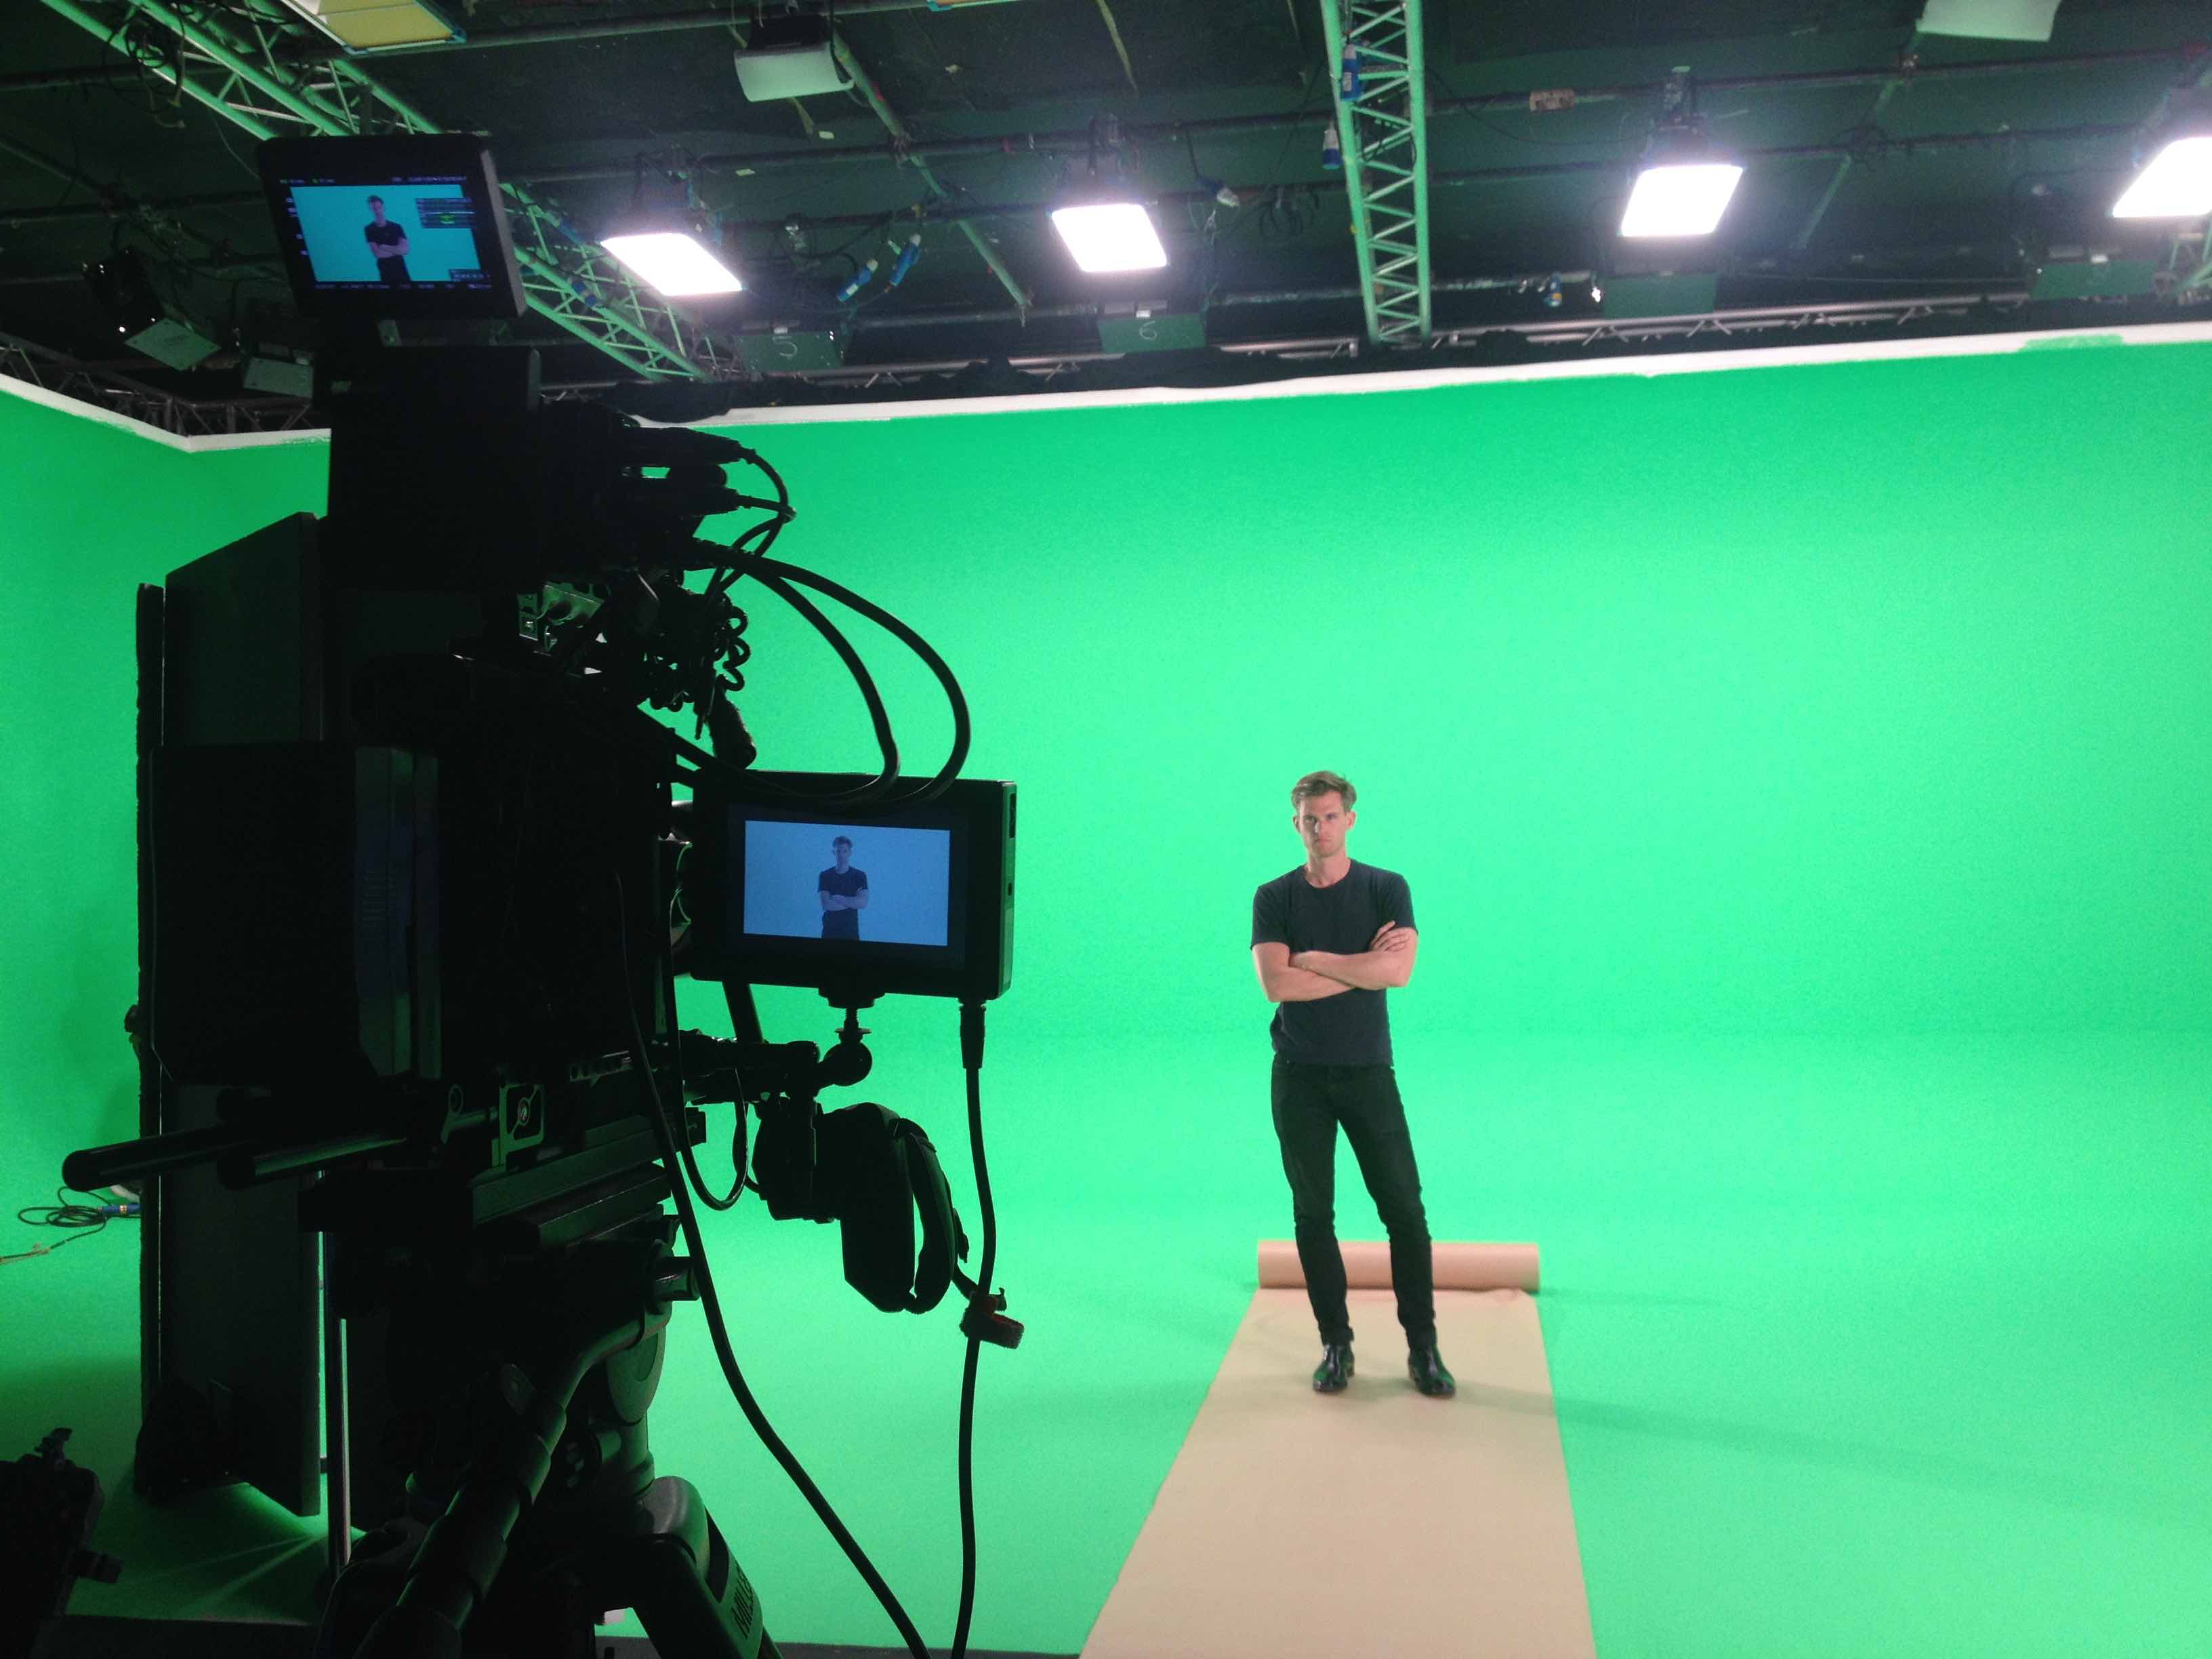
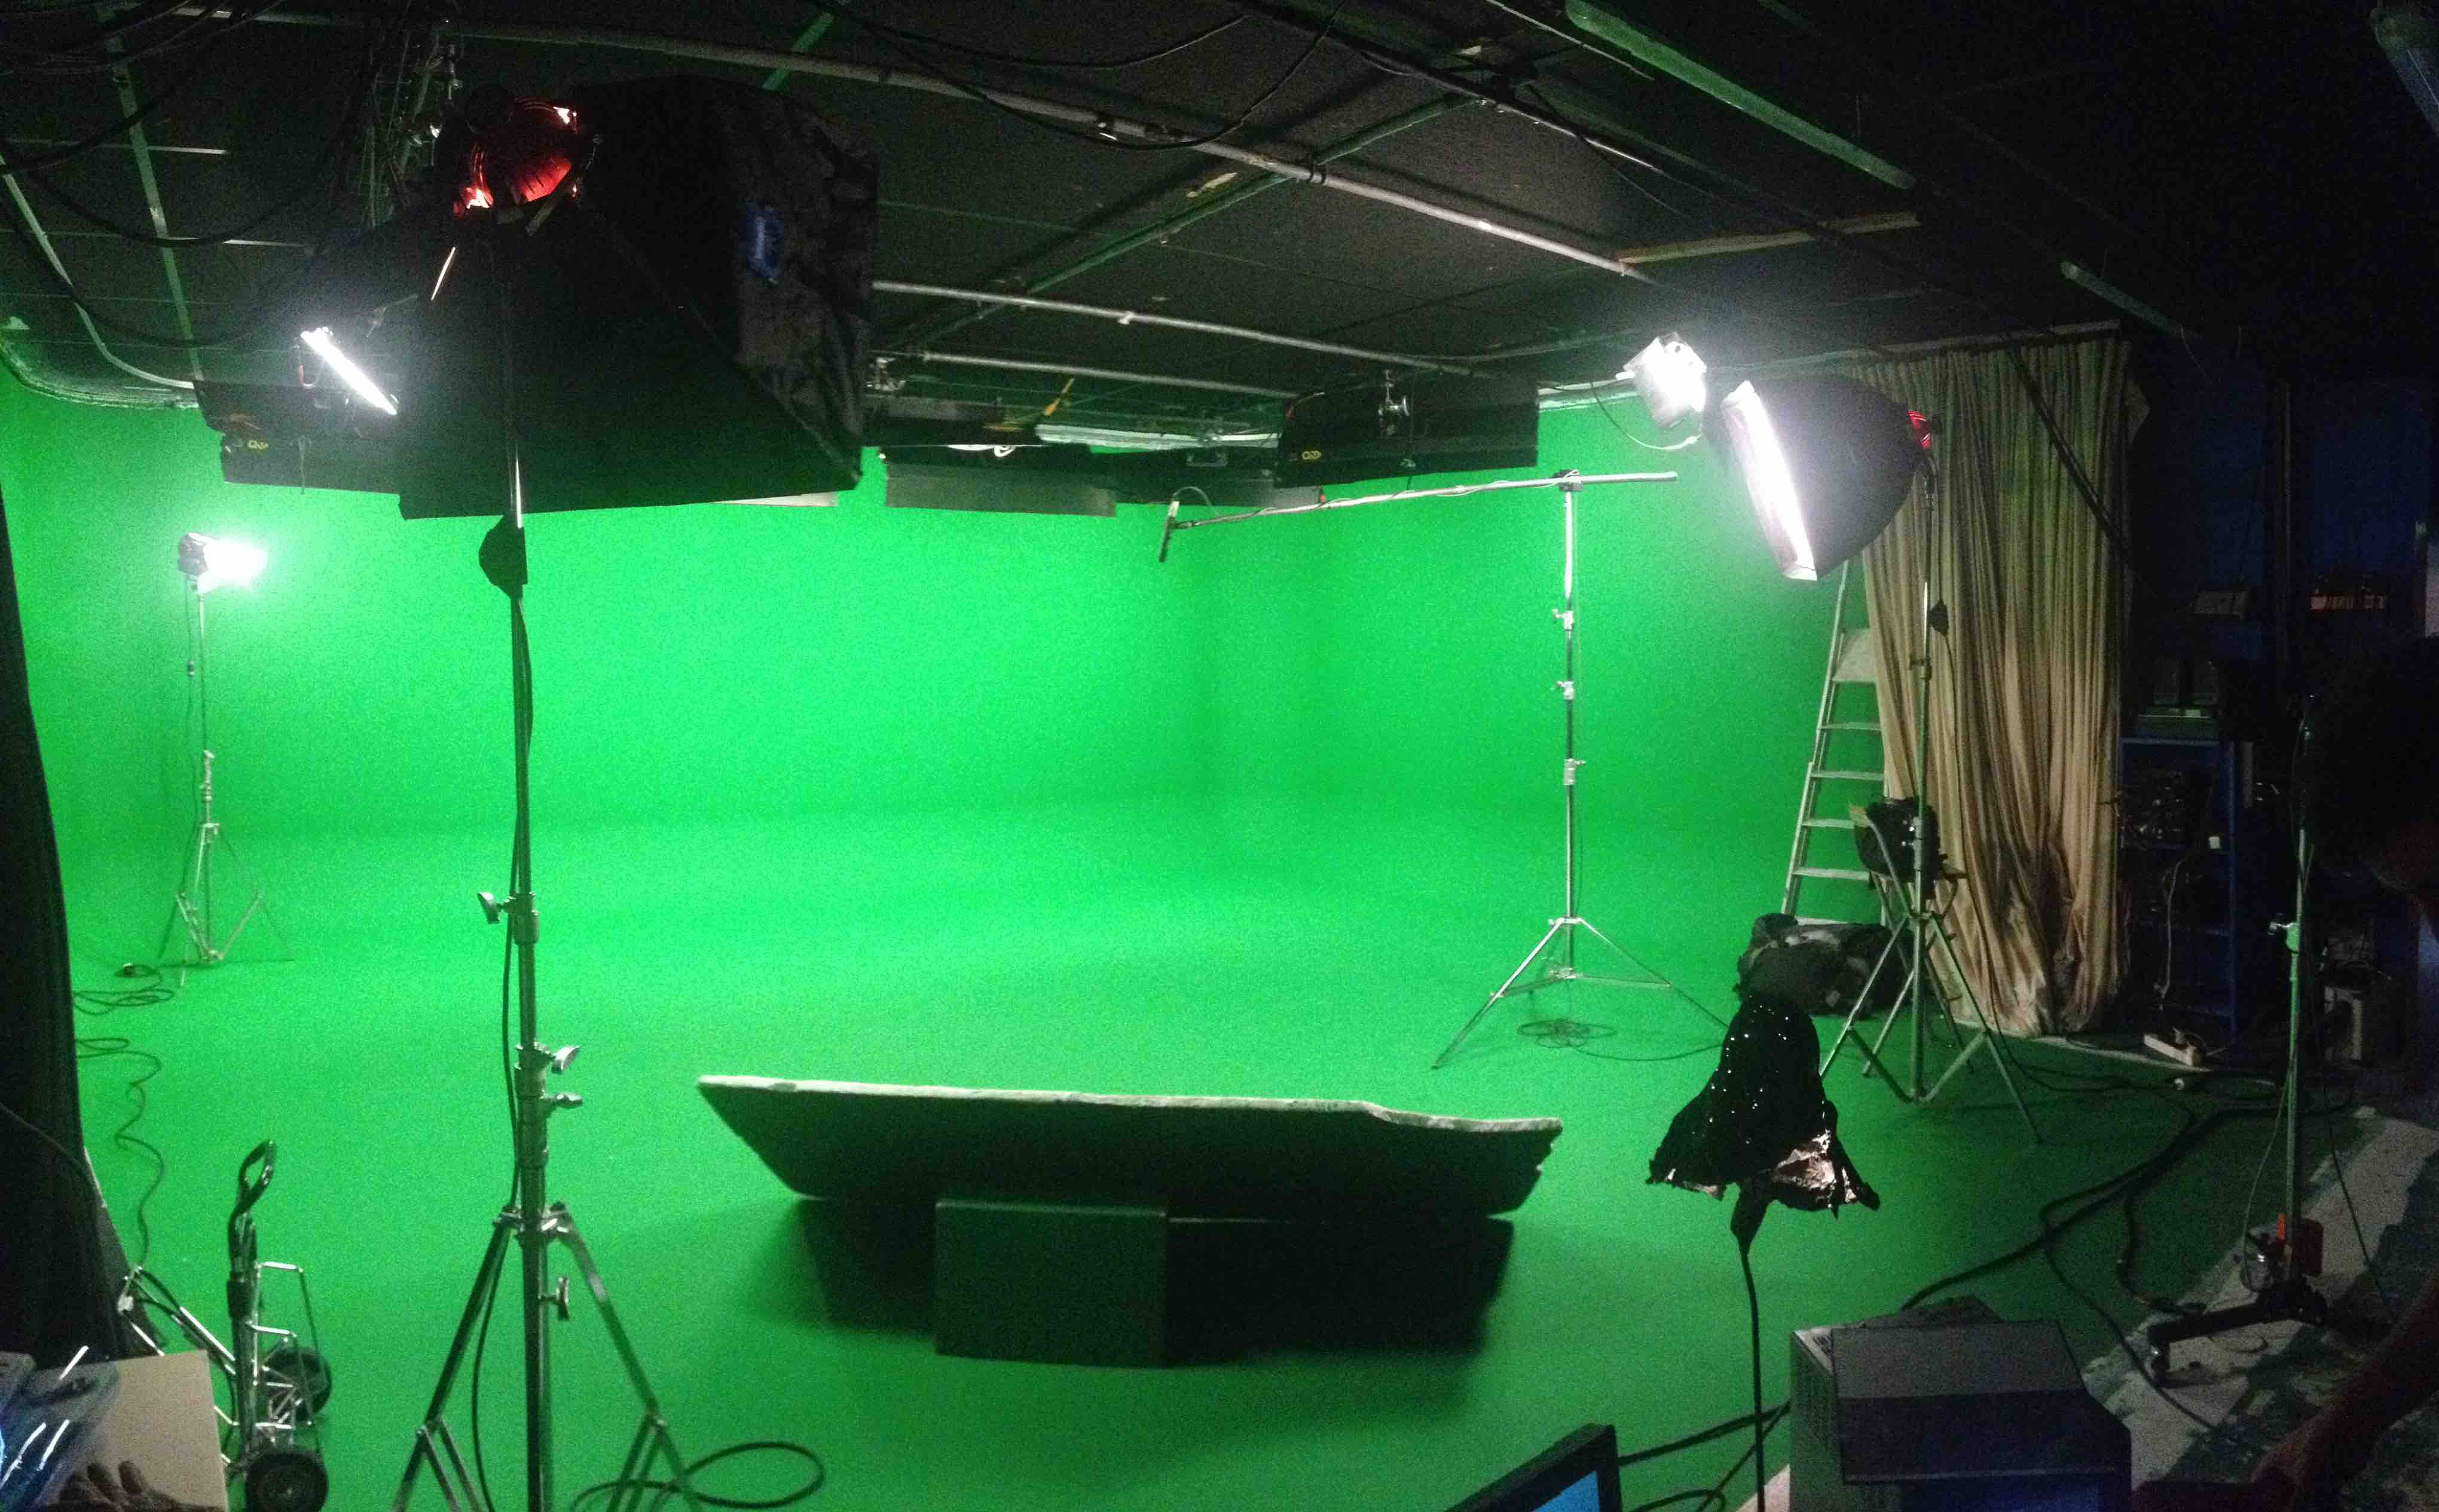
Studio setup.
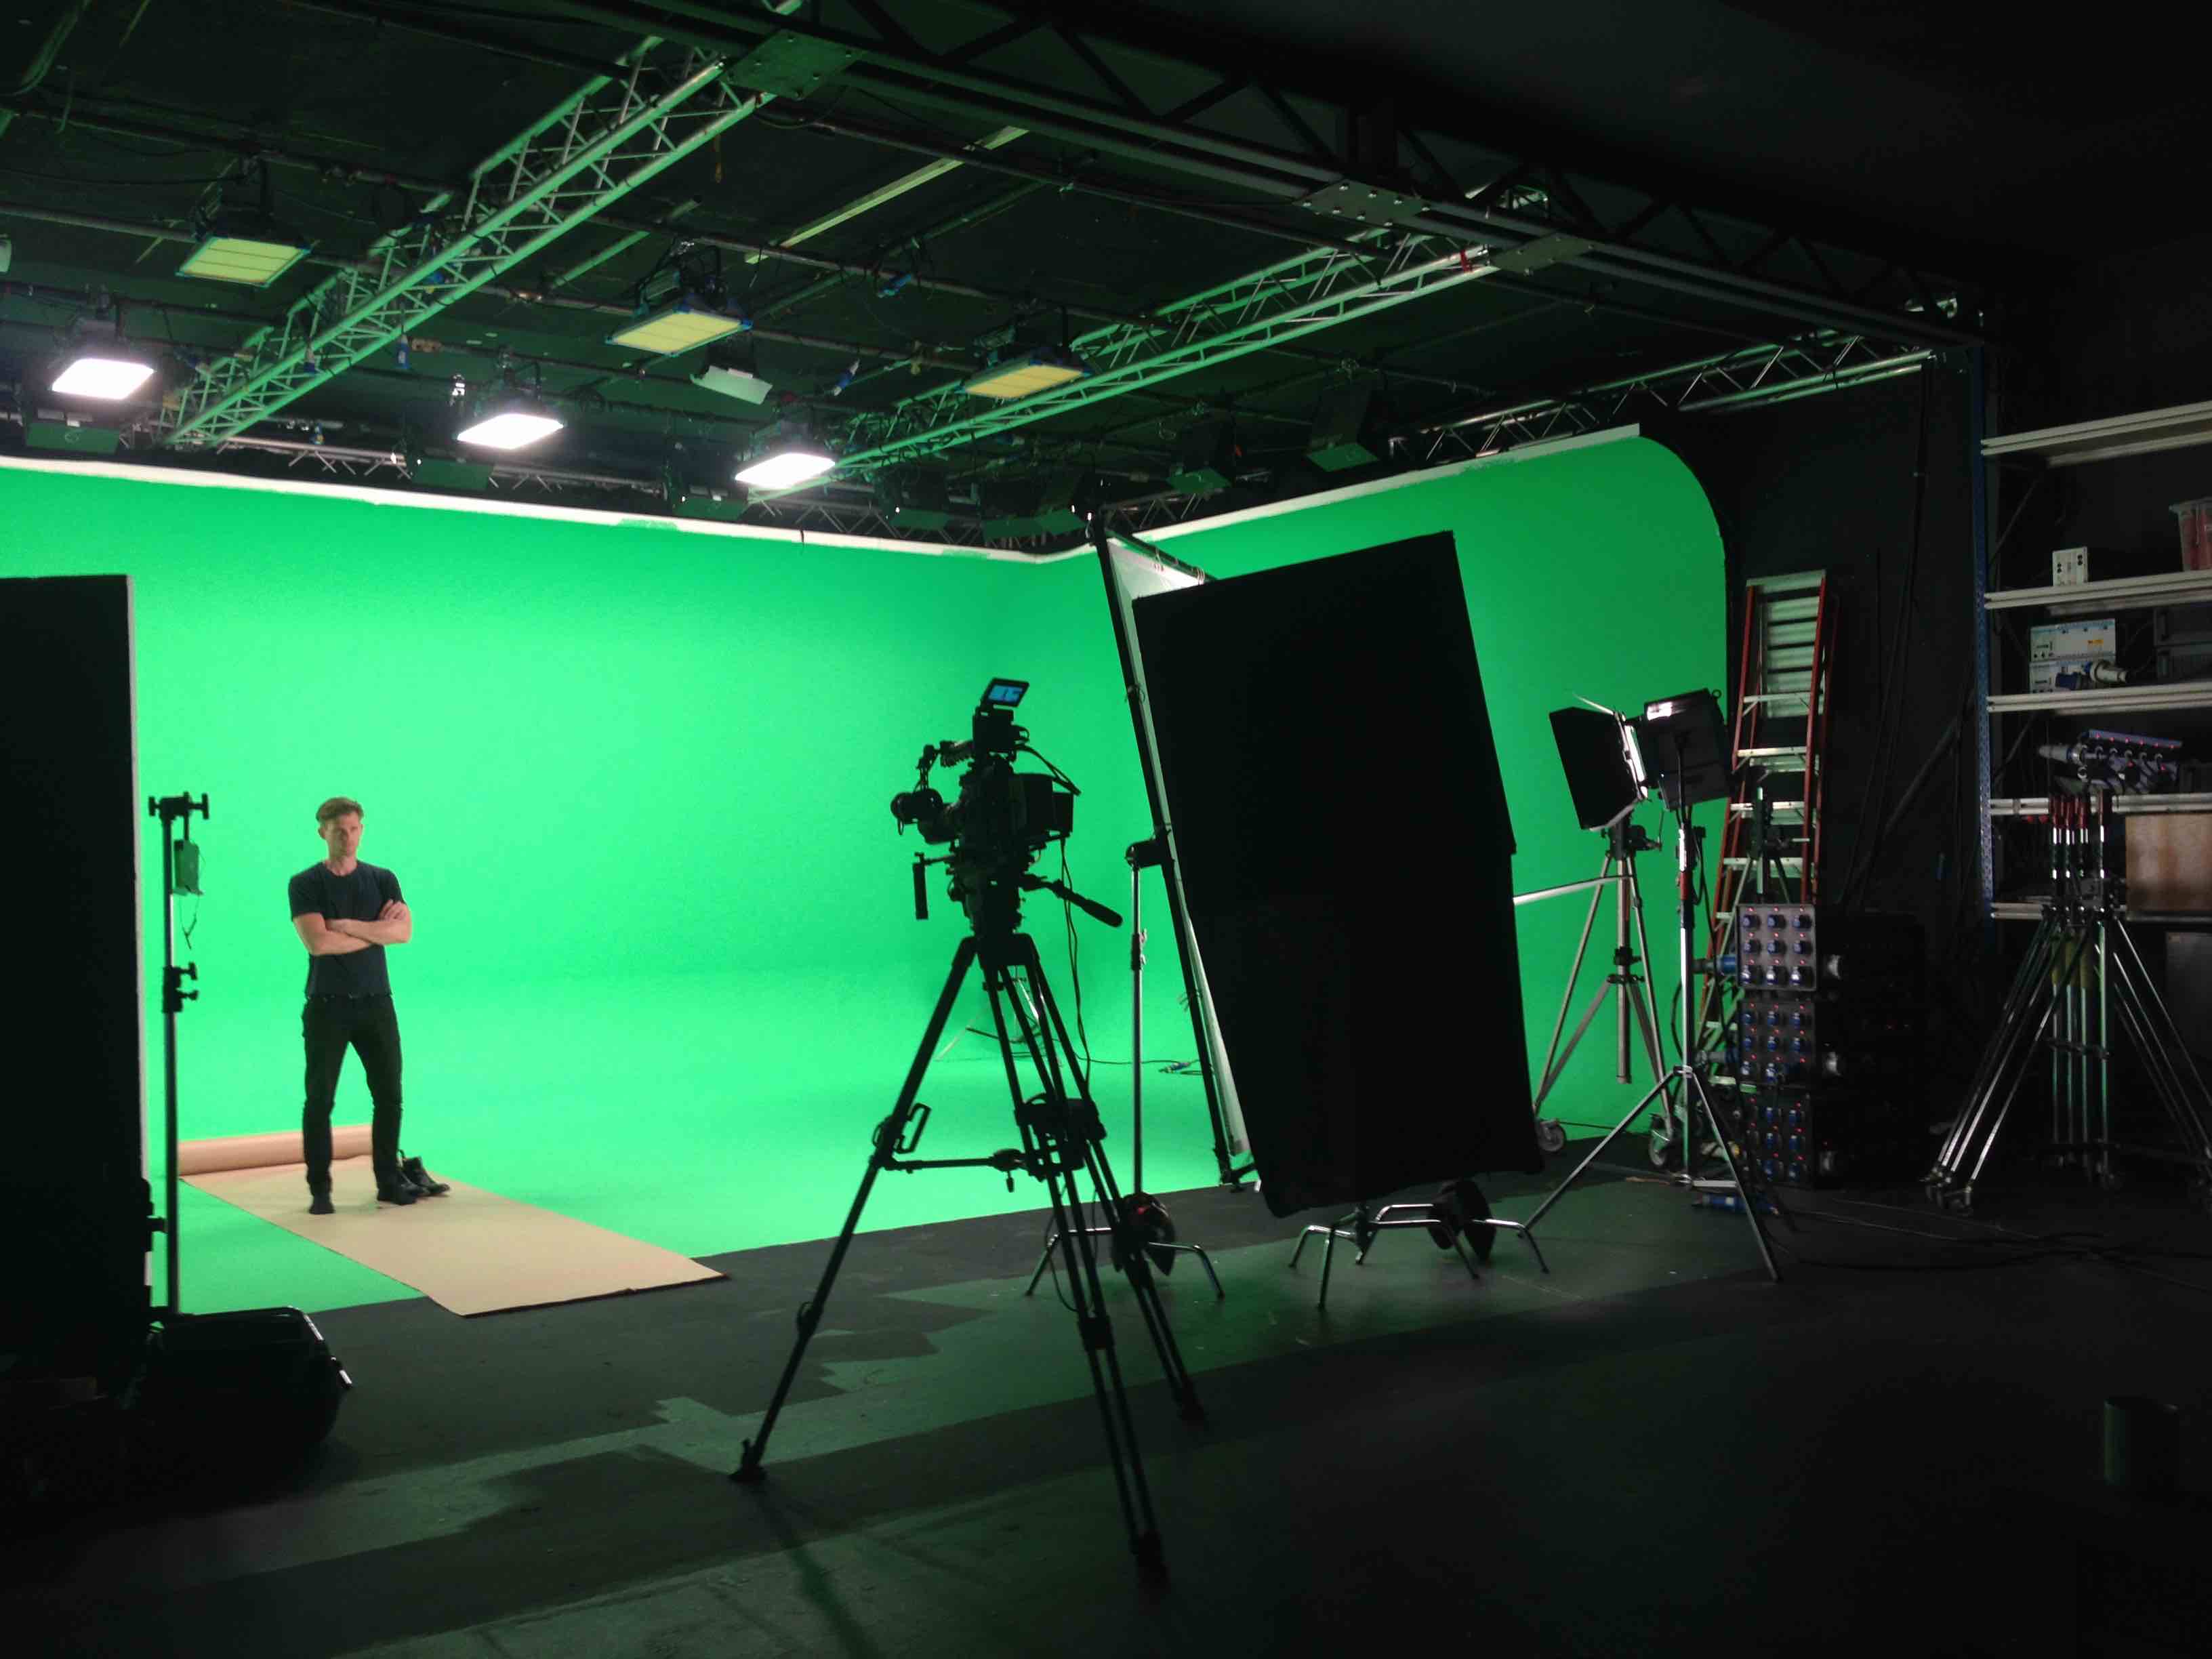
In this set up, we have a stand in for the subject. The greenscreen is lit using the in studio Arri panel lights. The key light is a 5k shot through a screen of diffusion and there is just one backlight oposite the key.
The above shows the 5K key light. I had a gaffer for this shoot and he has cleverly boxed off the edges and bottom of this light, to prevent light spilling all over the green screen and bouncing up on our subject. Remember my earlier point about soft light and shadows? Shooting a 5k at the subject without this screen would cause horrible shaddows (and almost blind the subject).
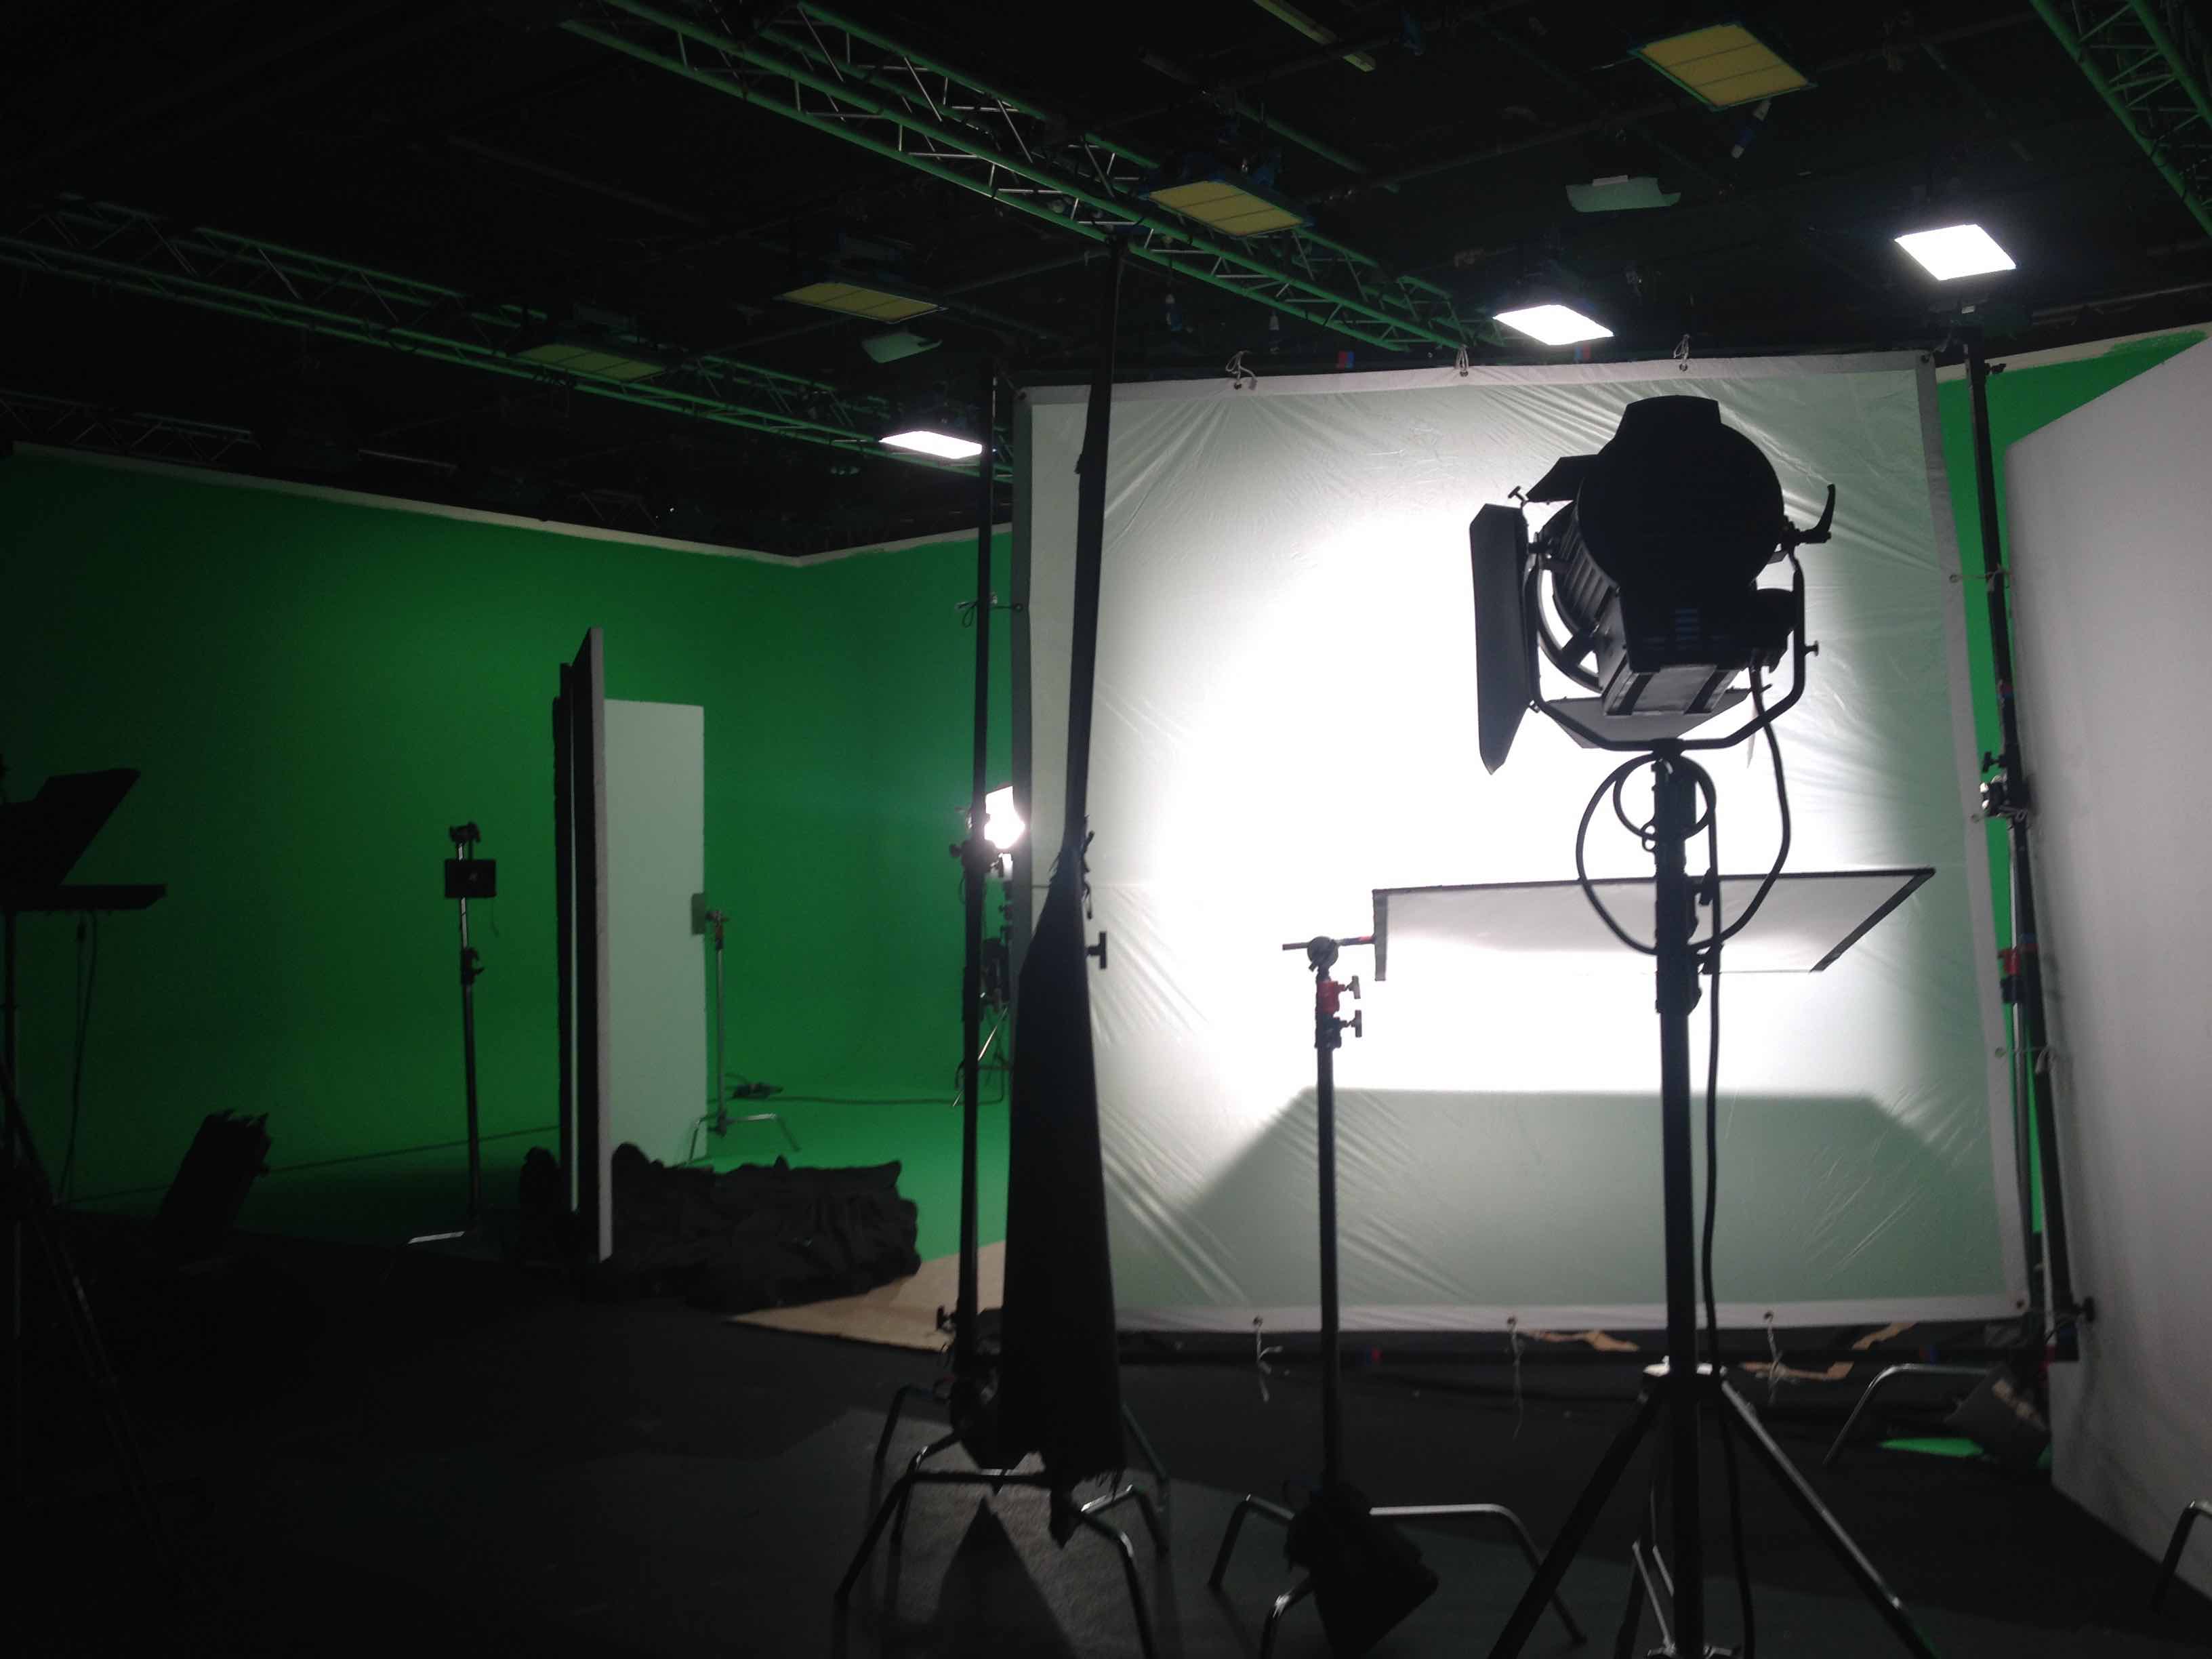
If you wanted to further soften this light you could use a poly wedge or book lighting. To do this, you angel polyboard so that the light hits the poly first, then bounces through the diffusion screen. This gives a nice natural look and a very diffused light.
This shows the key light from the other side. You can see polyboards are being used to bounce some fill light onto where the subect will stand.
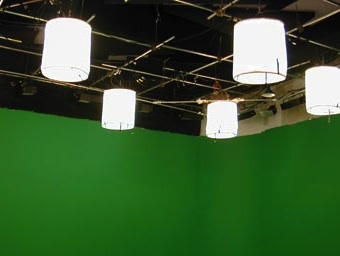
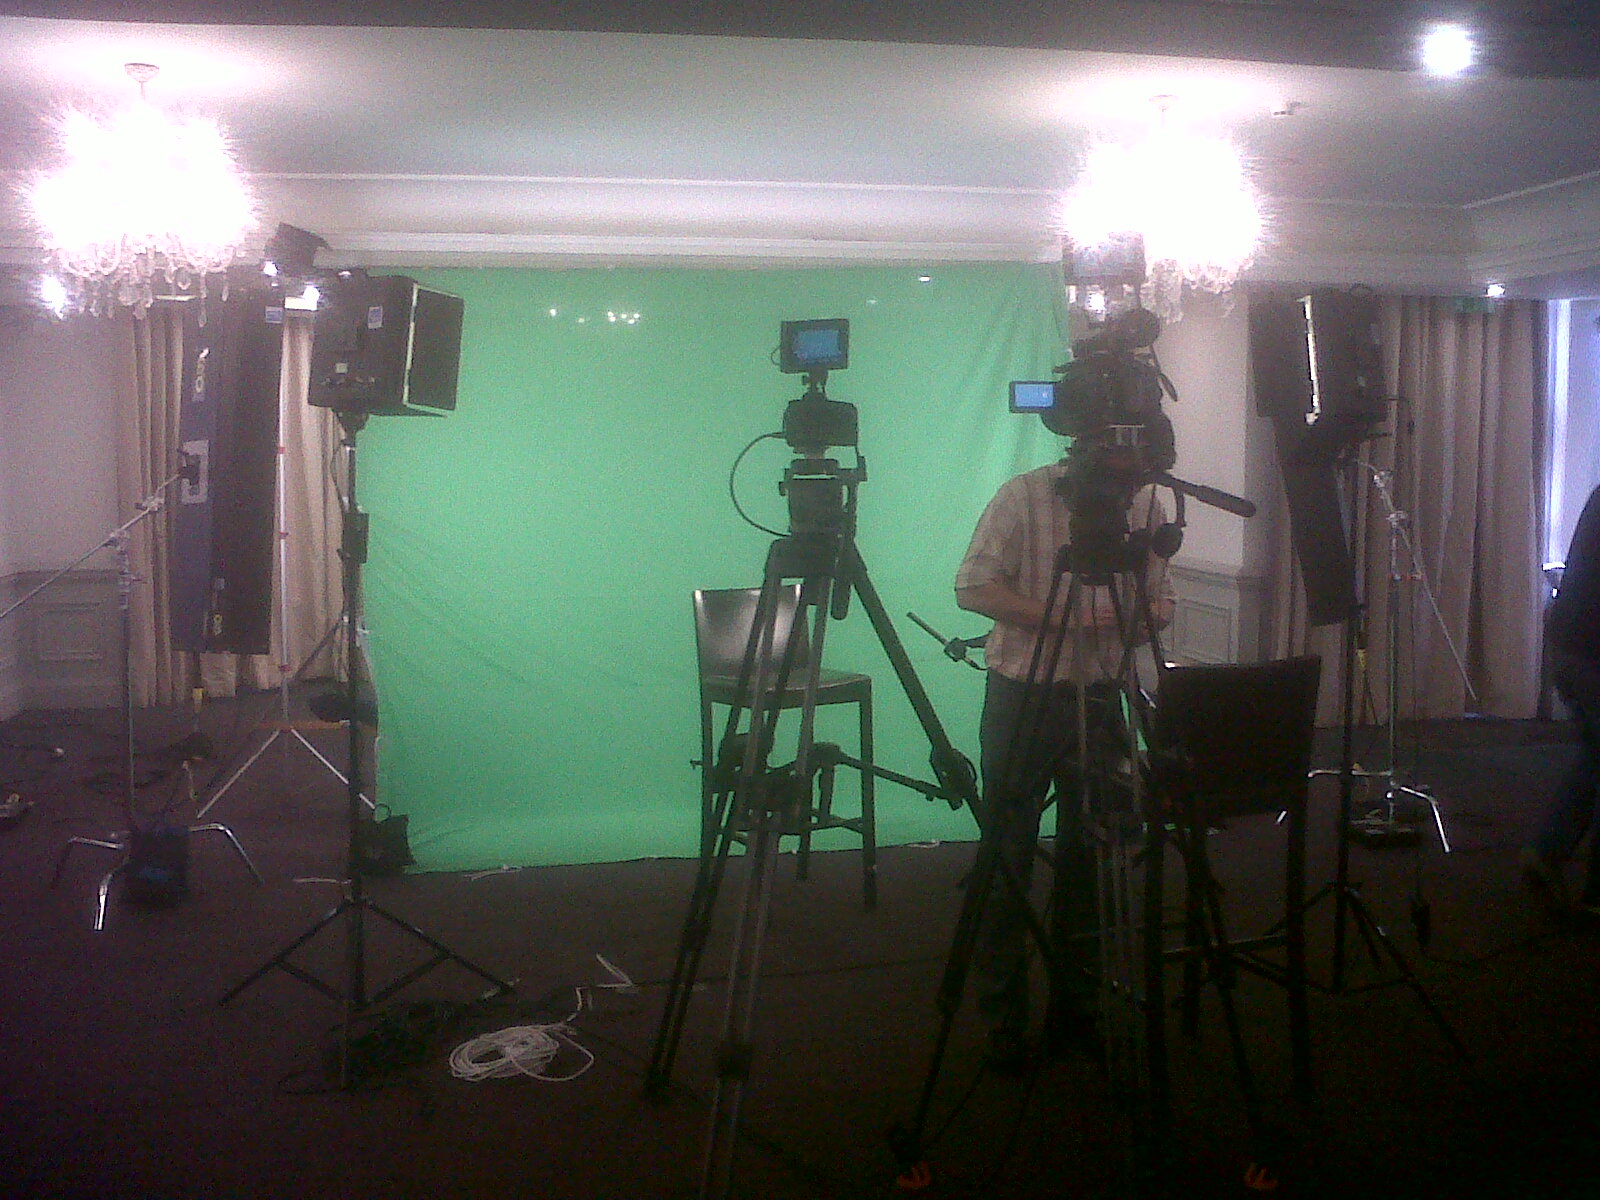
The picture below is a different studio, with a smaller space and smaller array of lights. I put this in here to show how a more simple studio set up. There are just two redheads (800w) with Chimeras for soften and spread the light and then a 600W for a back light. The walls of the studio are lit with kino flows. Incidentally, both of the 800w were on dimmers, one was on full and the other pretty low, just to add some fill.
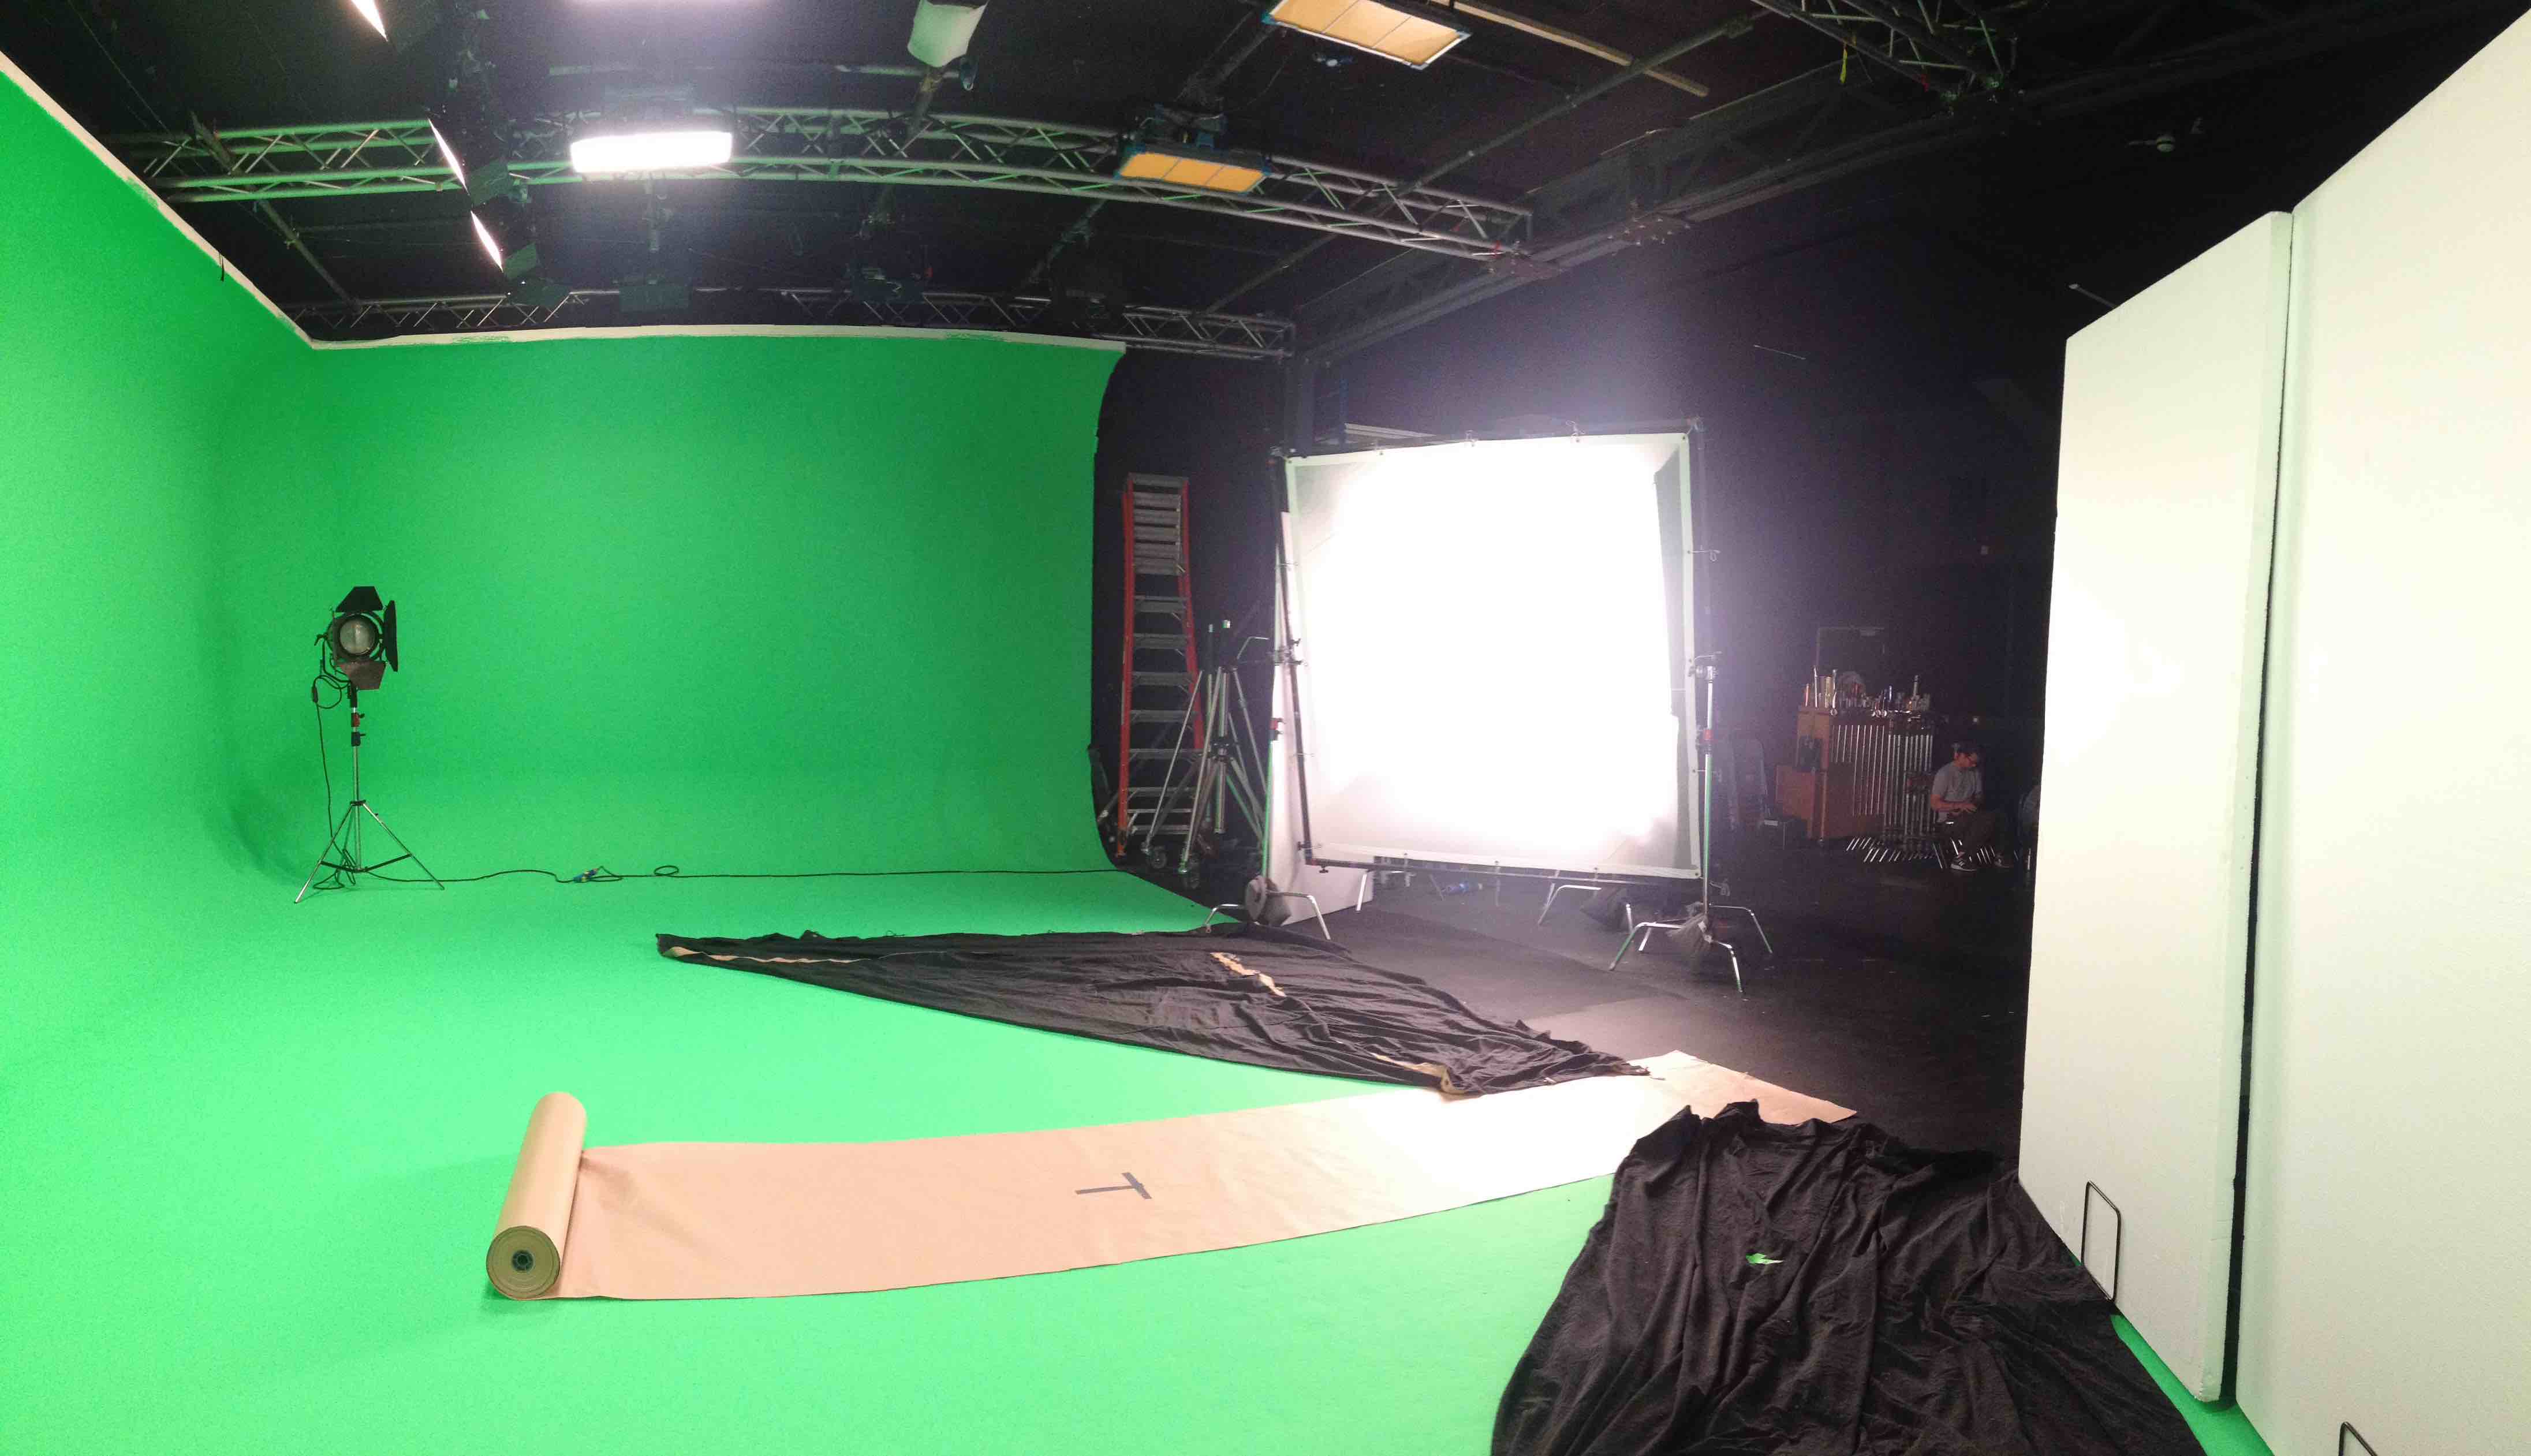
Below is a shot of a studio I used in London which used space lights for the wall and the floor, theses also did a great job and the spread was just as even and controlable as kino flows. Space lights are tungsten only and are now more and more being replace by Arri panels that are LED and can have any colour you need dialled in. The results you get with these lights are still great for green screen (they just make the studio a bit warmer - well a lot warmer).
This is a low quality photo from my phone, but you get the idea. This is a rehearsal and the full green screen is still being constructed. Above there are three space lights that given an even light down walls, there are a couple of defused 650s for back lights and a couple of 1ks behind large diffusion screens. Again, the 1ks would normally create very hard shadows but bringing them far back and shining them through a large screen makes a softer light.
The above images are all from studios, that had their own lighting set up for the green screen. What if we are not in a studio? The principals are the same, we just need to choose some lights. Typically, you'll want to be mobile, so taking a truck full of 5k and 10k fresnals etc might not be practical, instead here are some lights you can chuck in the back of a van or take on a plane.
Types of lights for a green screen shoot.
For the green screen itself you want a soft even light. I often choose to go with two kino flos at either side for this. It depends on how big your screen is, but 2 x 4ft 4 bank kino flos will be easily enough to cover a 12ft by 10ft screen, giving you a screen big enough for a head to toe shot of you subject. If your screen isn't as big as this, kino flo do a smaller 2ft version.
You can also use something smaller like a kino flo diva light, or you can use LED panels. I have used the Kino Celeb which is an LED panel (similar in size to the kino Diva light), and it worked well. The main thing is for the light to be soft. If you tried to this with more conventional lights (say 800w Arri lights) you would need plenty of diffusion to soften the light.
The reason I choose to shoot with Kino flo lights for greenscreen jobs outside of studios, is that you can get them really close to the screen and the still have a soft even light. If you are on location, often you have nowhere near the same amount of space as you'd get in a studio. You can get a soft even spread with a 800w, 2k, 5k 10k etc, but you need more space as you have to shoot through something to soften the light. 
When you are working in a really confined space, you are going to need a smaller soft light for the subject. I find the Diva 400 is a great light for this, it has an egg create over the bulbs that helps direct the light and avoids spill on to the background. I usually use this as a key and then fill with another kino or LED panel. For the back light a 650, or a dedo light will do, I use loads of diffusion on these to soften it up as much as possible.
I have also worked in studios where kinos are mounted on the ceiling, allowing you to use them as a backlight, and others that can be used to light the screen from above. These can be adjusted so they will do most of the work for you, and you just need to add key and fill.
If you are using traditional tungsten lights: fresnals, redheads or whatever, just soften them up as much as possible. Chimeras, softboxes and diffusion will all help cut down shadows. Larger diffused light sources from further away will generally create softer shadows.
Another awful (very old) photo from my phone, and the house lights are on to further confuse things, however, it shows the basic set up. The 4ft 4 bank kinos are either side of the screen there is a back light from a red head high up at the corner of the green screen, and a couple of LED panels for the subject.
Chroma Key Green Screens themselves are pretty inexpensive and you can pick up the background drapes for around 20 pounds, or 50 dollars in the USA
For the background support there are lots of options. You can use a couple of light stands, if you have them spare, attach k clamps, and then clamp on a boom pole between the poles. Another option is to buy a kit: Background Support System
The ideal set up for this is really a couple of C stands and an extendable arm for the top. This set up is heavy enough so it doesn't easily get knocked over (especially if you use sand bags) but is light enough to chuck in a van and travel around with.
Finally, if you haven't already seen them, here are two videos showing the use of green screen in multitude of films.
{youtube}http://www.youtube.com/watch?v=clnozSXyF4k{/youtube}
{youtube}http://www.youtube.com/watch?v=WhN1STep_zk{/youtube}