Should I buy the new Canon C300?
When the C300 was announced, I read several articles about it and then decided it was the camera for me and put my name on a waiting list. I am sure there are a lot of people out there asking "should I buy the Canon C300" and the answer really depends on the kind of work you do.
Obviously the image quality is great. The Clog profile in particular works well, it has a flat look that gives a really good dynamic range, which can then be tweaked in post to look stunning. I am not going to talk too much about about the image quality here as compared to the Sony F3 or the RED Scarlet or whatever, as I am sure that is covered well elsewhere. The only thing of interest from my point of view is that the camera records on a 4k chip to deliver 1080 and 4:2:2 in camera. This means it is easily going to fit into the most stringent broadcast requirements for HD. I shot this test footage in Clog and deliberately went for contrasty looking images. The images are very clean and sharp in my opinion and this is with a certain amount of compression in from Vimeo. There are also several shots which have a lot of tiny detail with movement in them, these are the kind of thing a DSLR would struggle with and give some kind of moire, but the C300 handled them fine.
{vimeo}39596887{/vimeo}
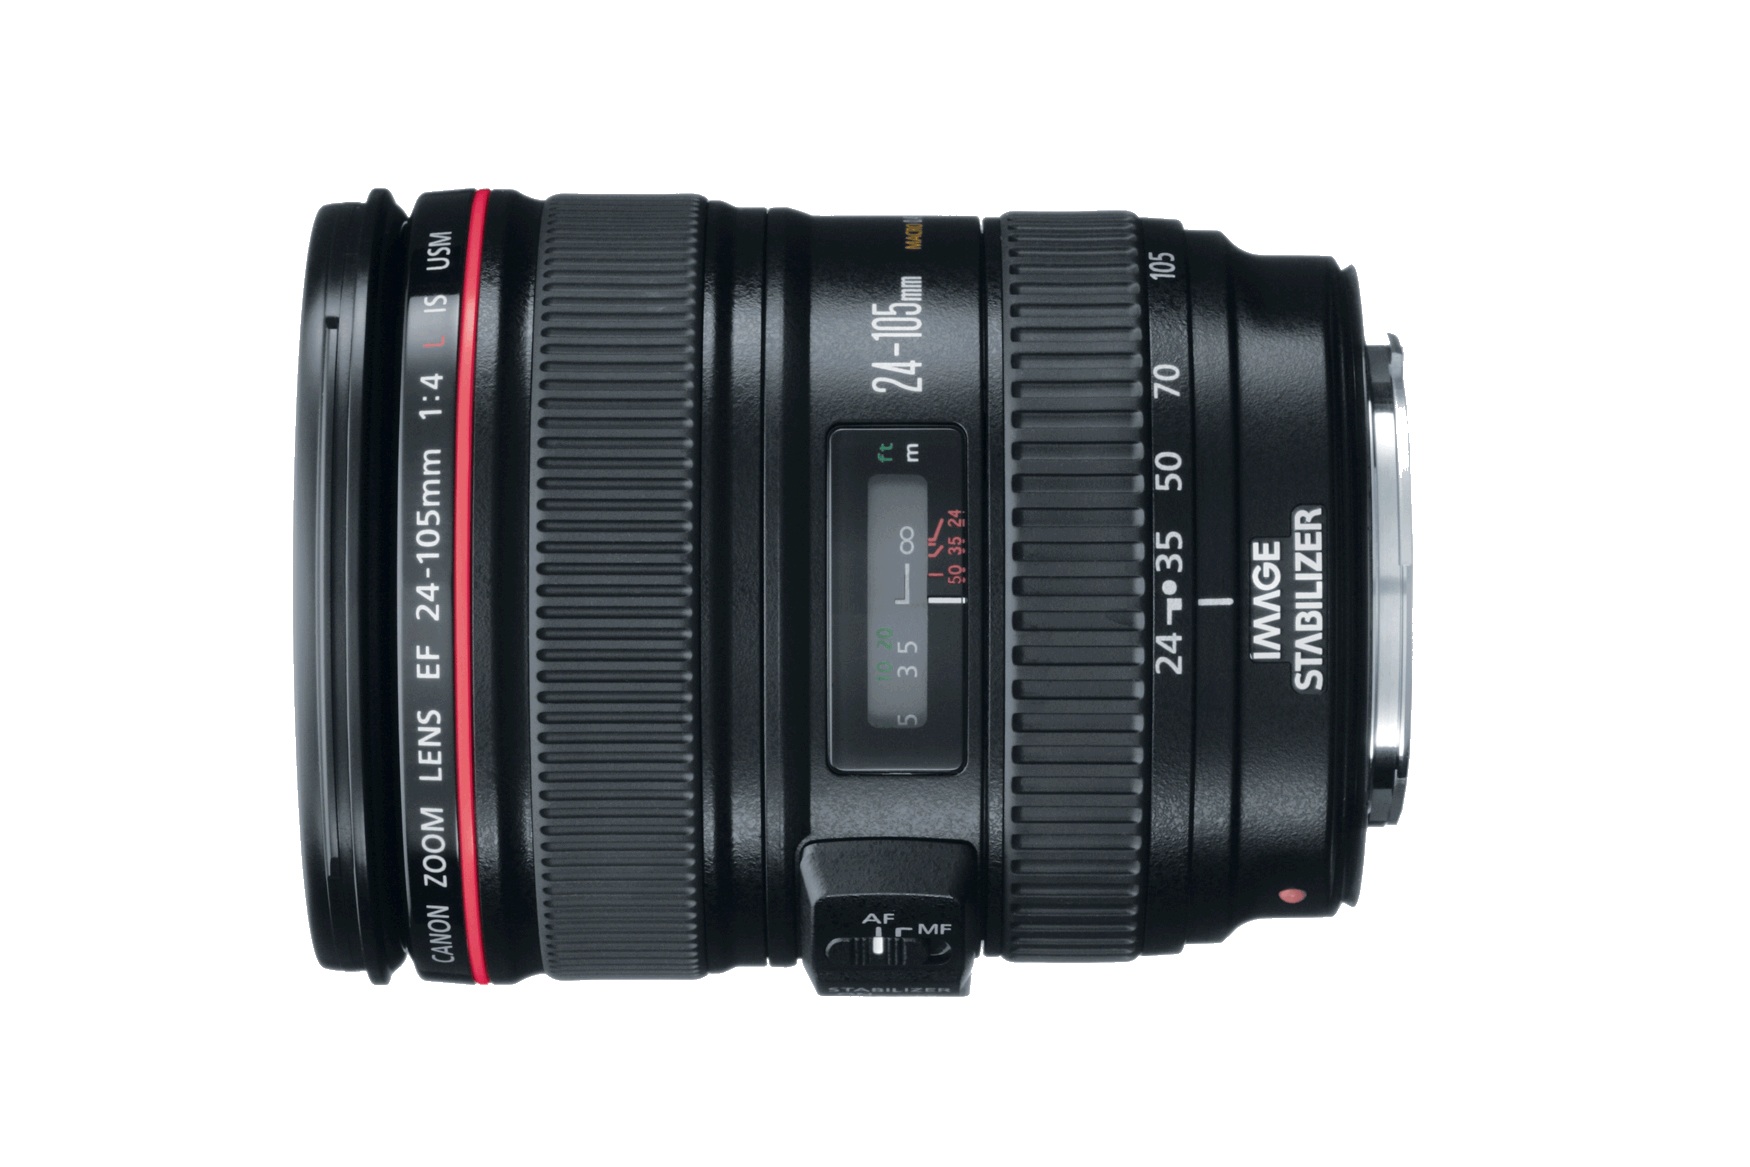
If you have already invested in EOS lenses for a Canon 5d mark ii or a Canon 7d, then choosing the EOS mount is obviously a great way of saving money on glass. I think these lenses offer unbelievable value. I often use the 70-200mm IS 2.8f lens and think that the optics are fantastic. Considering how much you would pay for a full size broadcast lens or PL mount lens of a similar quality, these lenses are a bit of a bargain at under 2k.
One of the most important issues, to my mind, with this camera is the ergonomics and usability. It is a really odd shaped piece of kit, the camera is pretty boxy and also quite tall. If most of the shooting you do is on a tripod, a dolly or slider or whatever, then that really doesn't matter. However, if you need to do large amounts of handheld work, then this could be an issue. The camera has a hand grip on one side, so if you are doing a small amount of handheld then this would probably work well, but when shooting for any length of time you are going to need to rest the camera on your shoulder.  At different times, I have rigged the camera to a Vocas riser and also to my Redrock cinema rig (using a manfrotto plate to attach the camera to the top of the Redrock shoulder mount). The camera is pretty stable in this position and being able to manoeuvre the monitor is massive plus. The LCD monitor rotates a full 180 and flips upside down, which means you can view it whilst the camera is on your shoulder. This is great if you are indoors, but if you are outside and the sun is over your shoulder the monitor is going to be hard to make out. Rather than having a tiny tail eye piece and and LCD monitor, I would rather have just one good eye piece. If I was on a job with lots out handheld work outdoors I would probably rig an external EVF. A review of the various C300 rig options can be found here.
All the buttons for the camera are great, they are clearly labelled and there are lots of assignable options, which saves time going into fiddly menu systems, as you have to do on so many other small cameras. This is of course a bit tricky when you have the camera on your shoulder as all the buttons are right by your face and hard to reach, but the this is true of all small cameras.
The magnification button is pretty useful and the button is well placed on the handgrip right next to the record button. It is a button I constantly use to check focus. Personally, I prefer the magnification on the 7d where you can zoom in much further and you can dictate which part of the scene the camera zooms into. Having said that, you do have peaking with the C300, which should make focusing easier without the need for a big zoom in.
The camera is pretty packed with video features, there is a waveform monitor and zebras, both of which are great for checking exposure. Having the buttons for these on the outside of the camera means you can flick them on and off whilst you are recording to check the exposure of the picture.
When using the Canon Clog profile everything looks so flat and the profile is so forgiving, with regards to correct exposure, it is actually hard to tell what is correct. The view assist button is great here as it shows an image with more contrast that is easier to expose from, whilst still recording in the Clog profile.
Having 2 xlr inputs is obviously a big plus, but they are mounted on the strangest spot of the camera. Firstly, they are on a detachable part of the of camera that holds the LCD screen. To my mind this is nuts, it means if you decide to use a different monitor and that you don't need the LCD screen, tough, you have to keep it attached if you want to record audio. The second massive issue with this is the ports are effectively over the lens. I worked with a sound recordist this week and his audio tails were hanging down getting in the way of my hands and the lens all the time. We had to tie the cables to the handle just to be able to work. Why aren't the XLR points on the back of the camera, like every other large broadcast camera?
For me these occasional negative points about the camera are minor enough that it is still a great investment. The great, sharp clean looking images you get back, easily outweigh any niggles I might have about the ergonomics. So to answer the question above: should I buy a C300? If you already have EOS glass or PL for that matter, or you do work that doesn't involve much run and gun off the shoulder work then yes.
If you feel like having a play around with the cameras interface, have a look at the Canon C300 on line simulator.
Still not sure? Here is Martin Scorsese's opinion:
{youtube}http://www.youtube.com/watch?v=oy0ozn2YPAo{/youtube}
UPDATE 7 Feb 2012:
Since writing this article nearly a year has gone by and the C300 has proved pretty popular. A pole of facilities houses by Televisual, which came out today, showed that the C300 came first in a list of the most in demand cameras over the last 12 months. This is how the top 10 looks (The number in brakcets is the rank from the previous year):
1 (new)* Canon C300
2 (1) Arri Alexa
3 (4)Sony PDW-F800
4 (3) Canon XF305
5 (10) Red Epic
6 (8) Sony PMW-500
7 (9) Canon EOS-5D MkII/MkIII
8 (2) Sony PMW-EX3
9 (5) Sony PDW-700
10 (new) Sony F65

 At the top end of the budget range is the Phantom Flex and Phantom Gold, which shoot up to 1000 fps (frames per second). There are a few things to consider with this, firstly, the cost. These cameras are pretty expensive to hire per day just for the camera. The next consideration is the DIT, you need someone to work with the data. Files are saved onto mags, for each shot you will need to consider whether to keep the shot or bin it, for this you need a DIT (Digital Imaging Technician). You also need to think about lighting. Shooting at very high frame rates will reveal flicker in many lighting types, so you will need to think about how you are going to light for this. At 500 frames plus a second, you will need a lot of light, perhaps HMIs from 2.5k to 20k depending on where and what you are shooting. For this kind of lights size you need a significant amount of power - so you are looking at a truck and probably a gaffer. As you can see the budget soon mounts up, and for this little viral it was not an option.
 This is a picture of my 18 percent grey card. In this picture the exposure line was dead set in the middle (ie at 0, rather than a plus or minus figure). The histogram should show a single fat line right in the middle of the graph.
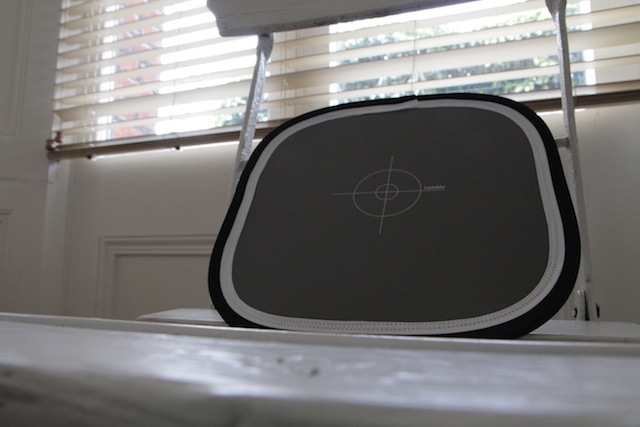
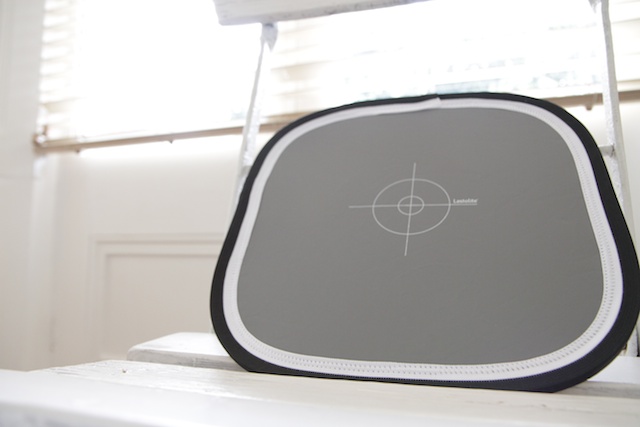 For this shot I kept the exposure at the same setting as in picture one, I then re positioned the camera and took the shot. The exposure reading was saying 2 stops over, which it is when you consider the whole frame, the highlights have blow out but the grey is correct. If you look at the grey card in this image, the exposure of the card is right and pretty much the same as in the first shot. So if you were filming an interview at this exposure the skin tones would be accurate.

 Option 2: If you don't have budget for a soundie, and if the sound recording is very simple - say a sit down interview - then you might be able to use your own external recorder. For this I would recommend the
  Option 3: If you don't really need to much audio and just want to get a bit of atmos only, then you could just get a
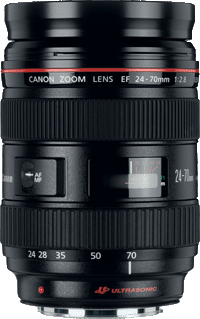
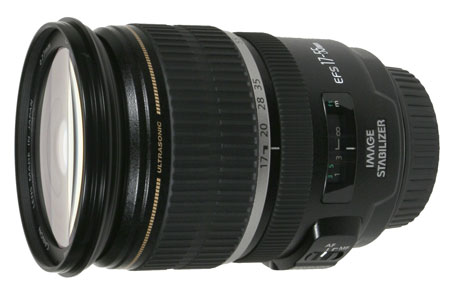
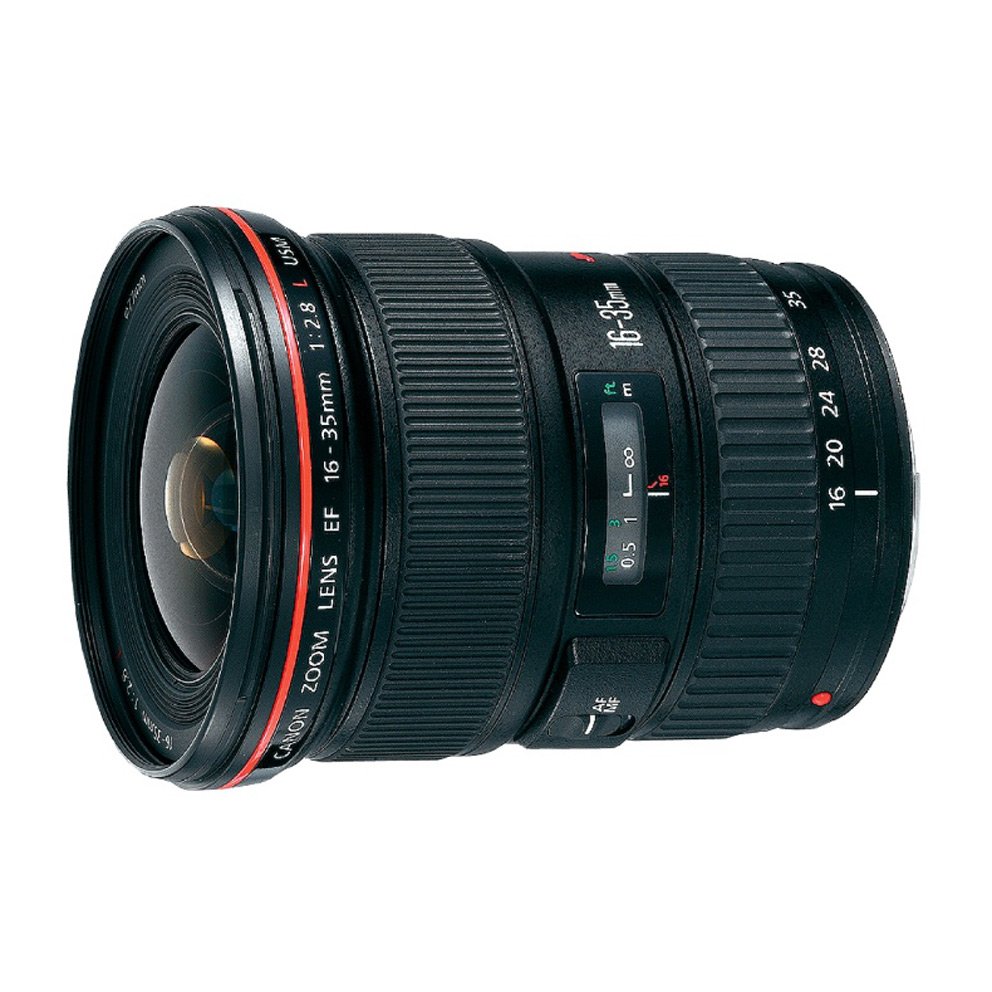
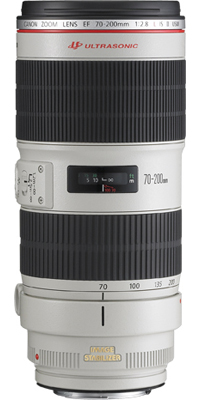 Longer zoom lenses such as the 70-200mm will solve this problem, but can be very expensive, so what are you paying for? At the top end of the Canon range you get a much faster lens (2.8f) this is very useful as it gives you more scope to shoot in low light conditions and has a smaller depth of field. It is also stabilised, which is really useful for video. I was surprised at how good they are when I first started using them . Canon EOS lenses have IS in their name to show they have this function. I am a massive fan of Canon's 70-200, it is tack sharp and produces a really good quality image.
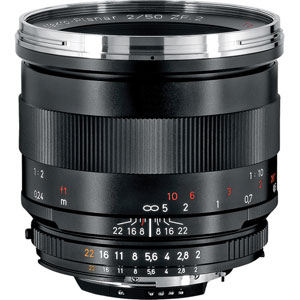 Zeiss ZE or ZF 50mm 1.4f:
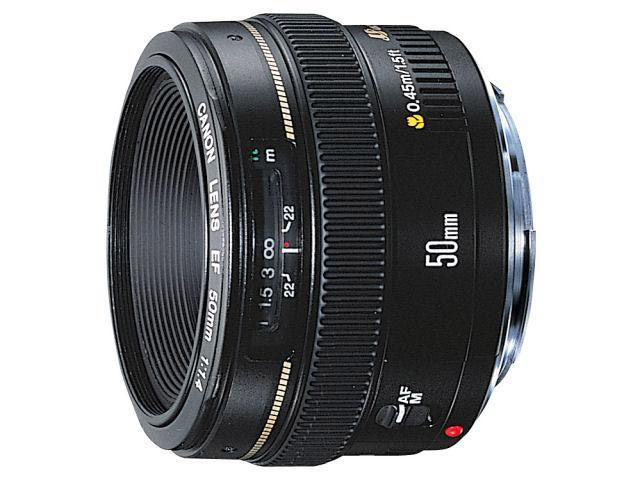 Canon 1.4f
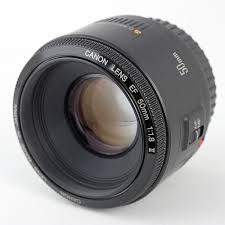 Canon 1.8f

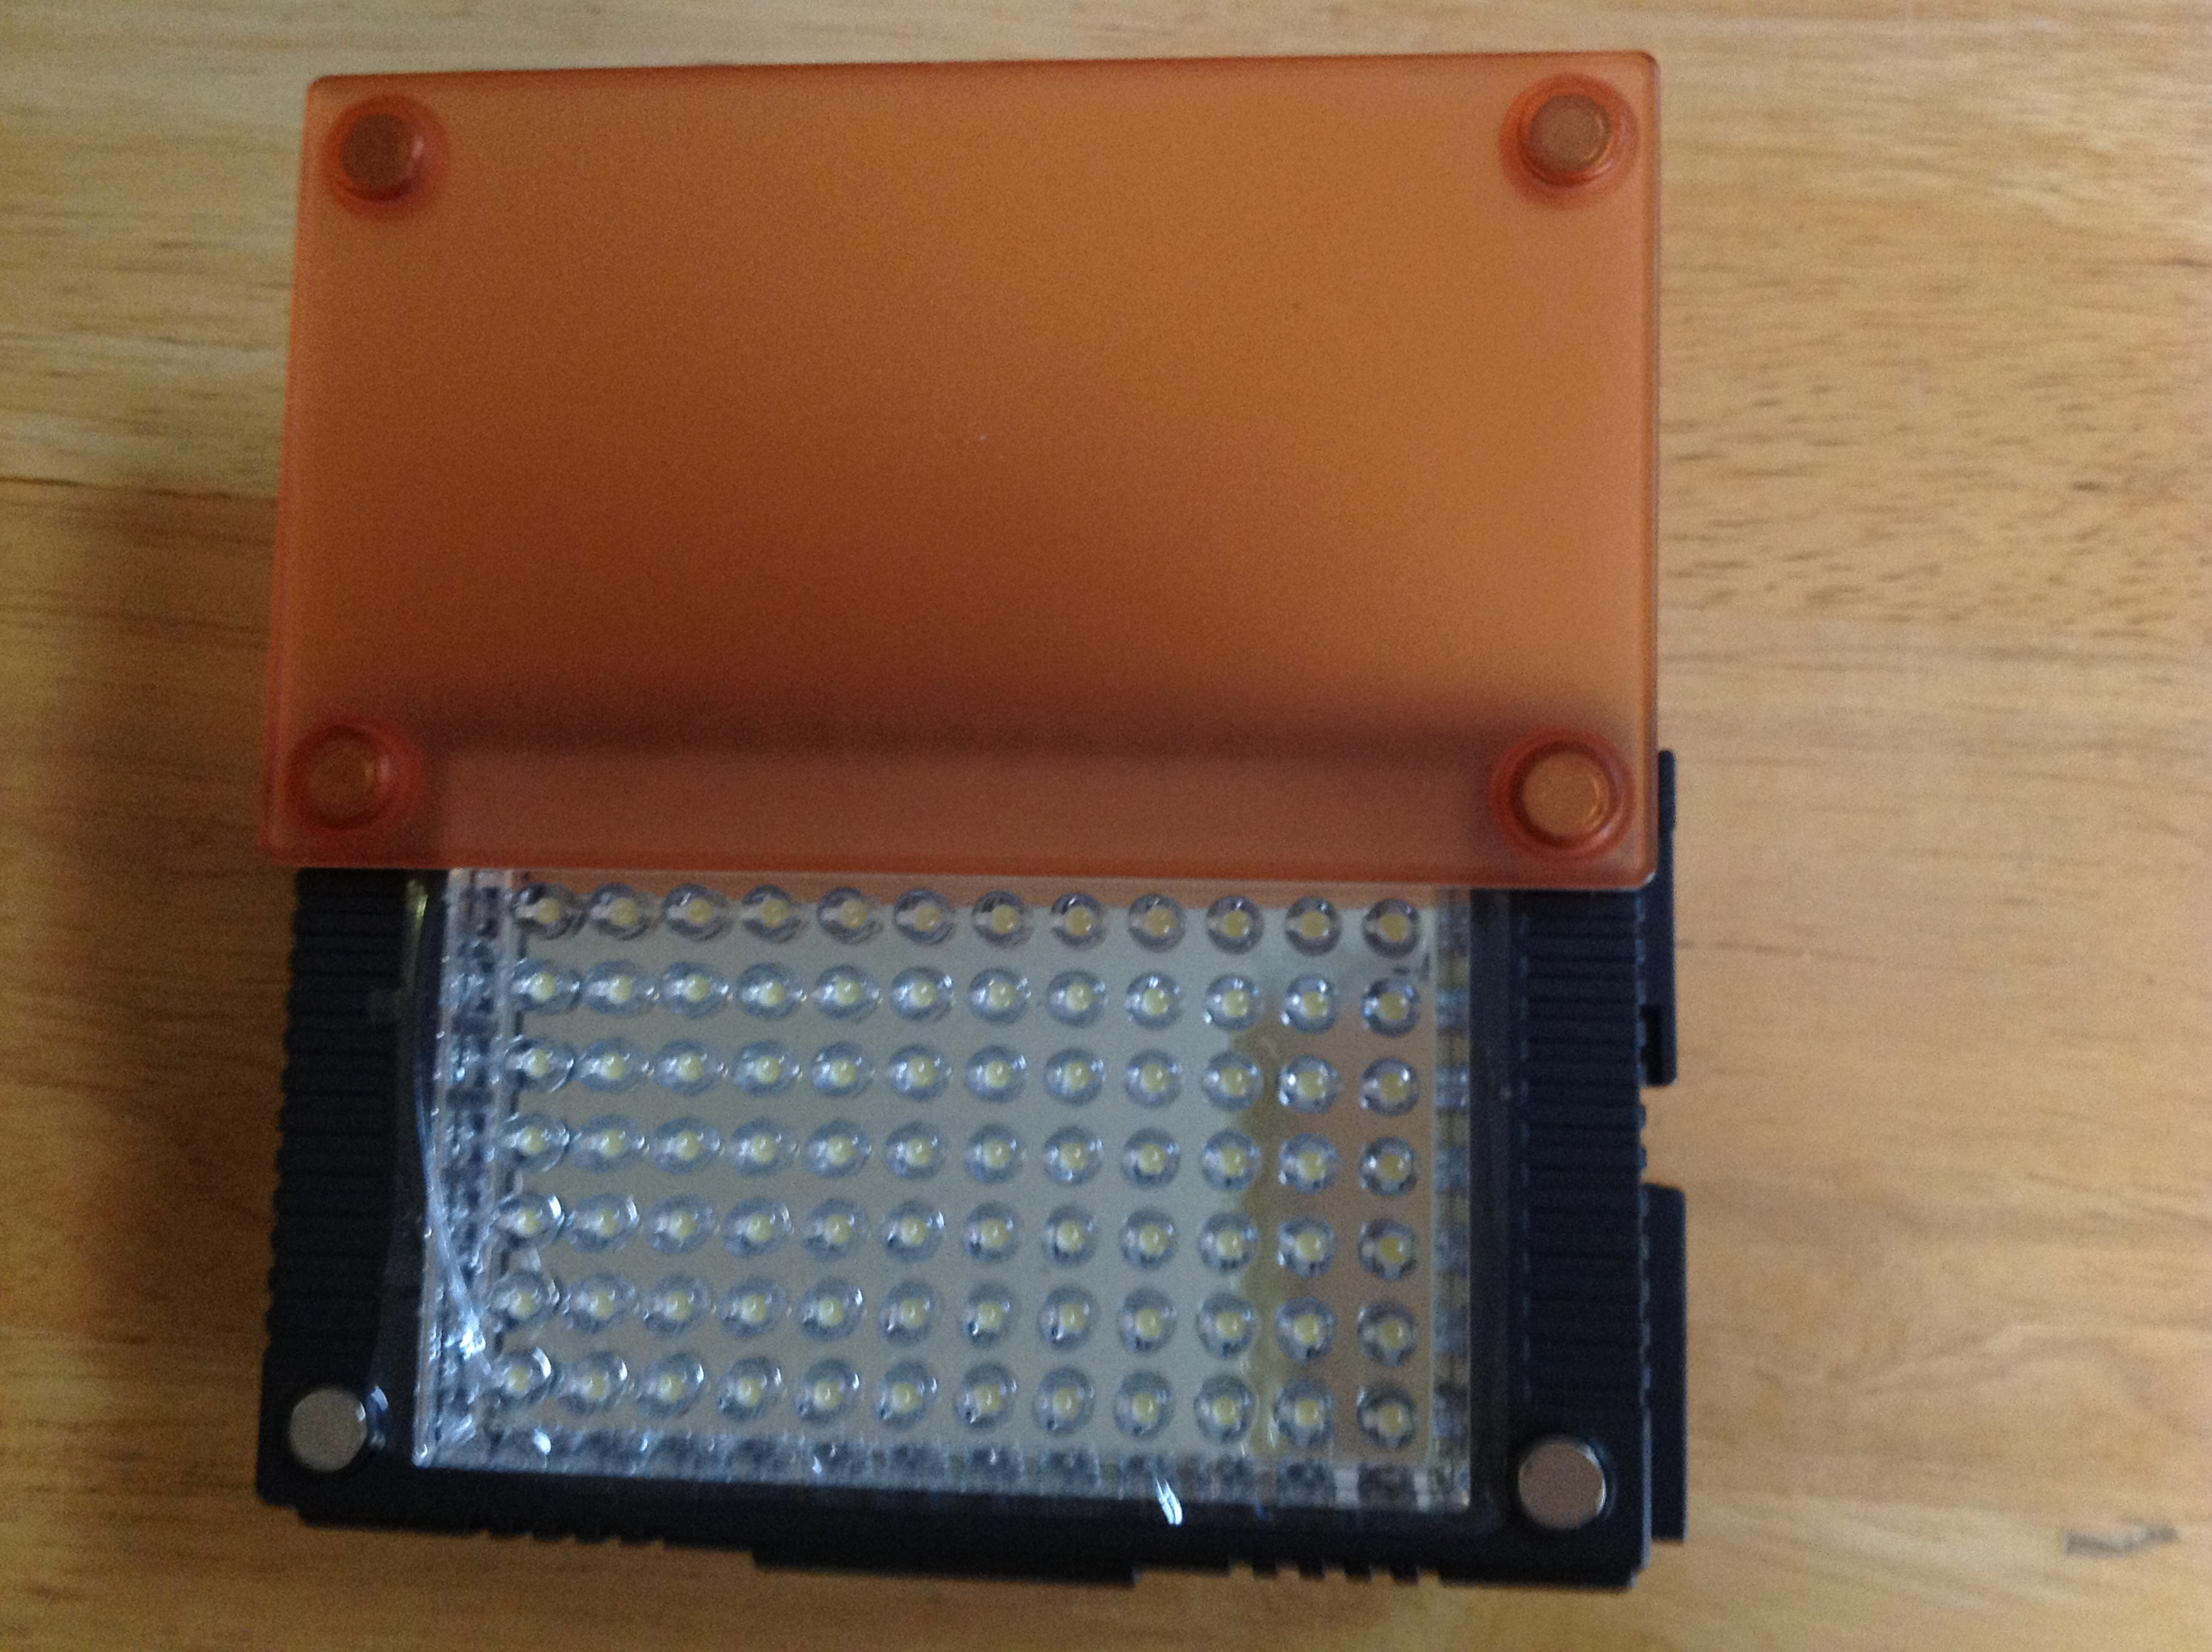
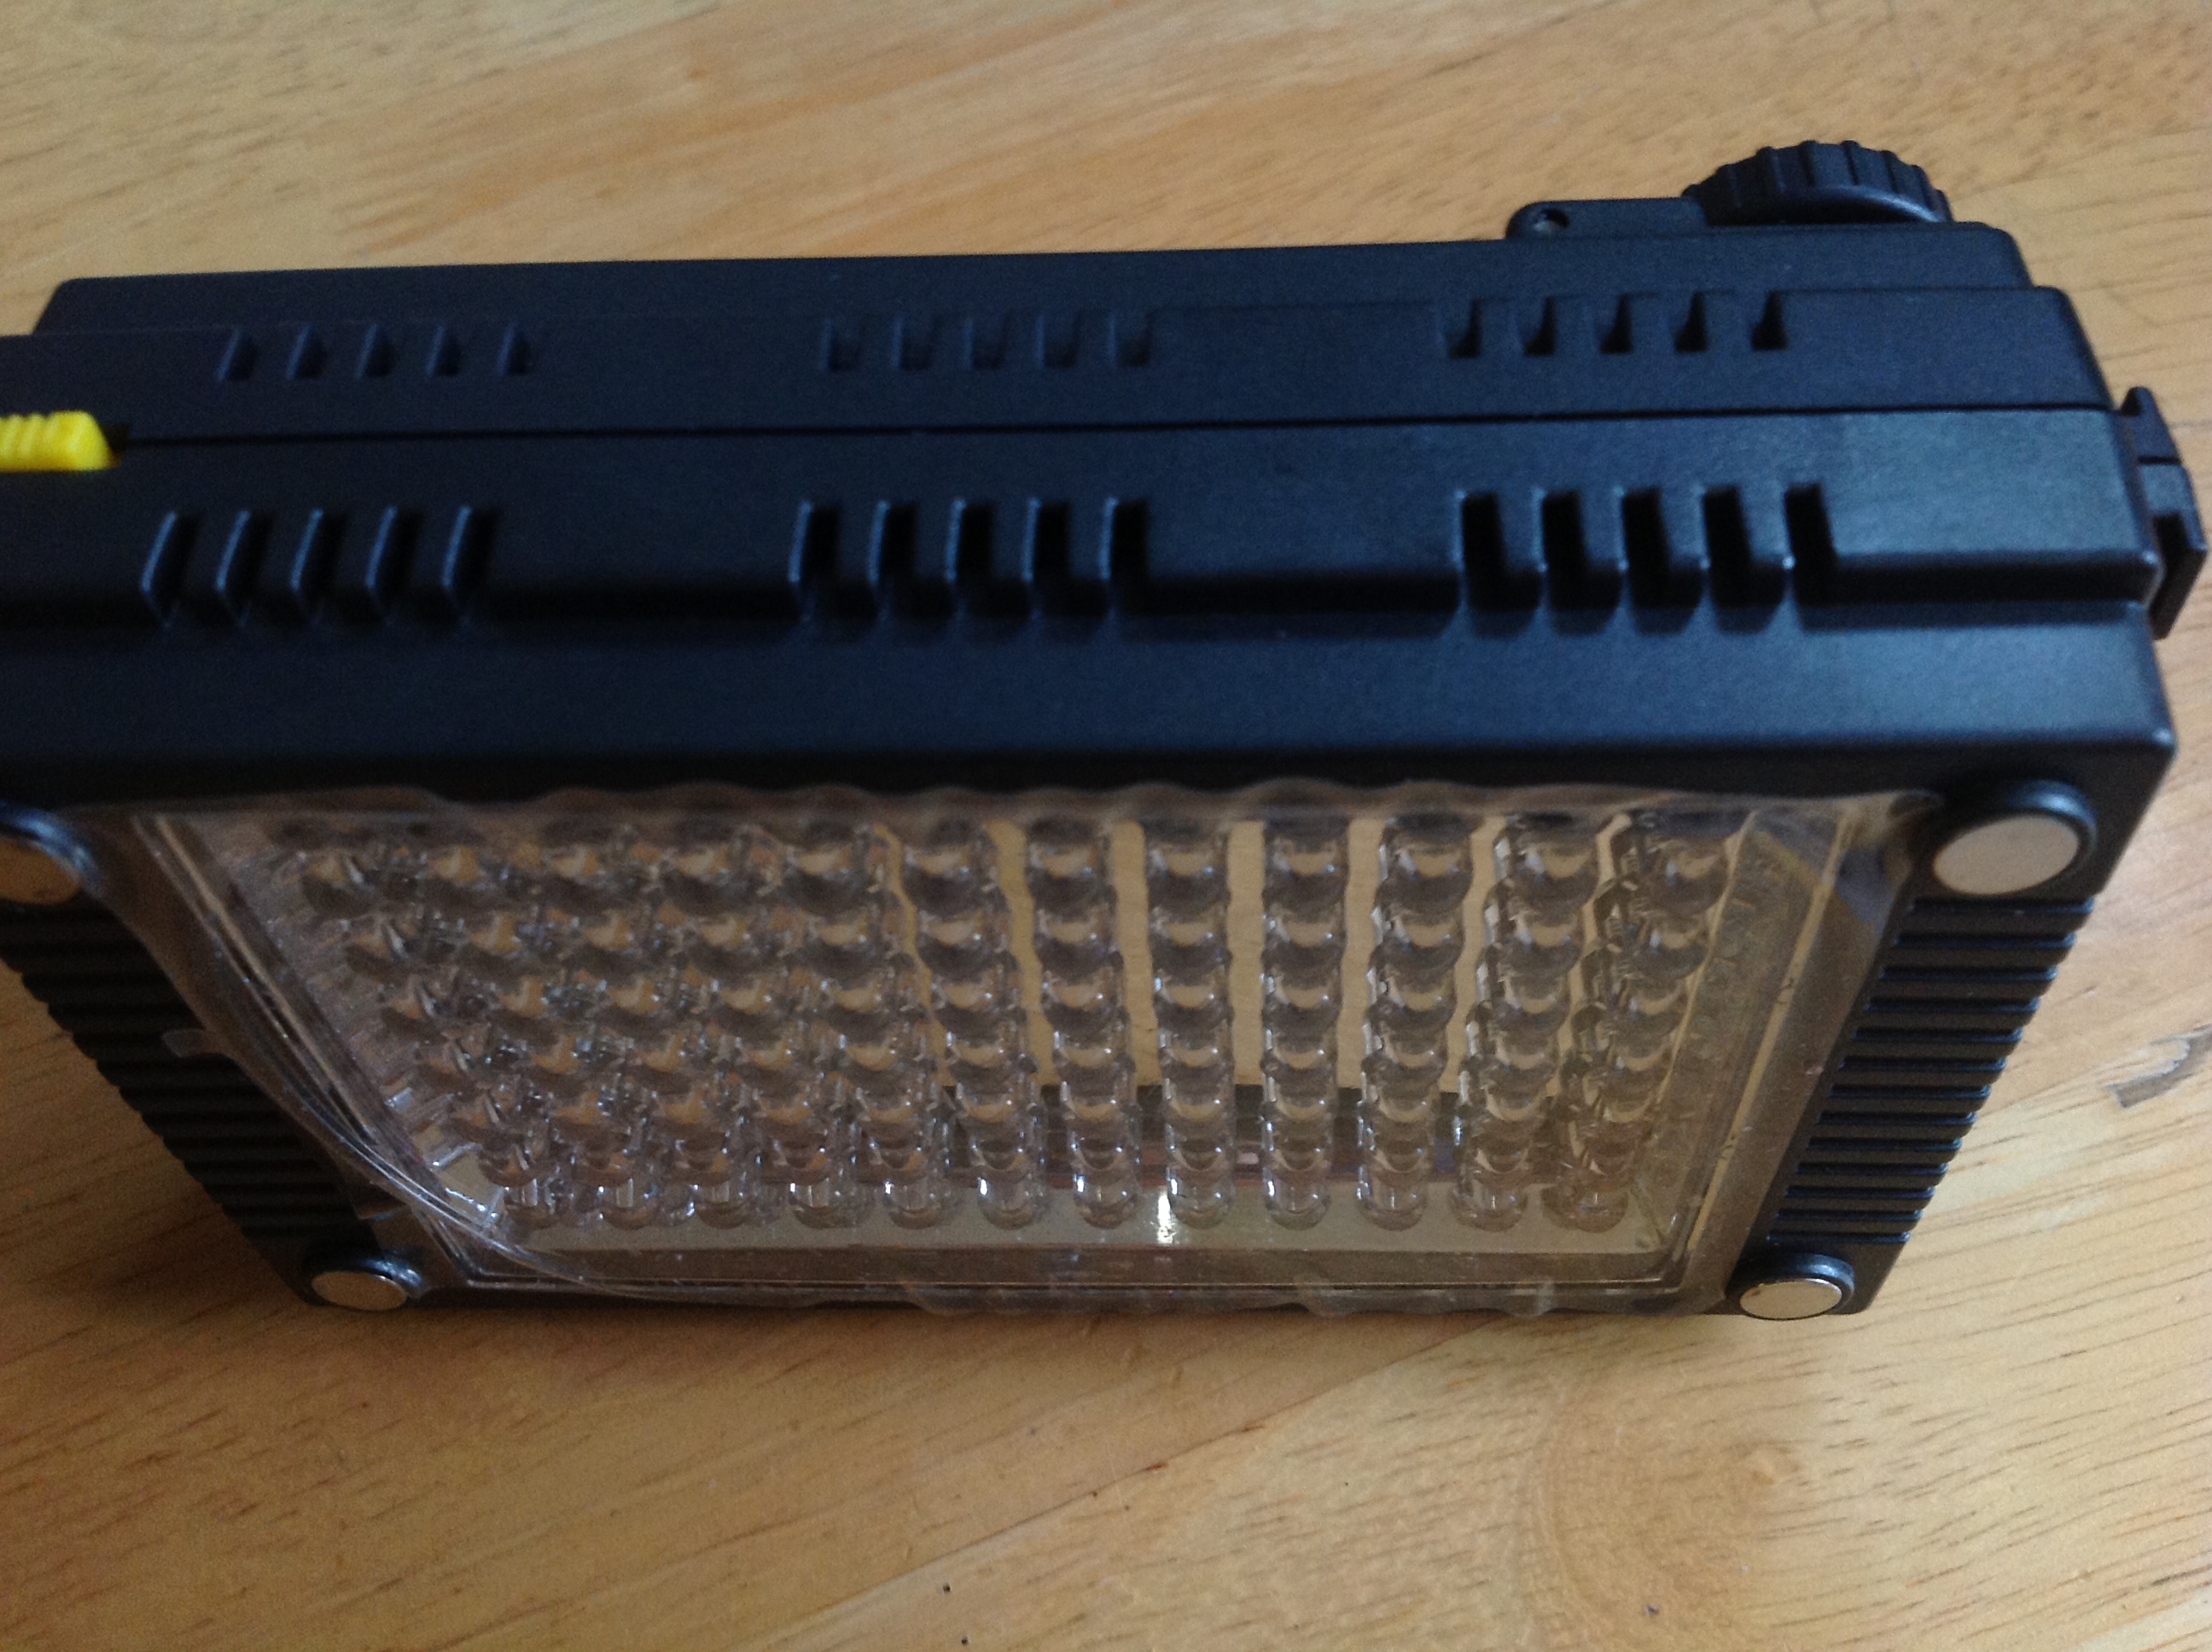
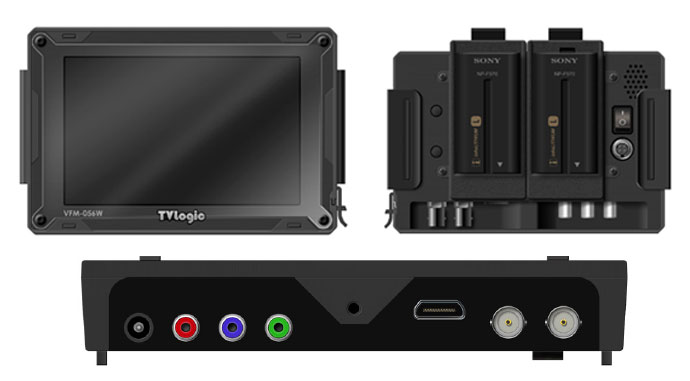
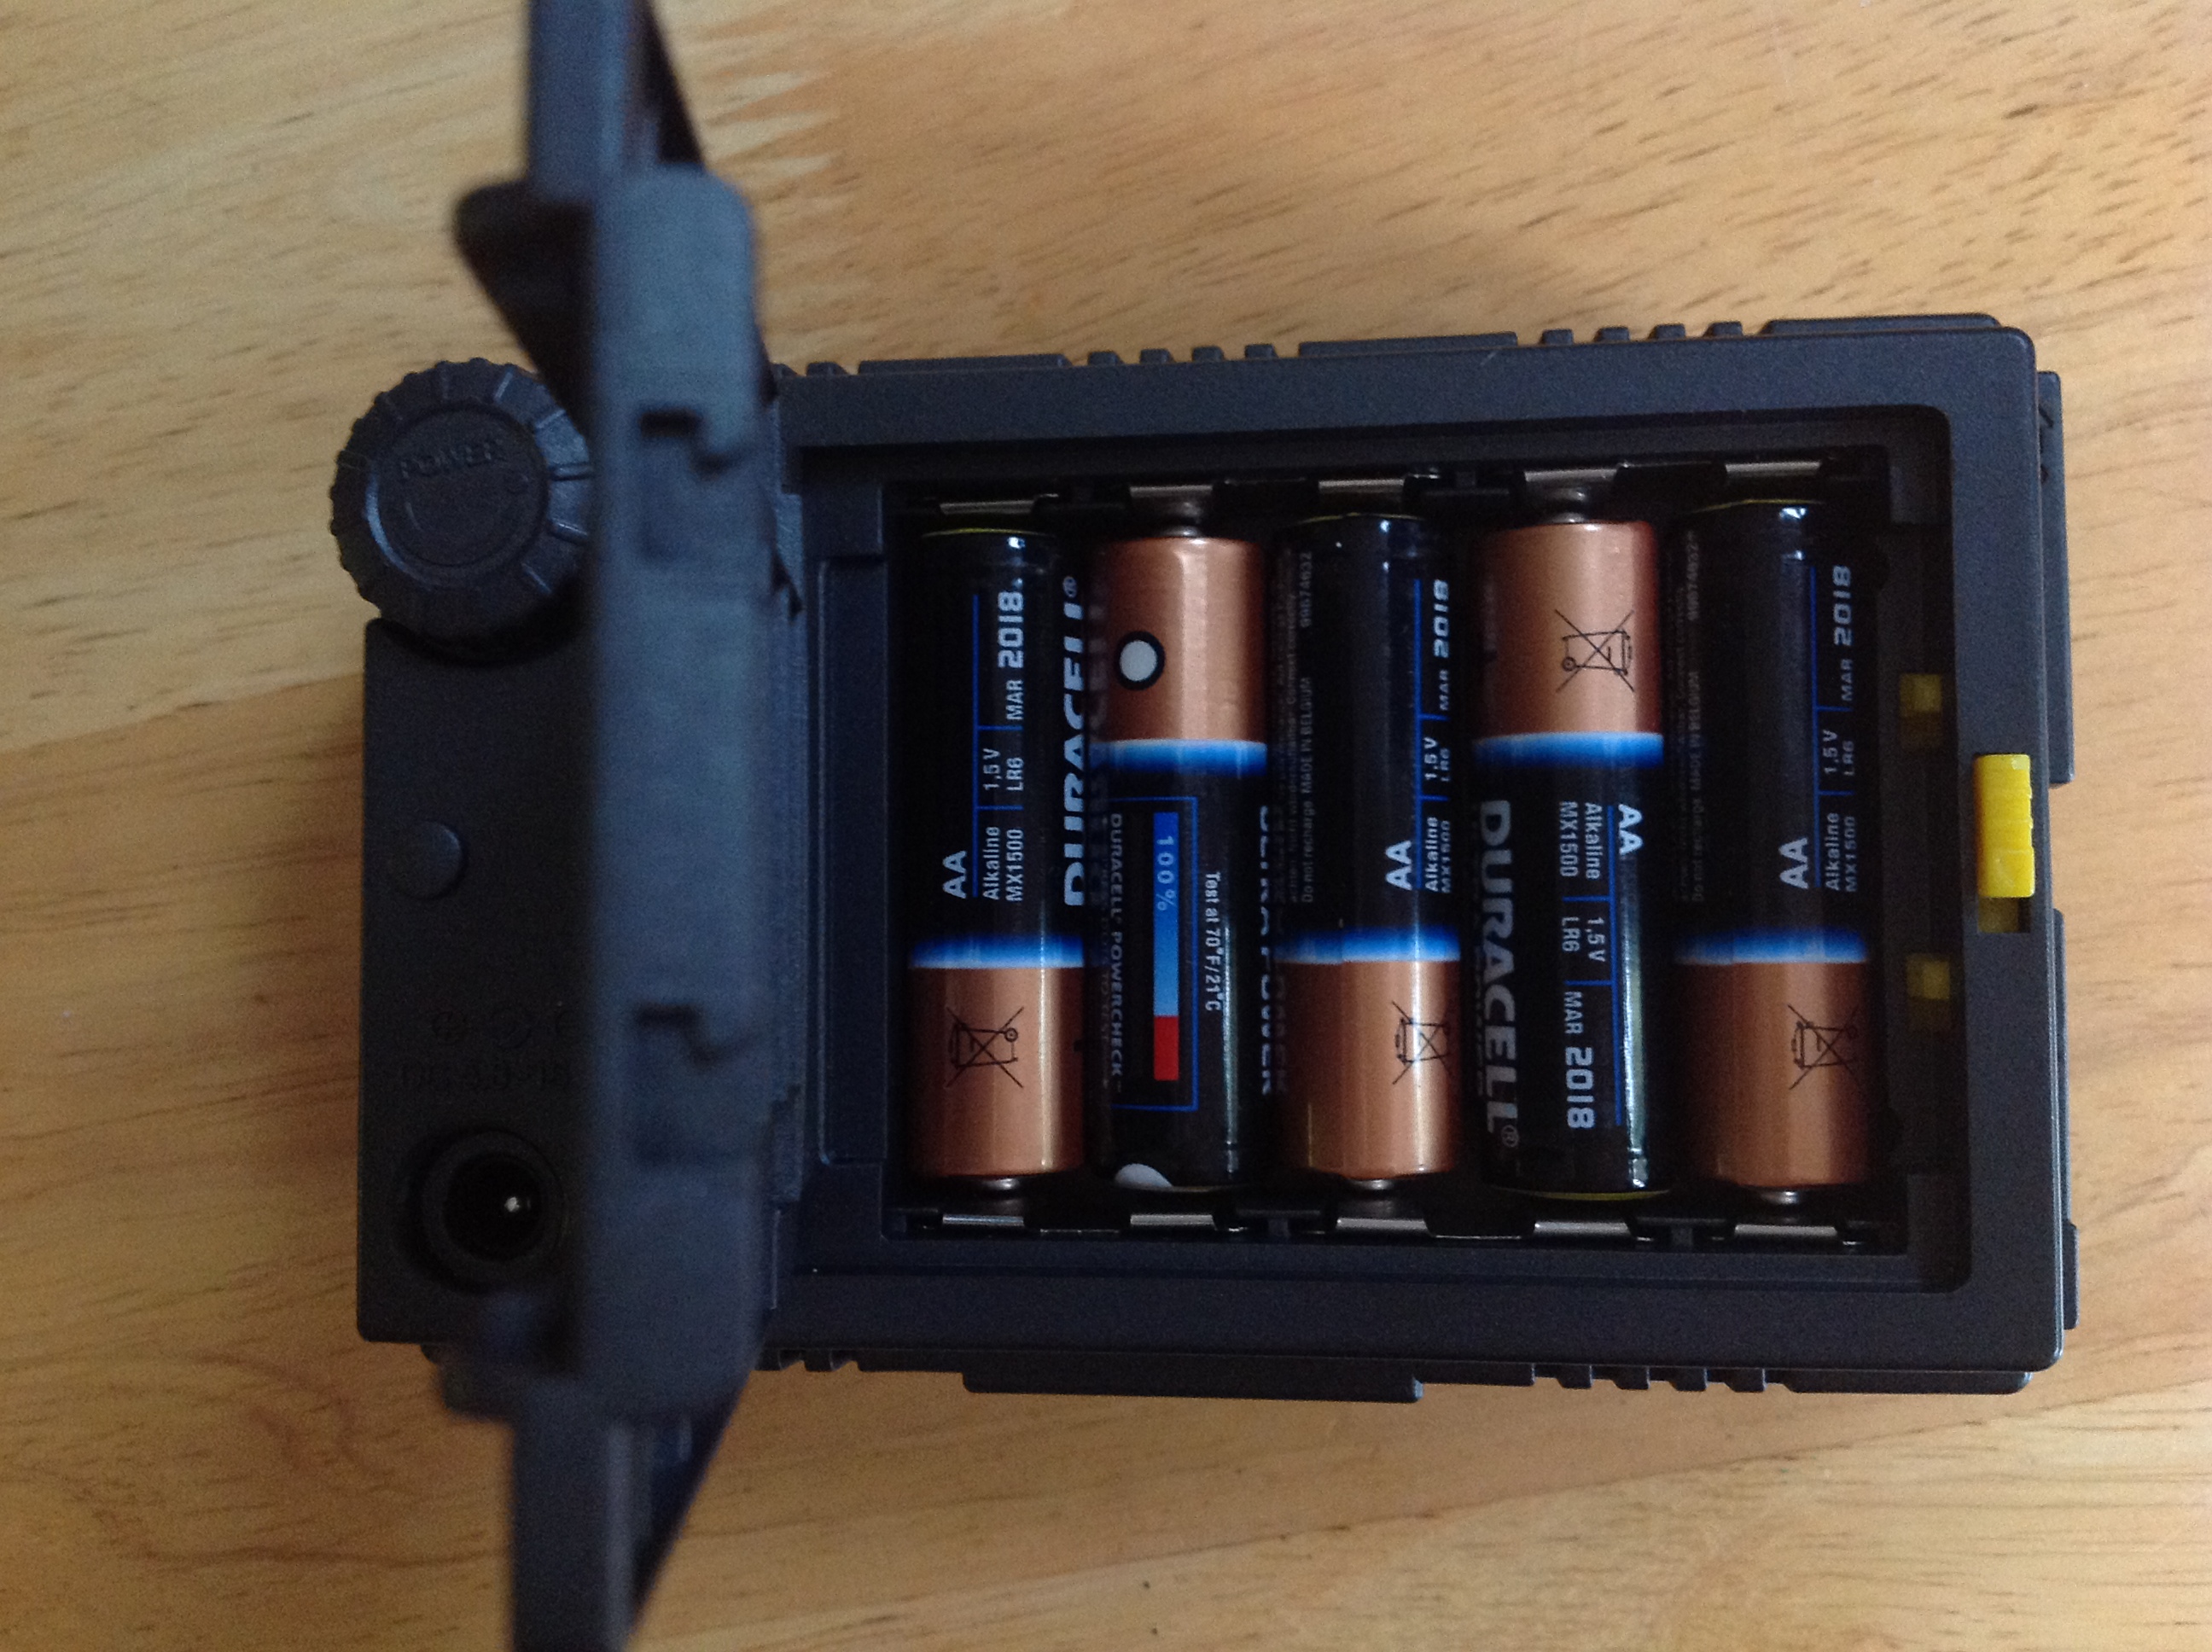 For power you can either run if off 5AA batteries or you can attach an old Sony video battery (any of the following LF570, F770, F970 ,F550,F750). You can also attach several of them together to create a panel.
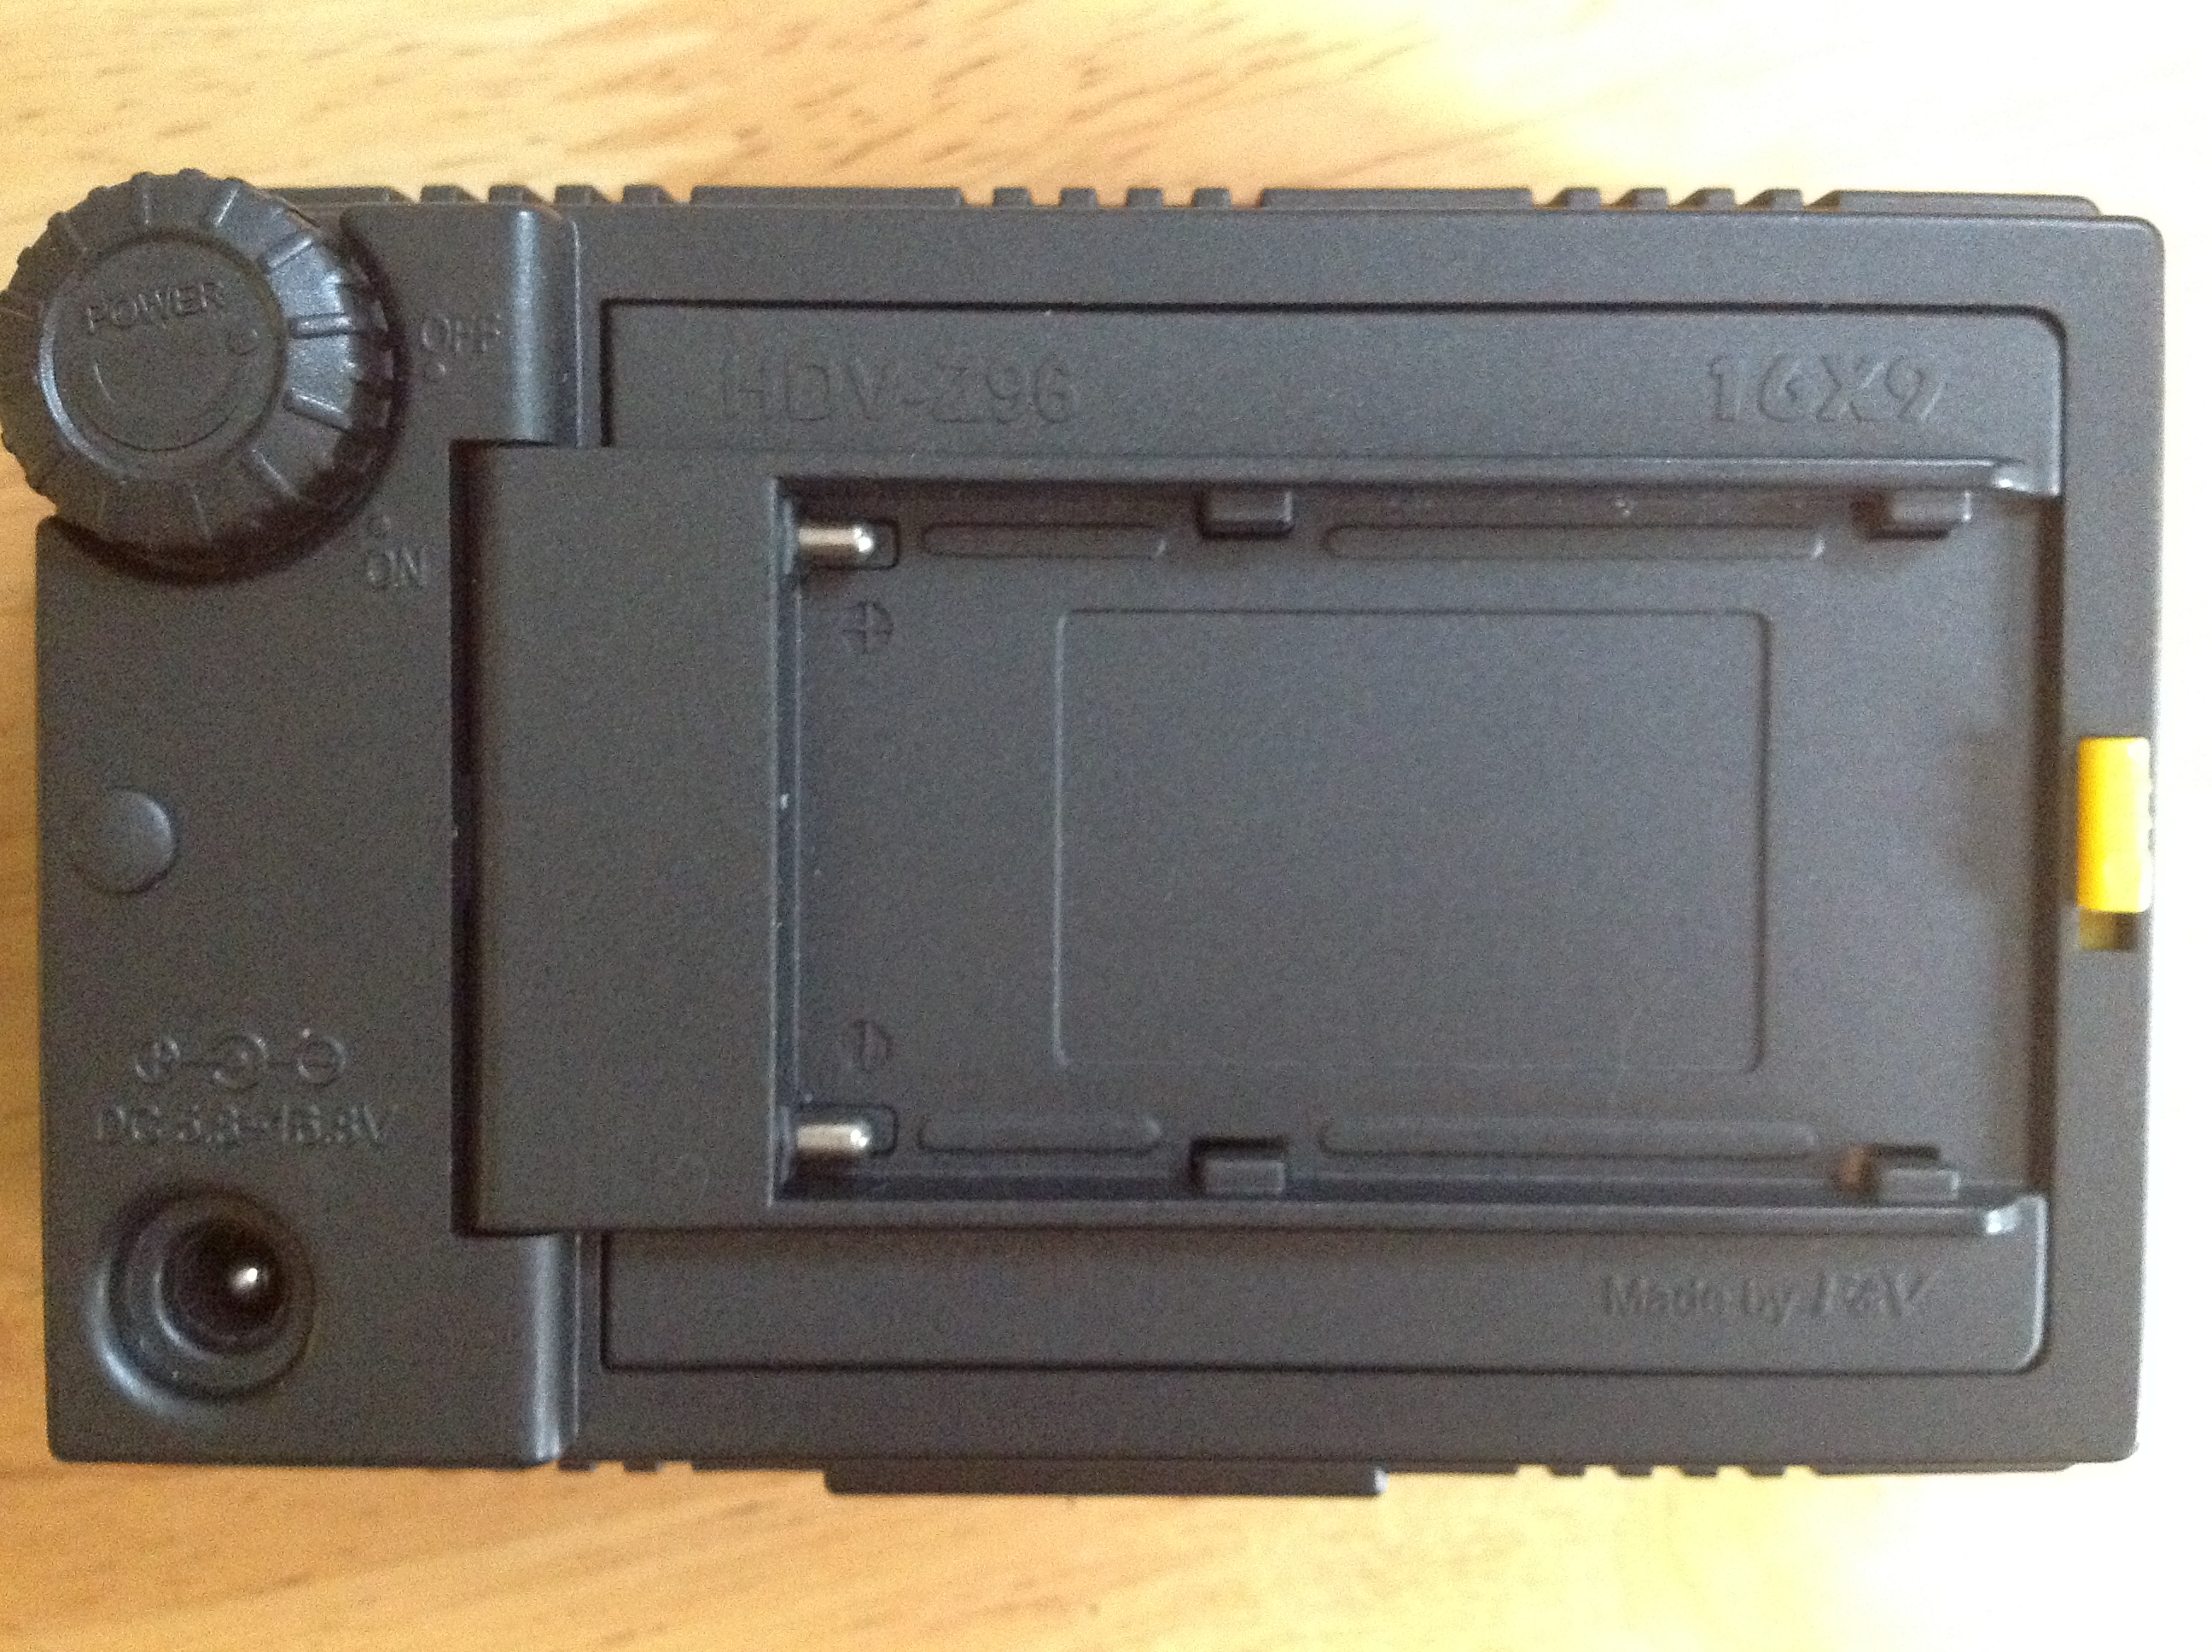
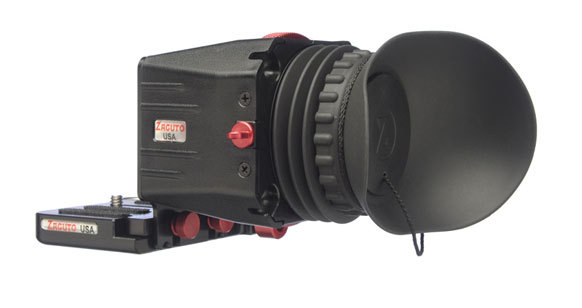
 A step up from this the EVF or electronic viewfinder. These run an HDMI signal out of the camera and give a higher quality picture which can be moved around like a traditional full size camera eye piece. In the case of the Zacuto the resolution is 56 percent better than what you are looking at on the back of a DSLR like the 5d or 7d. Redrock also sell an EVF, as do Cineroid. Those who already own a Zacuto Z-finder may be tempted by the slightly more expensive Zacuto EVF as it can be used in conjunction with the Z finder.


 I recently had the chance to shoot on the new Sony F3 for a L'Oreal promo. The director, Steve Rosam, said it was some of the best digital footage he had worked with - not a bad commendation when the camera body costs under 10k.
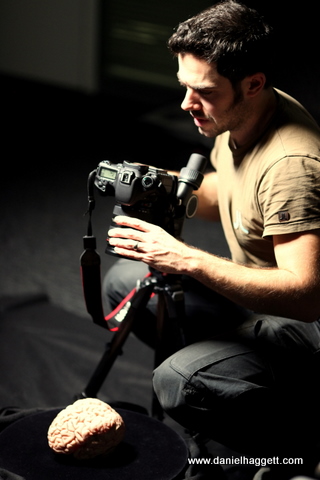 r my latest project I have been filming a replica brain for the BBC strand Horizon. Real human brains are apparently hard to come by, this one is a replica from a medical supplier. We used a turntable (from Aimimage) to rotate it against a black background. This was shot on my Canon 7d, using my full size Miller tripod for the moves and pans, and a stills tripod was used for the more extreme angle lock offs