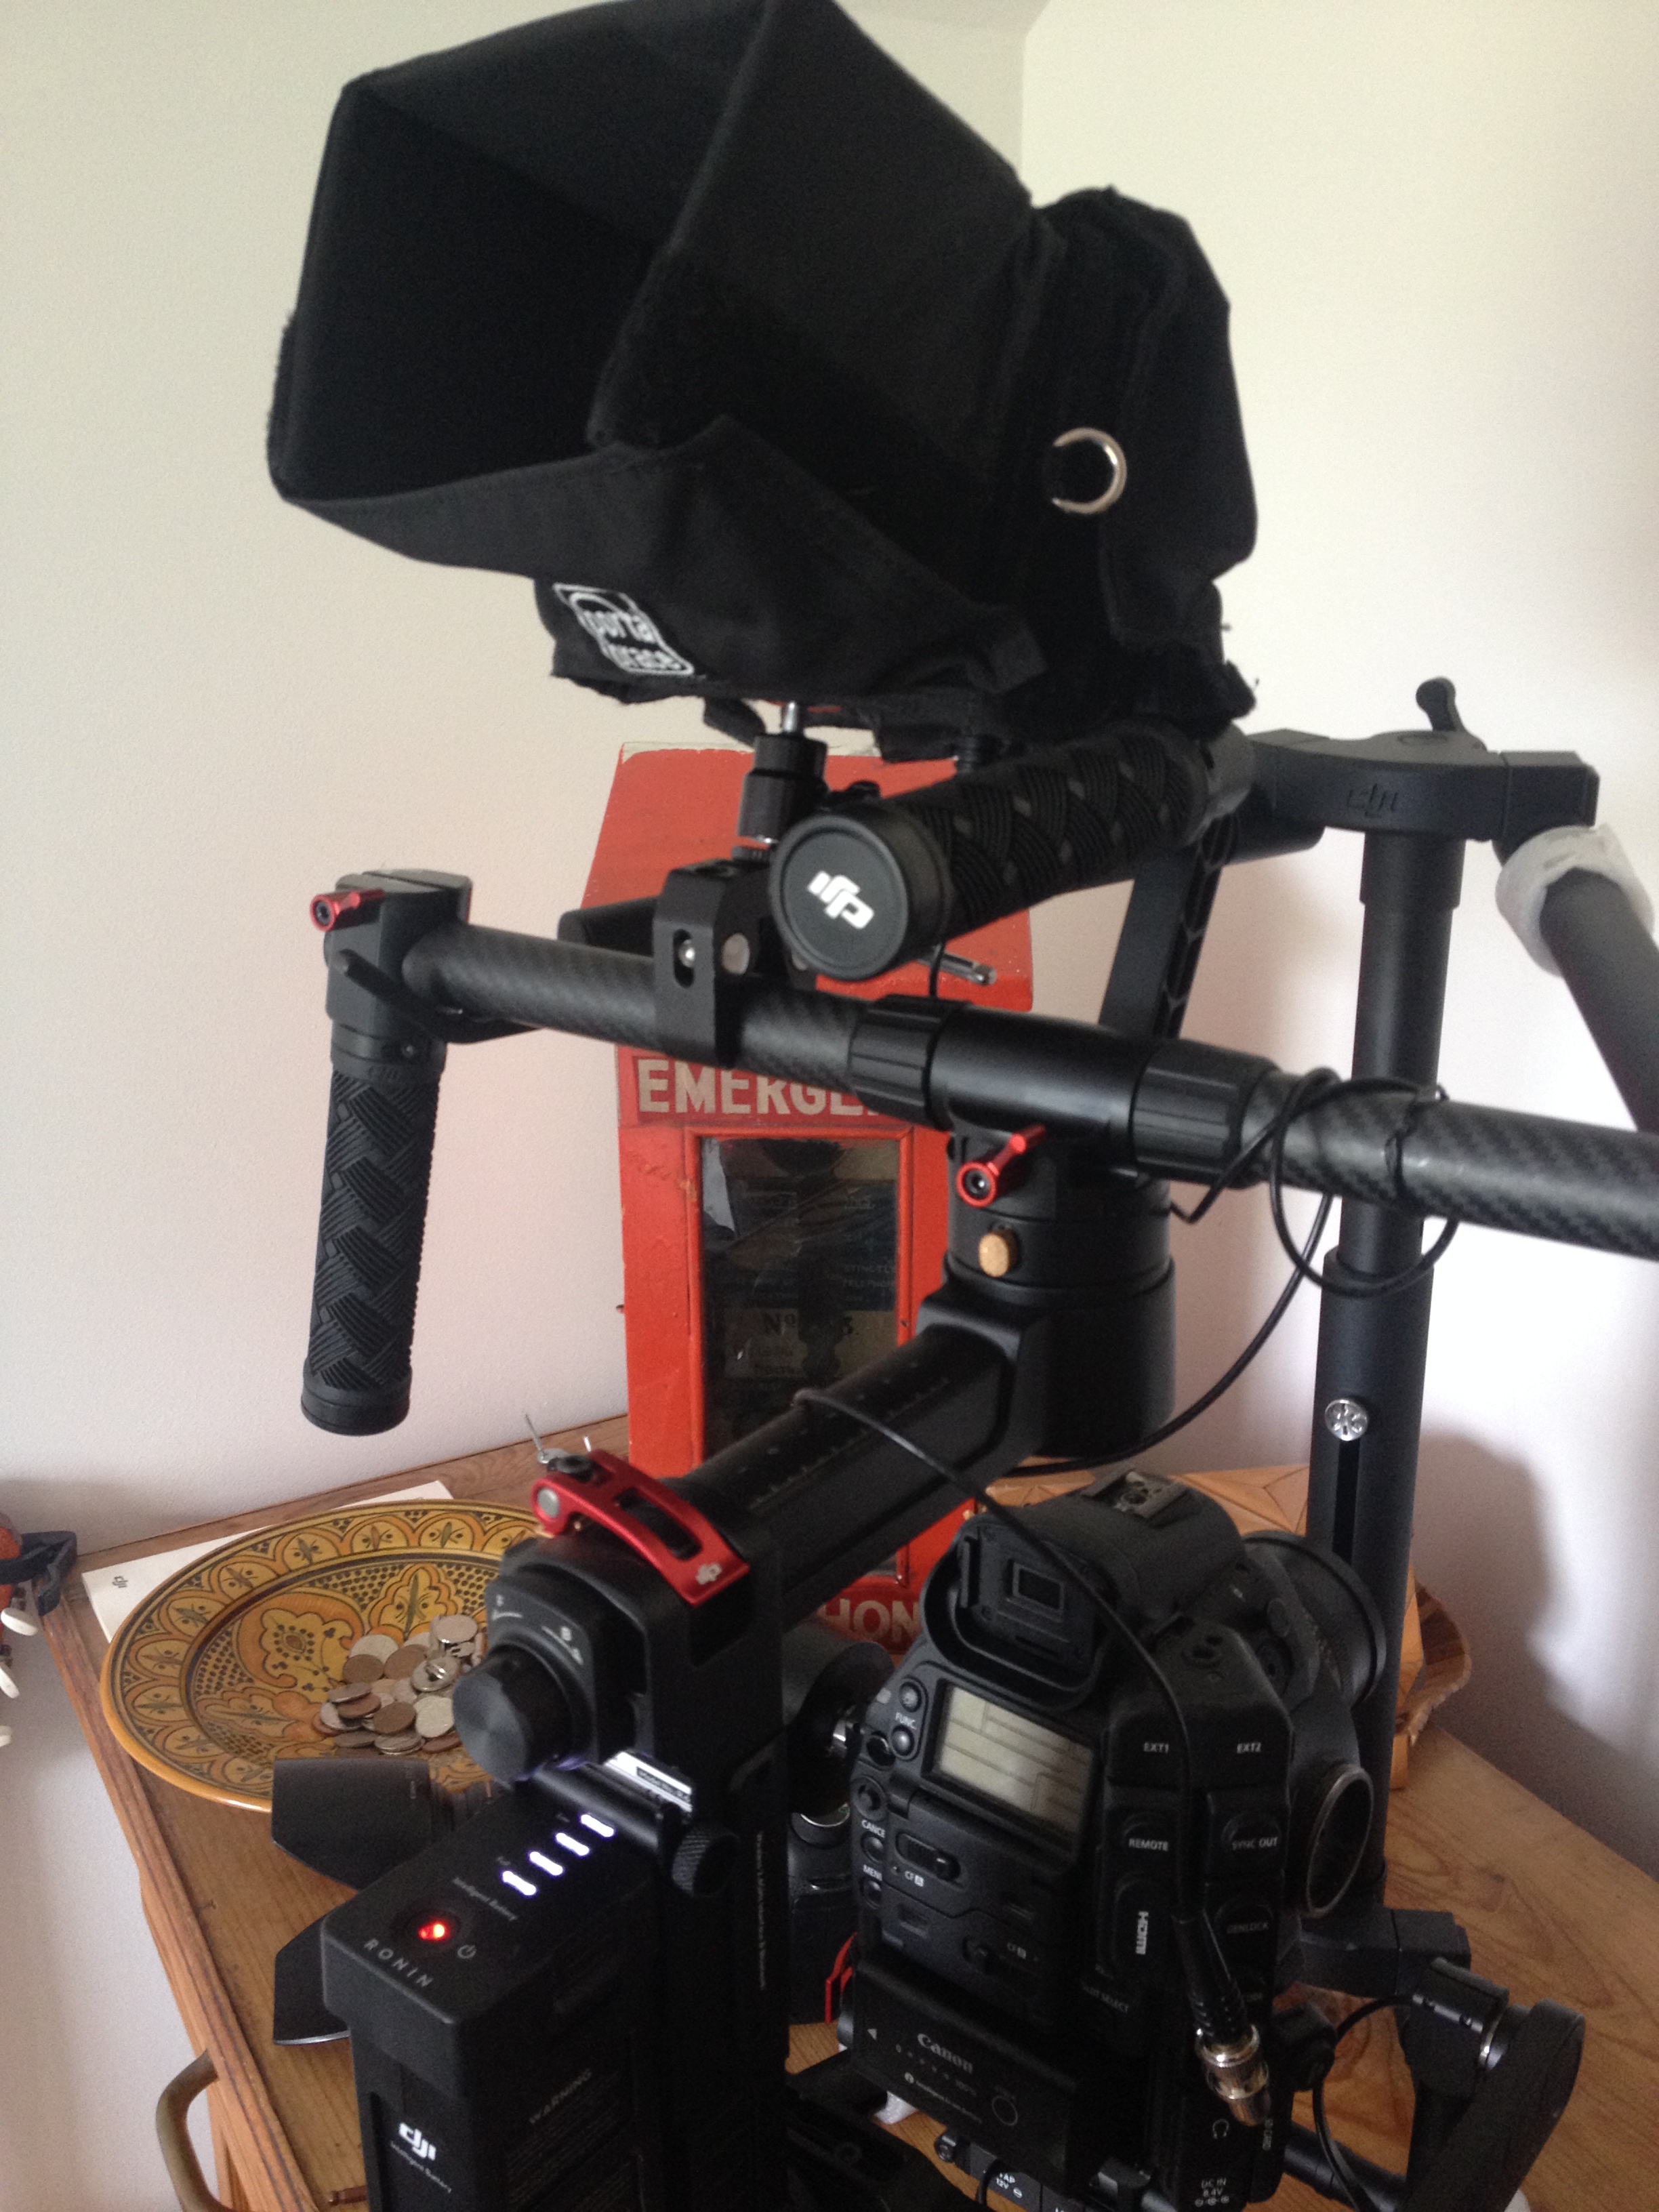
The new Ronin M is half the weight of the original Ronin, it is designed specifically for smaller cameras, but the motors are strong enough to take fairly heavy set ups. My first question when this came out was "Will the Canon c300 work with the Dji Ronin M." Happily the answer is yes, so I immediately bought one.
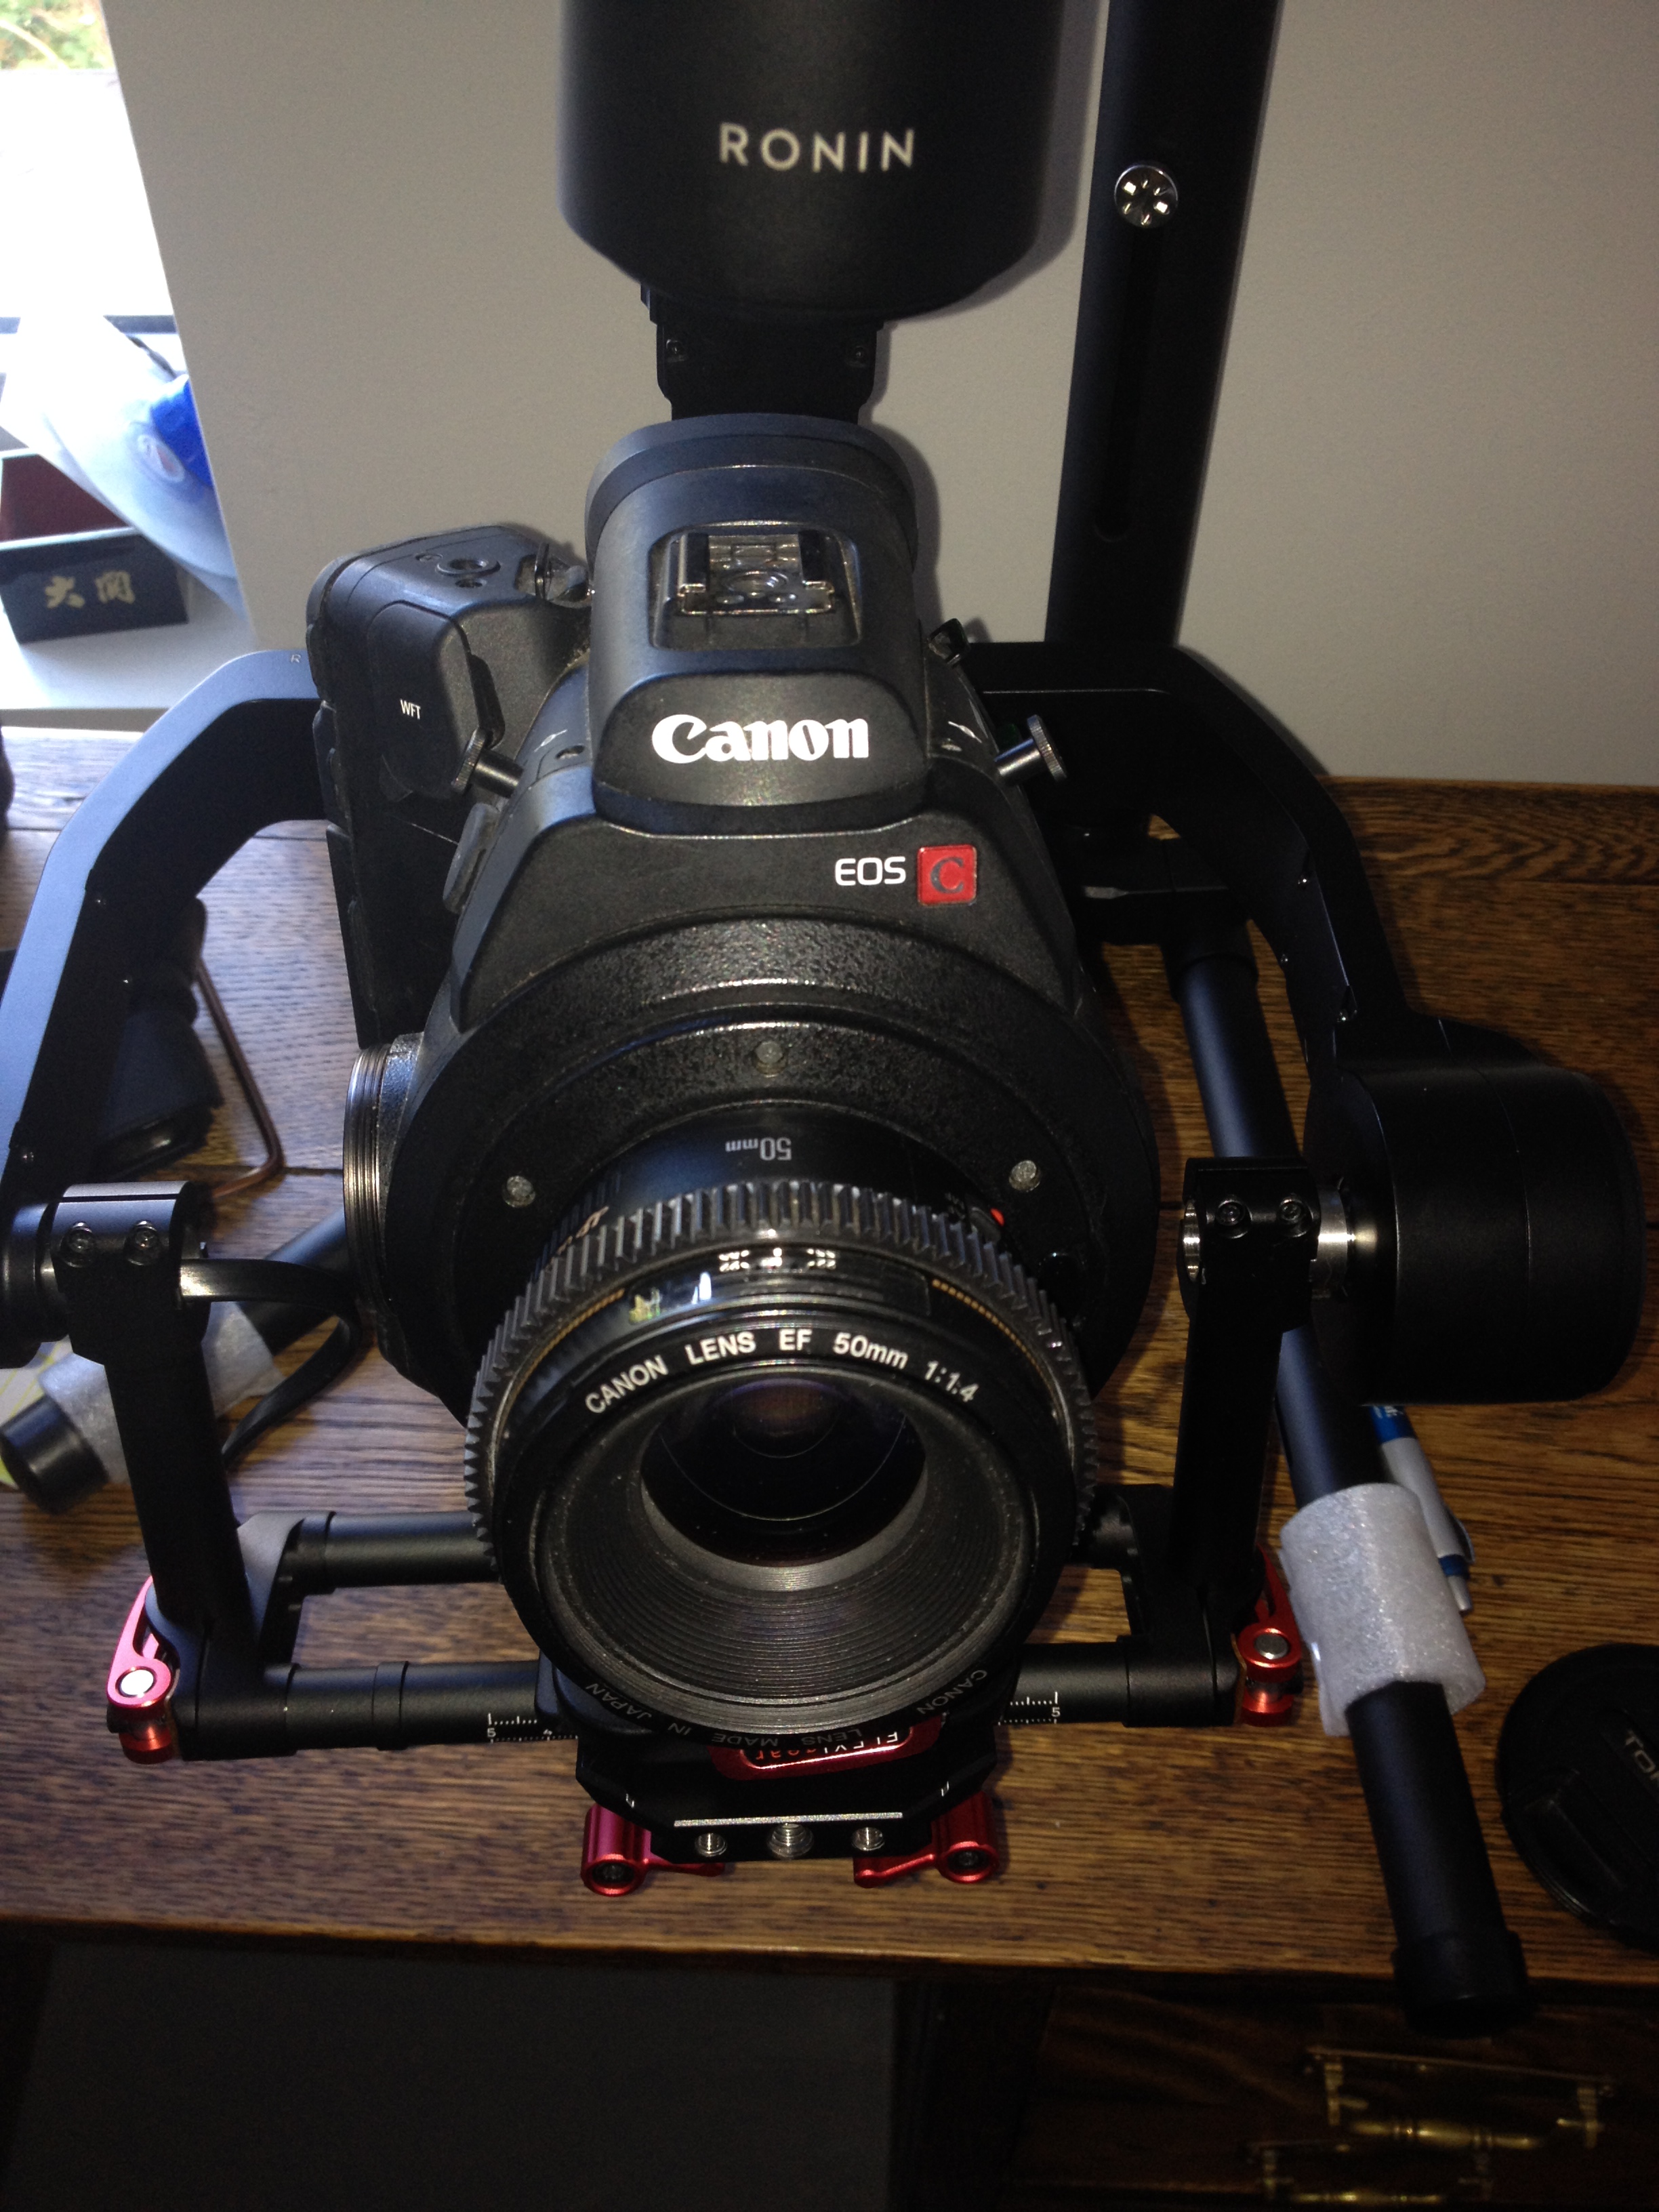
As you can see, there is plenty of room around the sides of the camera, once you have removed the handle grip and the eyepiece (there is a locking screw on them underside of viewfinder).
With light prime lenses you can get full range of movement with the Ronin M. However, once you add heavier zoom lenses the camera becomes front heavy and you have to shift the baseplate back. This limits your tilt range somewhat, as the top of the camera the hits the back of the Ronin. This isnt a huge issue on some lenses as the angle you can get is still pretty steep.

This is the Tokina 11-16mm on maximum tilt up. It can tilt all the way down, but the back of the eyepiece area just touches the back of the Ronin M at this angle. Obviously, the heavier the lens the further you need to shift the camera plate back and the smaller the angle will be when you tilt up.
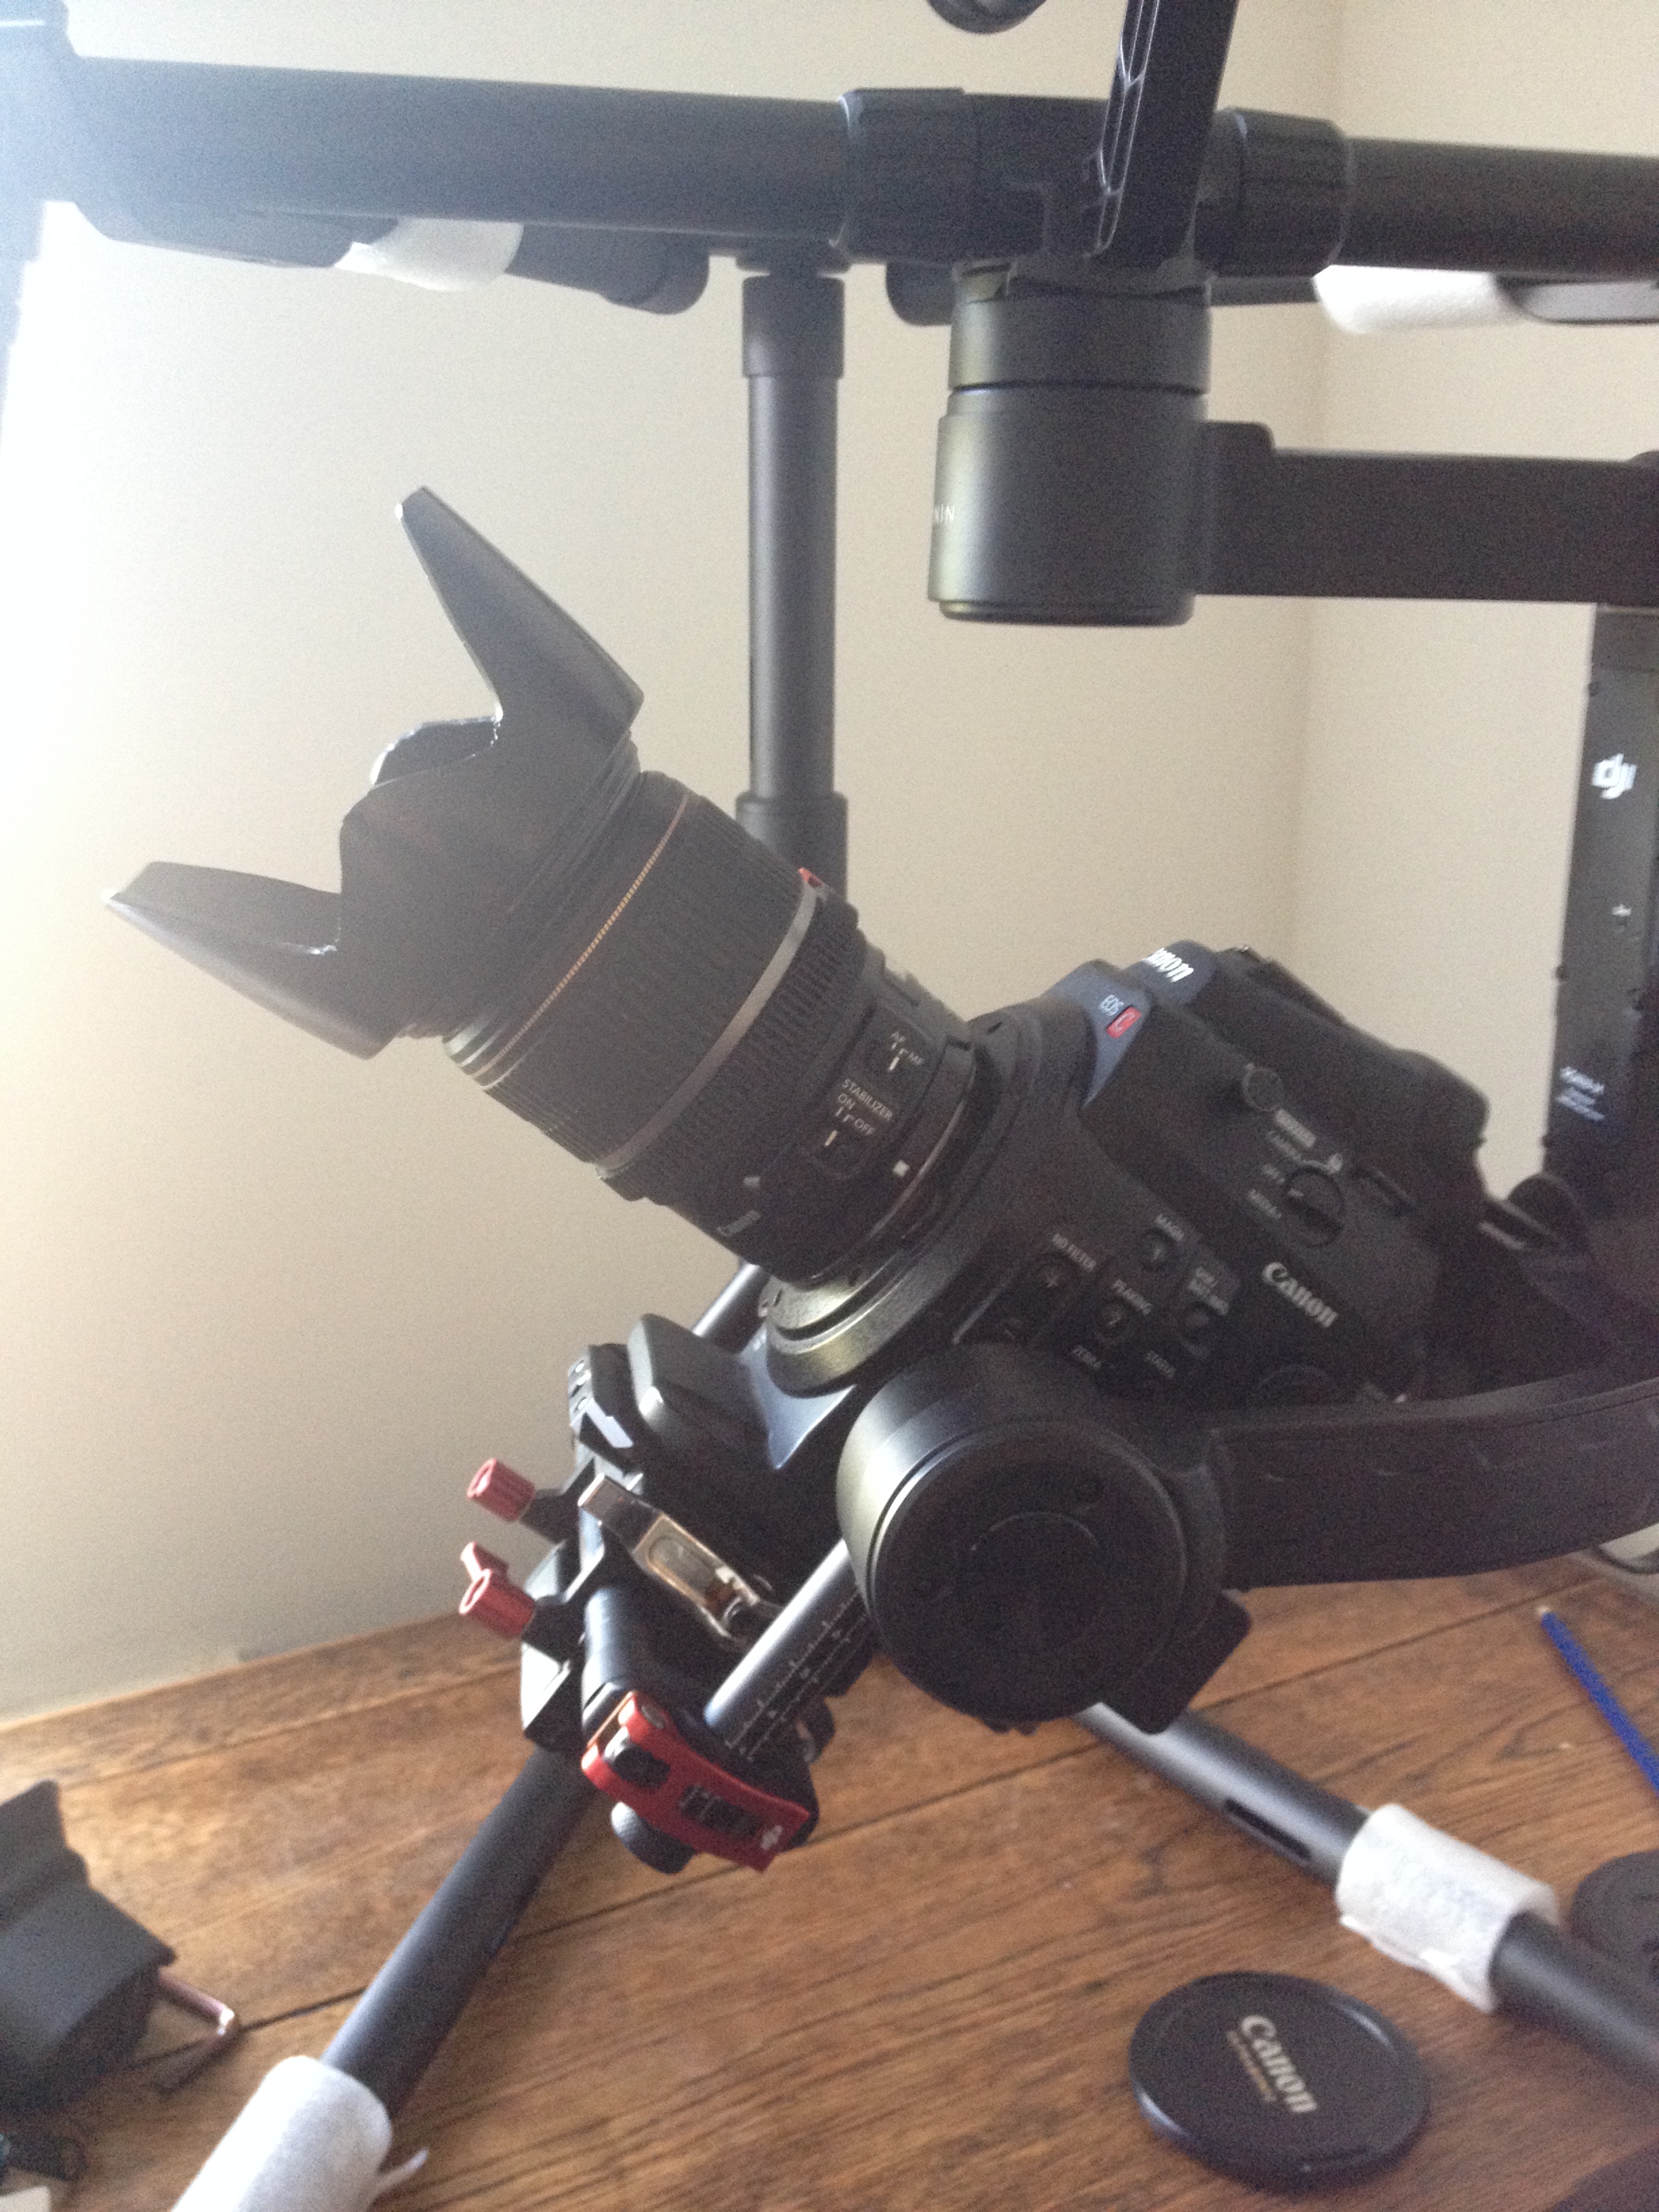
This is the 17-55mm, which is a pretty heavy image stabilized lens. This is at the maximum up tilt angle and the back of the camera is touching the Ronin at this point.
Lots of people own the 16-35mm, which I don't have, but to give you an idea the 16-35mm mark2 Canon weighs 640g (the mark 1 is slightly lighter), the 17-55mm weighs 645g so the angle will be pretty similar.
If you want to use heavier lenses and keep the full tilt range there is a solution from Cinemilled. Cinemilled have made tilt extension arms so you can lower the camera further, allowing you to tilt all the way up. There is already a thread on the bottom of the Ronin M tilt arms, so the Cinemilled arms will just screw straight in.
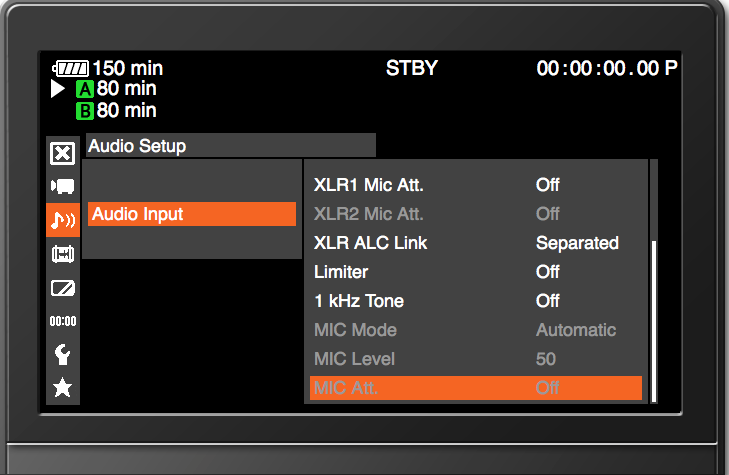
Audio options with the C300 on a Ronin gimbal.
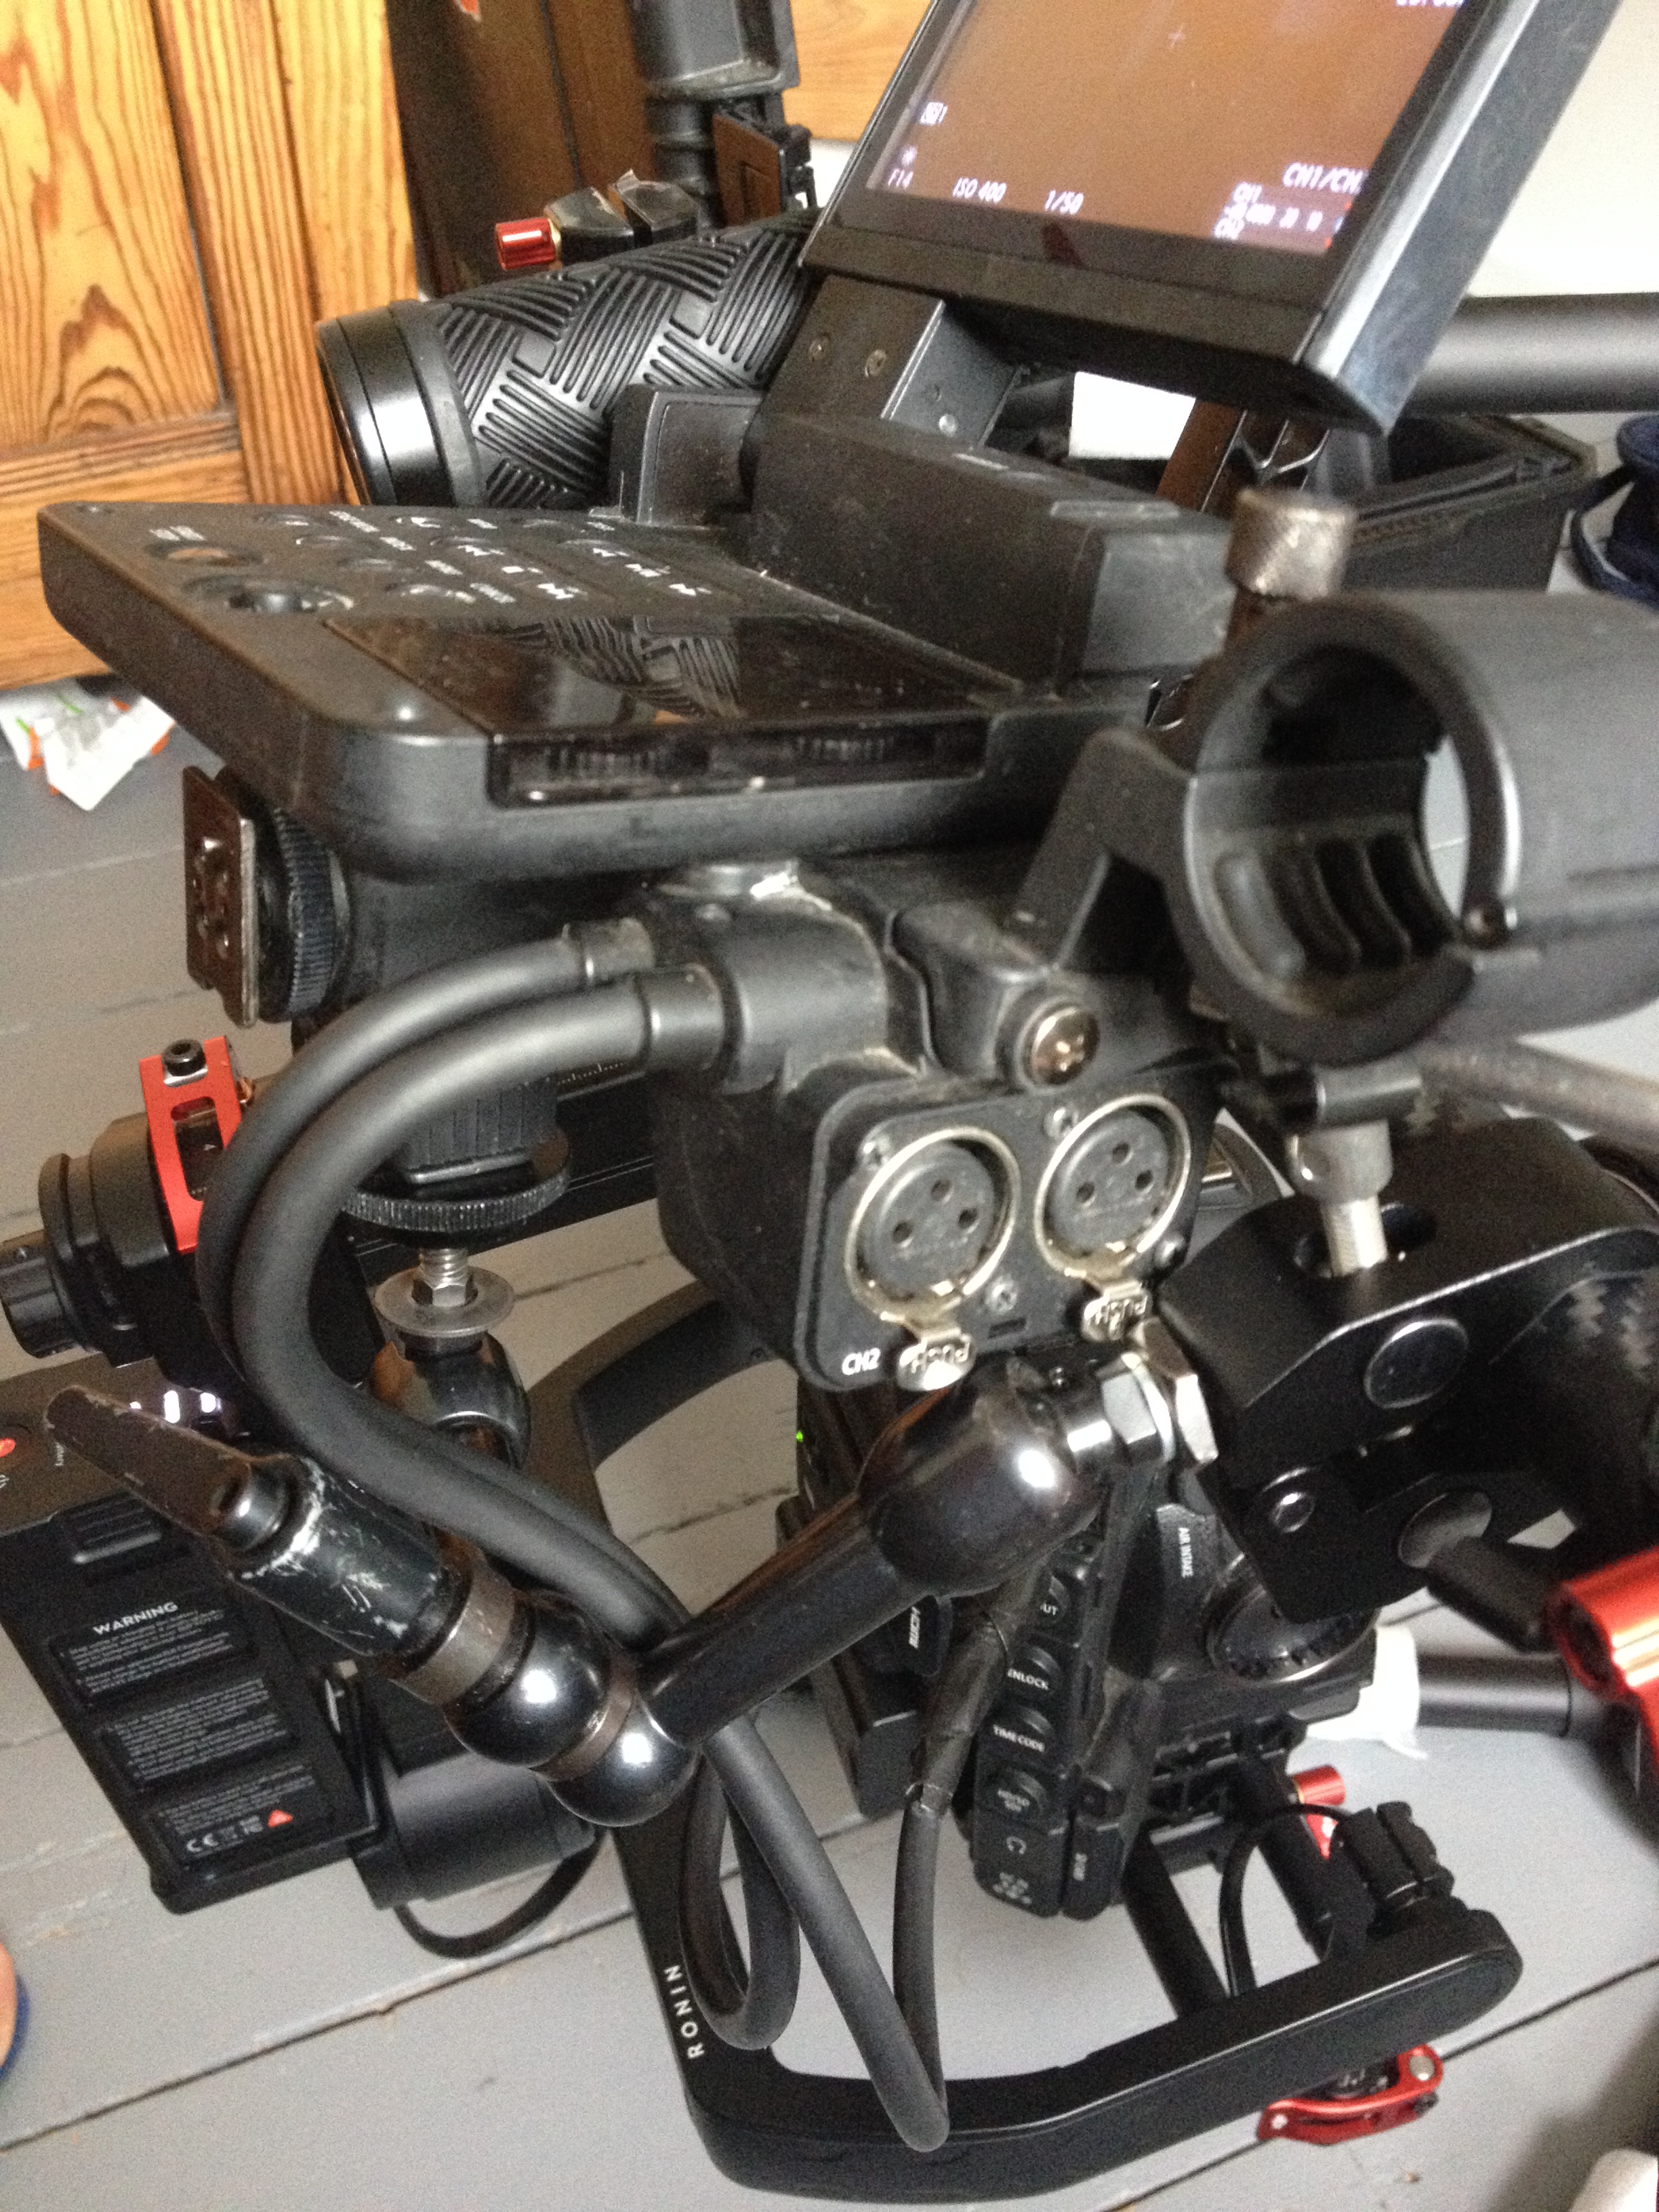
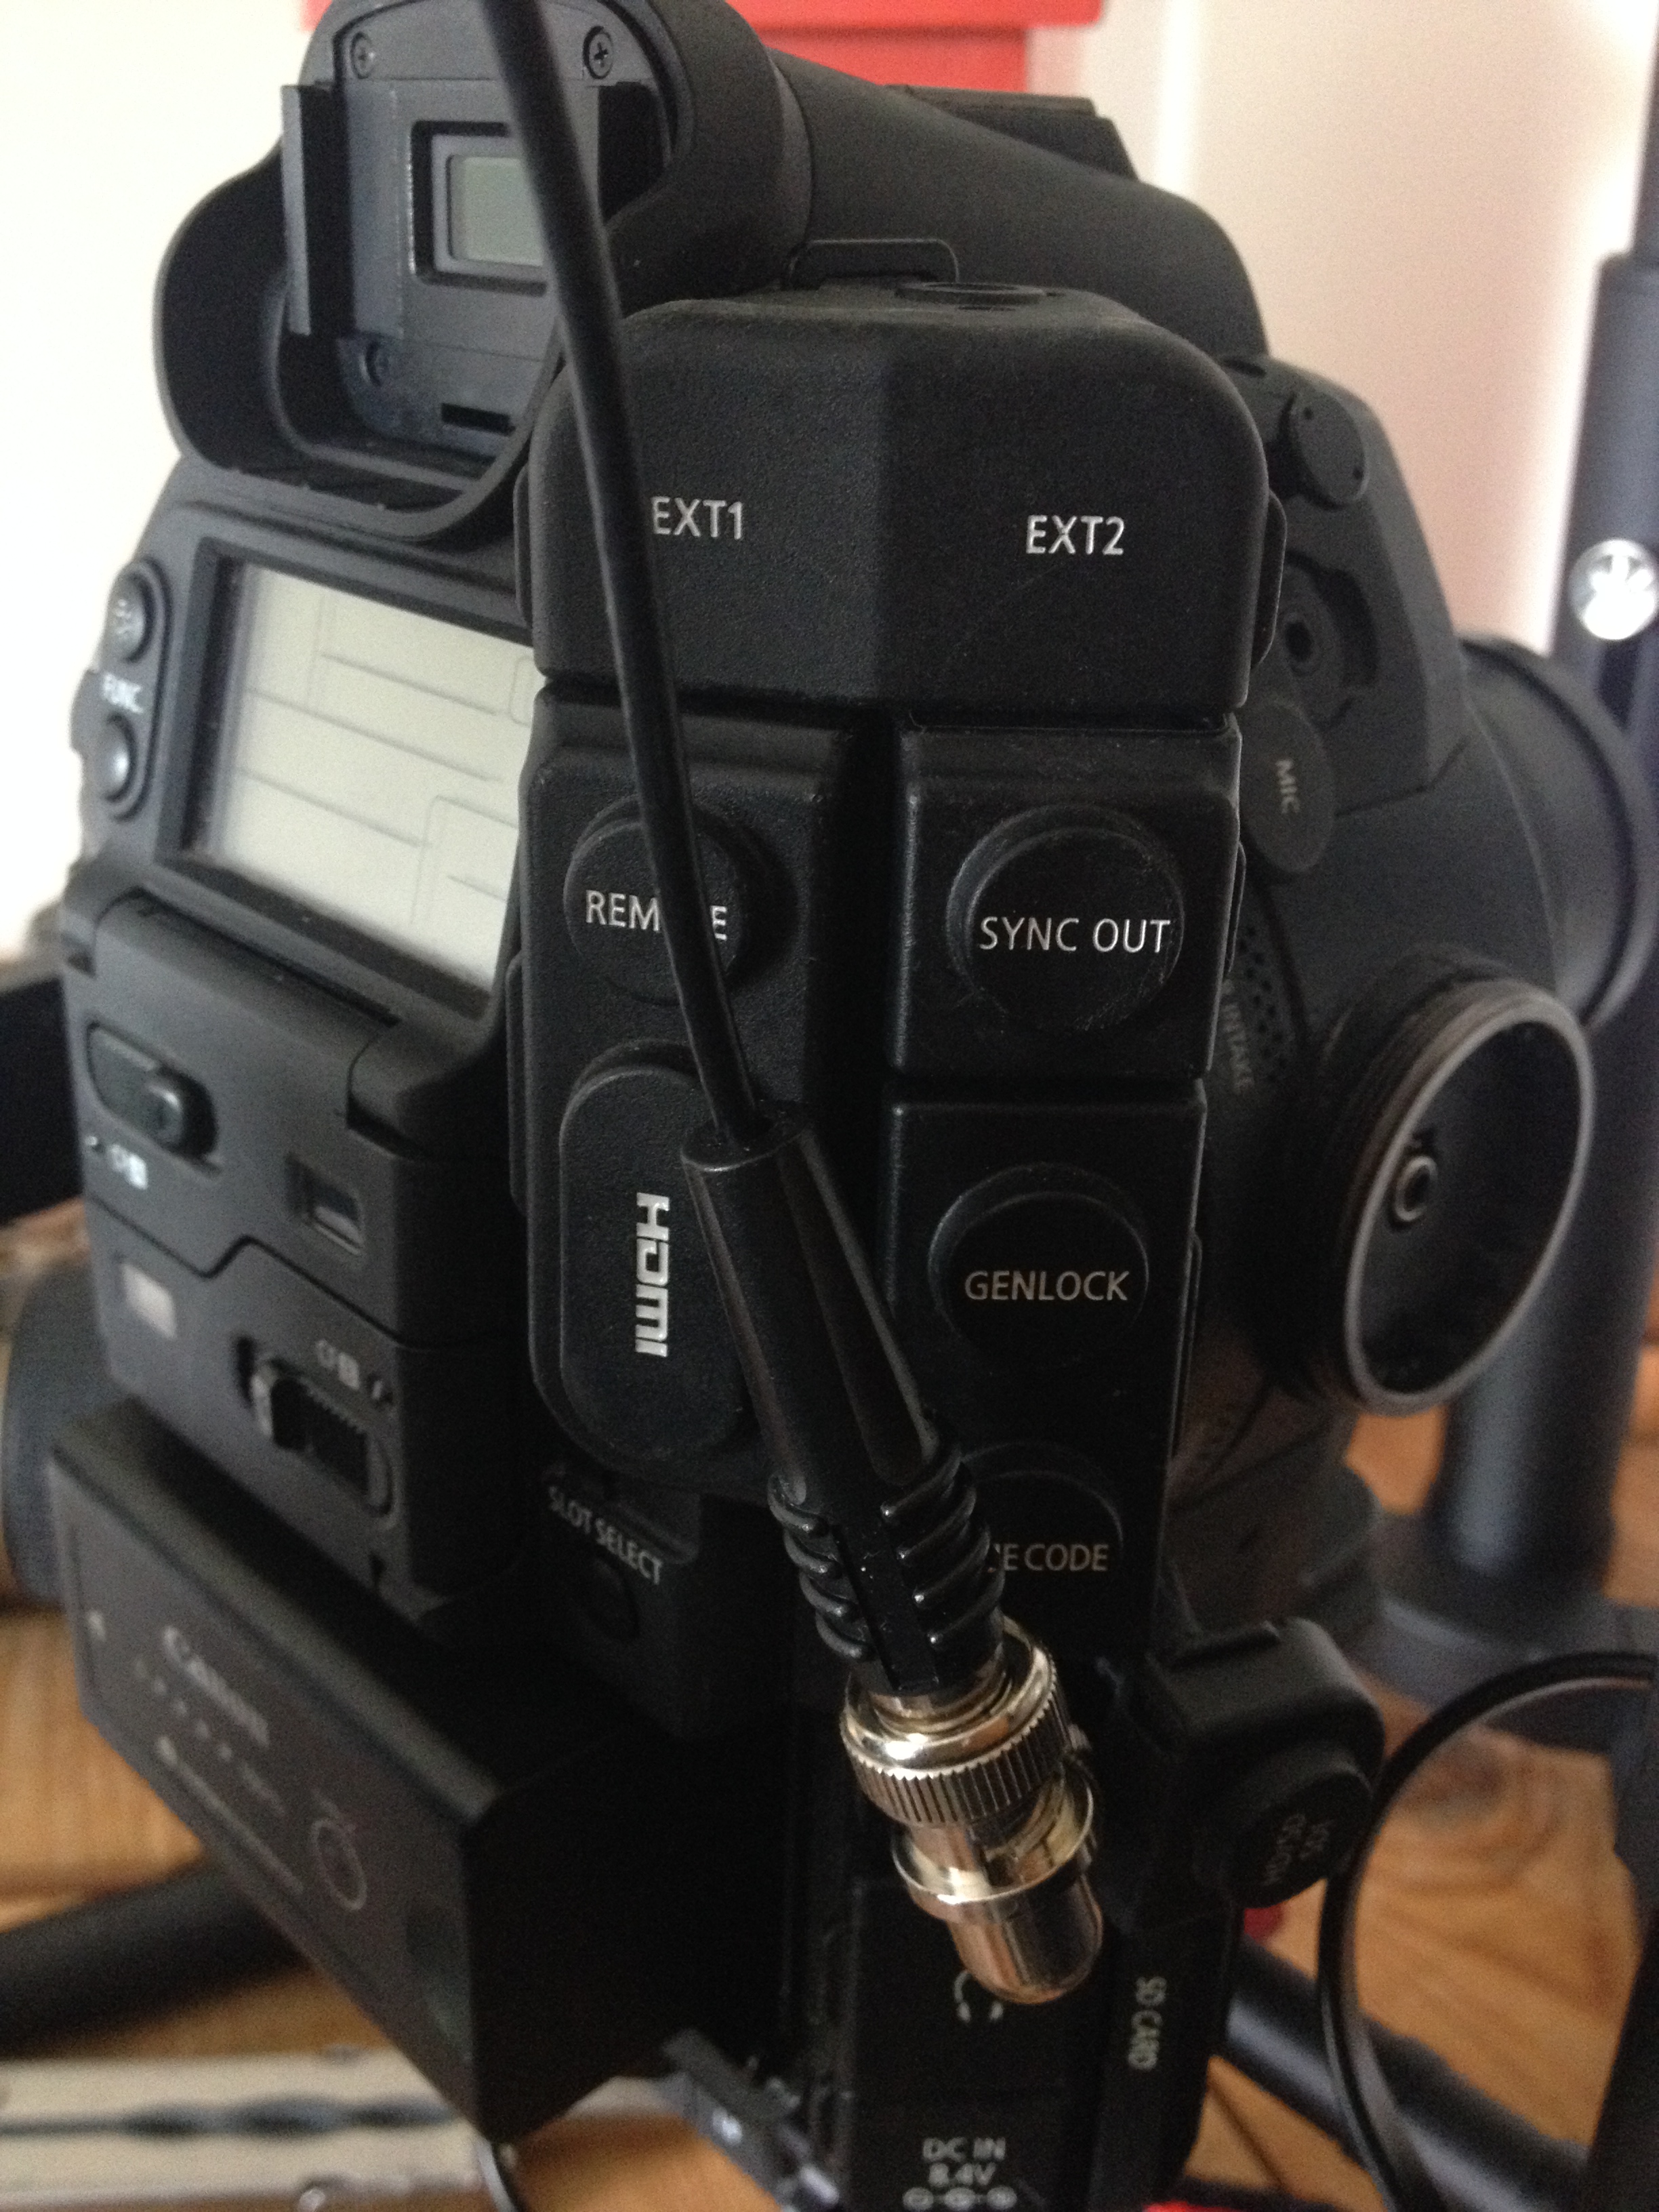
The next issue to deal with on the C300 when pairing it up with the Ronin M is audio. There are a couple of options here. Firstly there is an audio input minijack just above the grip handle. You can't control the level of this to my knowledge, so you are going to end up with auto levels, good only as a guide track, but at least you will have something to synch to the sound recordist's audio. UPDATE - You can control the levels of the mini jack input inside the menu under audio. When you plug your radio mic receiver or any other mic using a mini jack cable, the auido options turn from grey to white on the camera menu and you can now set the audio levels.
A radio mic is pretty easy to mount on the cross bar with a hot shoe mount. I run a small mini jack to mini jack from my radio mic to the mic input on the camera.
The second option is to mount the C300 LCD unit to the cross bar. This does limit your range of movement somewhat and the motors will have to work a bit harder as they are swinging two thick cables around.
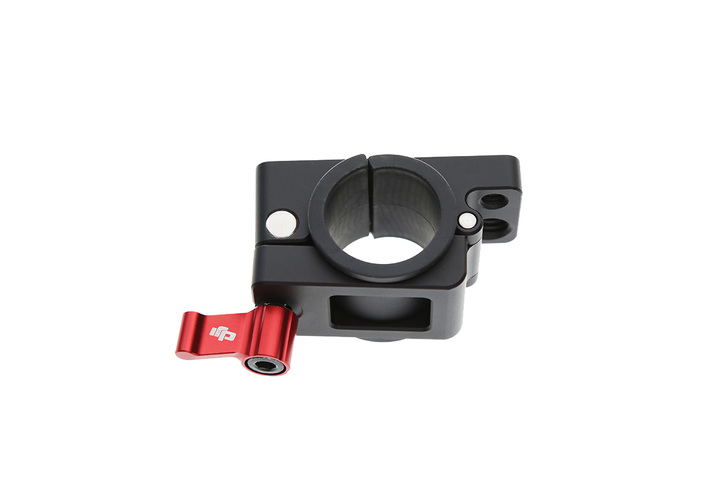
At present, the monitor mounting bracket from DJI (above) isn't availble in the UK. I have one on order from CVP, but orders seem backed up. There are a couple of mounting screw holes as you can see in the picture above. They are the normal 1/4" and 3/8" so you can attach a monitor directly to it, or via a Noga arm, ball mount or simliar so you can move the monitor about. I'll probably mount my TV logic 5.6 via a noga arm here, as it is a light monitor. There is a similar DJI mount out for the original Ronin, but it is slightly larger, as the Ronin has a wider bar. Again, Cinemilled have a shim for this if you want to use the original Ronin monitor mount. I also have also ordered a very thin BNC to allow the unit to move freely.
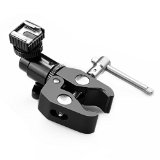
In the meantime I have ordered this 3rd party solution from Amazon:SMALLRIG Clamp Mount V2 w/ Ball Head Cold Shoe Mount and CoolClamp. This is wide enough to fit on to the Ronin M bar and also has a cold shoe, so I could mount the C300 LCD if needed. The cold shoe screws into a ball head on a 1/4 inch mount so I can remove the cold shoe and screw directly into a monitor instead. There are lots of other mounting options from Small Rig
on Amazon.
After hours of playing around with various configurations I mounted the C300 LCD on the cross bar of the Ronin M with the Small Rig clamp.
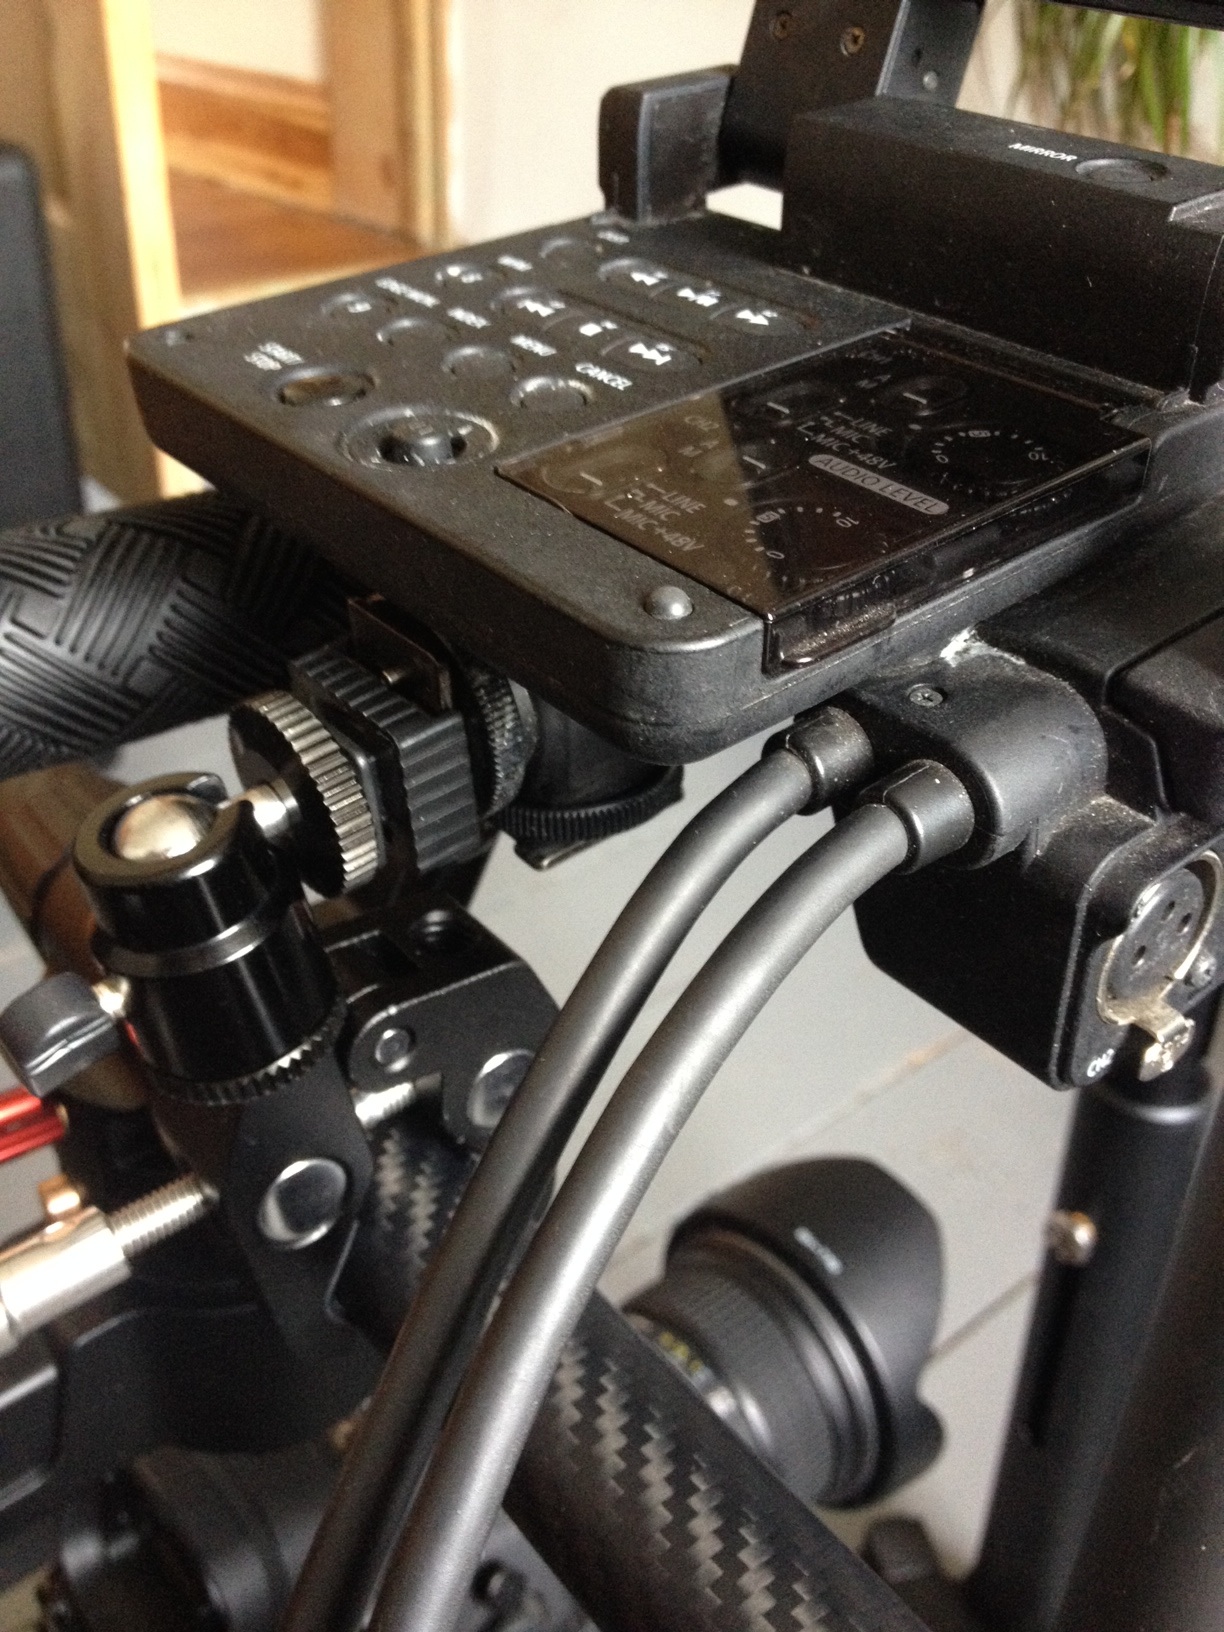
This worked well enough, except the LCD cables are only just long enough, limiting your camera tilt moves somewhat. (they are just long enough to pan left and right.)
You could also use a magic arm, I played around with my Noga arm and got the LCD to just about work, like this.
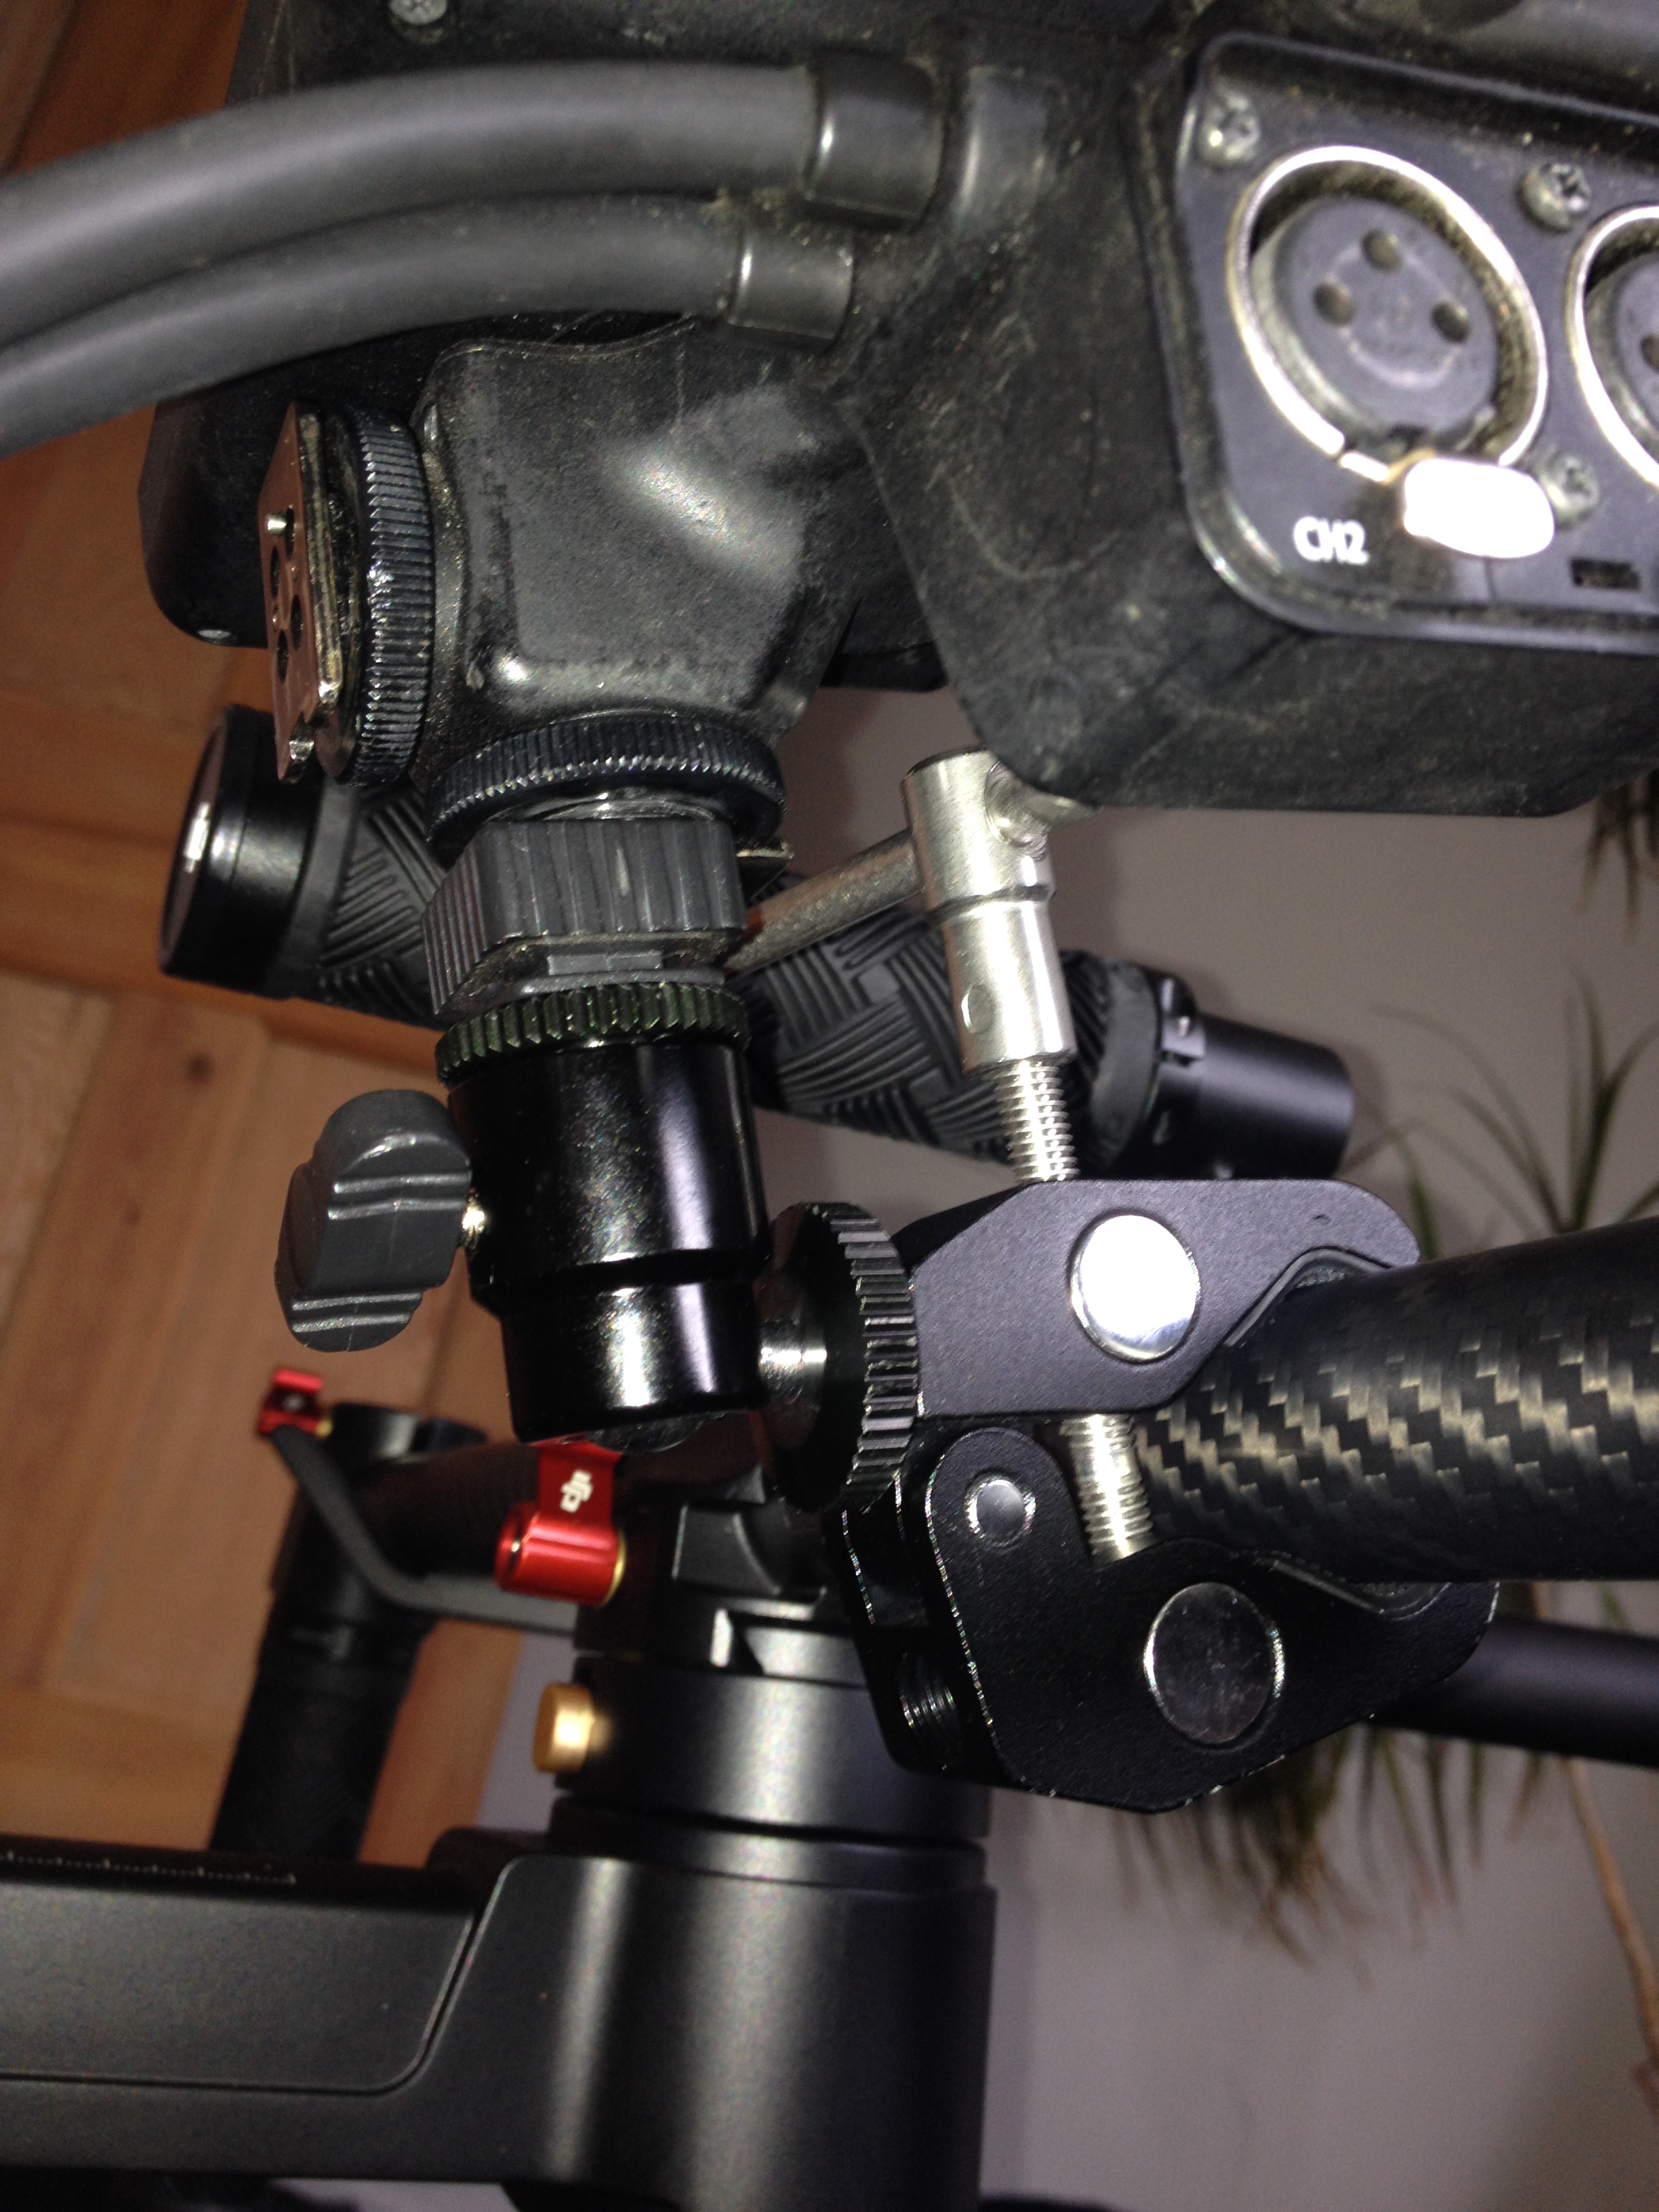
The trick to making this work is getting the cables as close as possible to the camera. The best configuration I worked out was to put the LCD further back. Every milimeter helps here as the cables are not quite long enough.
On the whole I think I will stick to using my 5.6 TV logic monitor with an extra thin BNC cable. I don't like the idea of using the LCD as I think it will only be a matter of time before the cables get damaged using them in this way. For the occasional situation where you don't have a sound recordist and audio is essential, this would work, but for more extreme moves and better control, the seperate monitor is definitely the best solution. Below you can see my TV logic 5.6 mounted to the Ronin with a portabrace cover to provide a sun shade.
Also worthwhile, I have put on a thin BNC cable to keep the weight down and improve manoeuvrability. It is also worth having a right angle bnc connector to keep the cables in the right place.
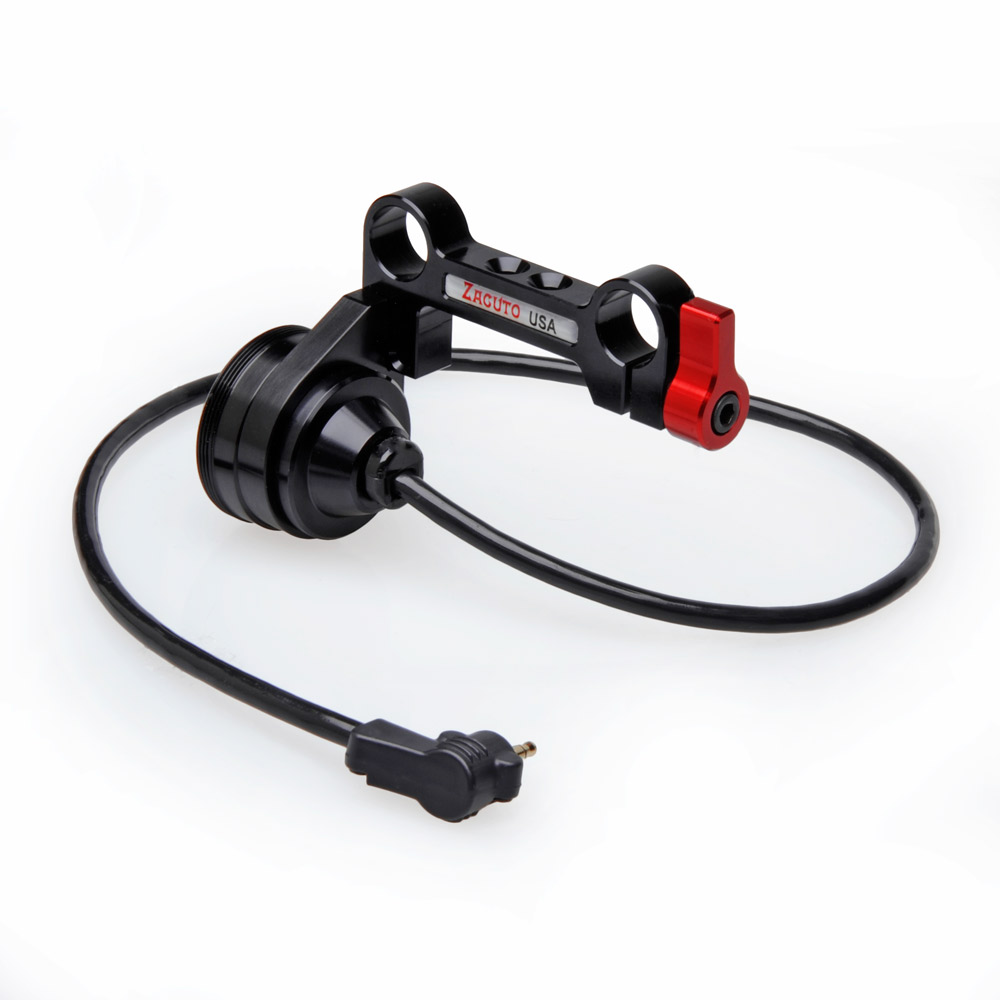
Another good thing about pairing the C300 with the Ronin M is the fact that the hand grip can be relocated. Since you have to take the hand grip off anyway, it makes sense to mount it onto the Ronin M and that way you will have record on and off control and iris or ISO control. To do this you will need a grip relocatator from Zacutto together with a clamp like the one above and a screw in spud from Redrock or Zacuto make a "zud". The Spud or zud serves to connect the zacuto 15mm rod clamp to the 3party clamp. For more info on how to do this check out Cinema 5d
Lots more to come with the Ronin M. I'll be posting something about the settings and hopefully get some video footage up before too long.